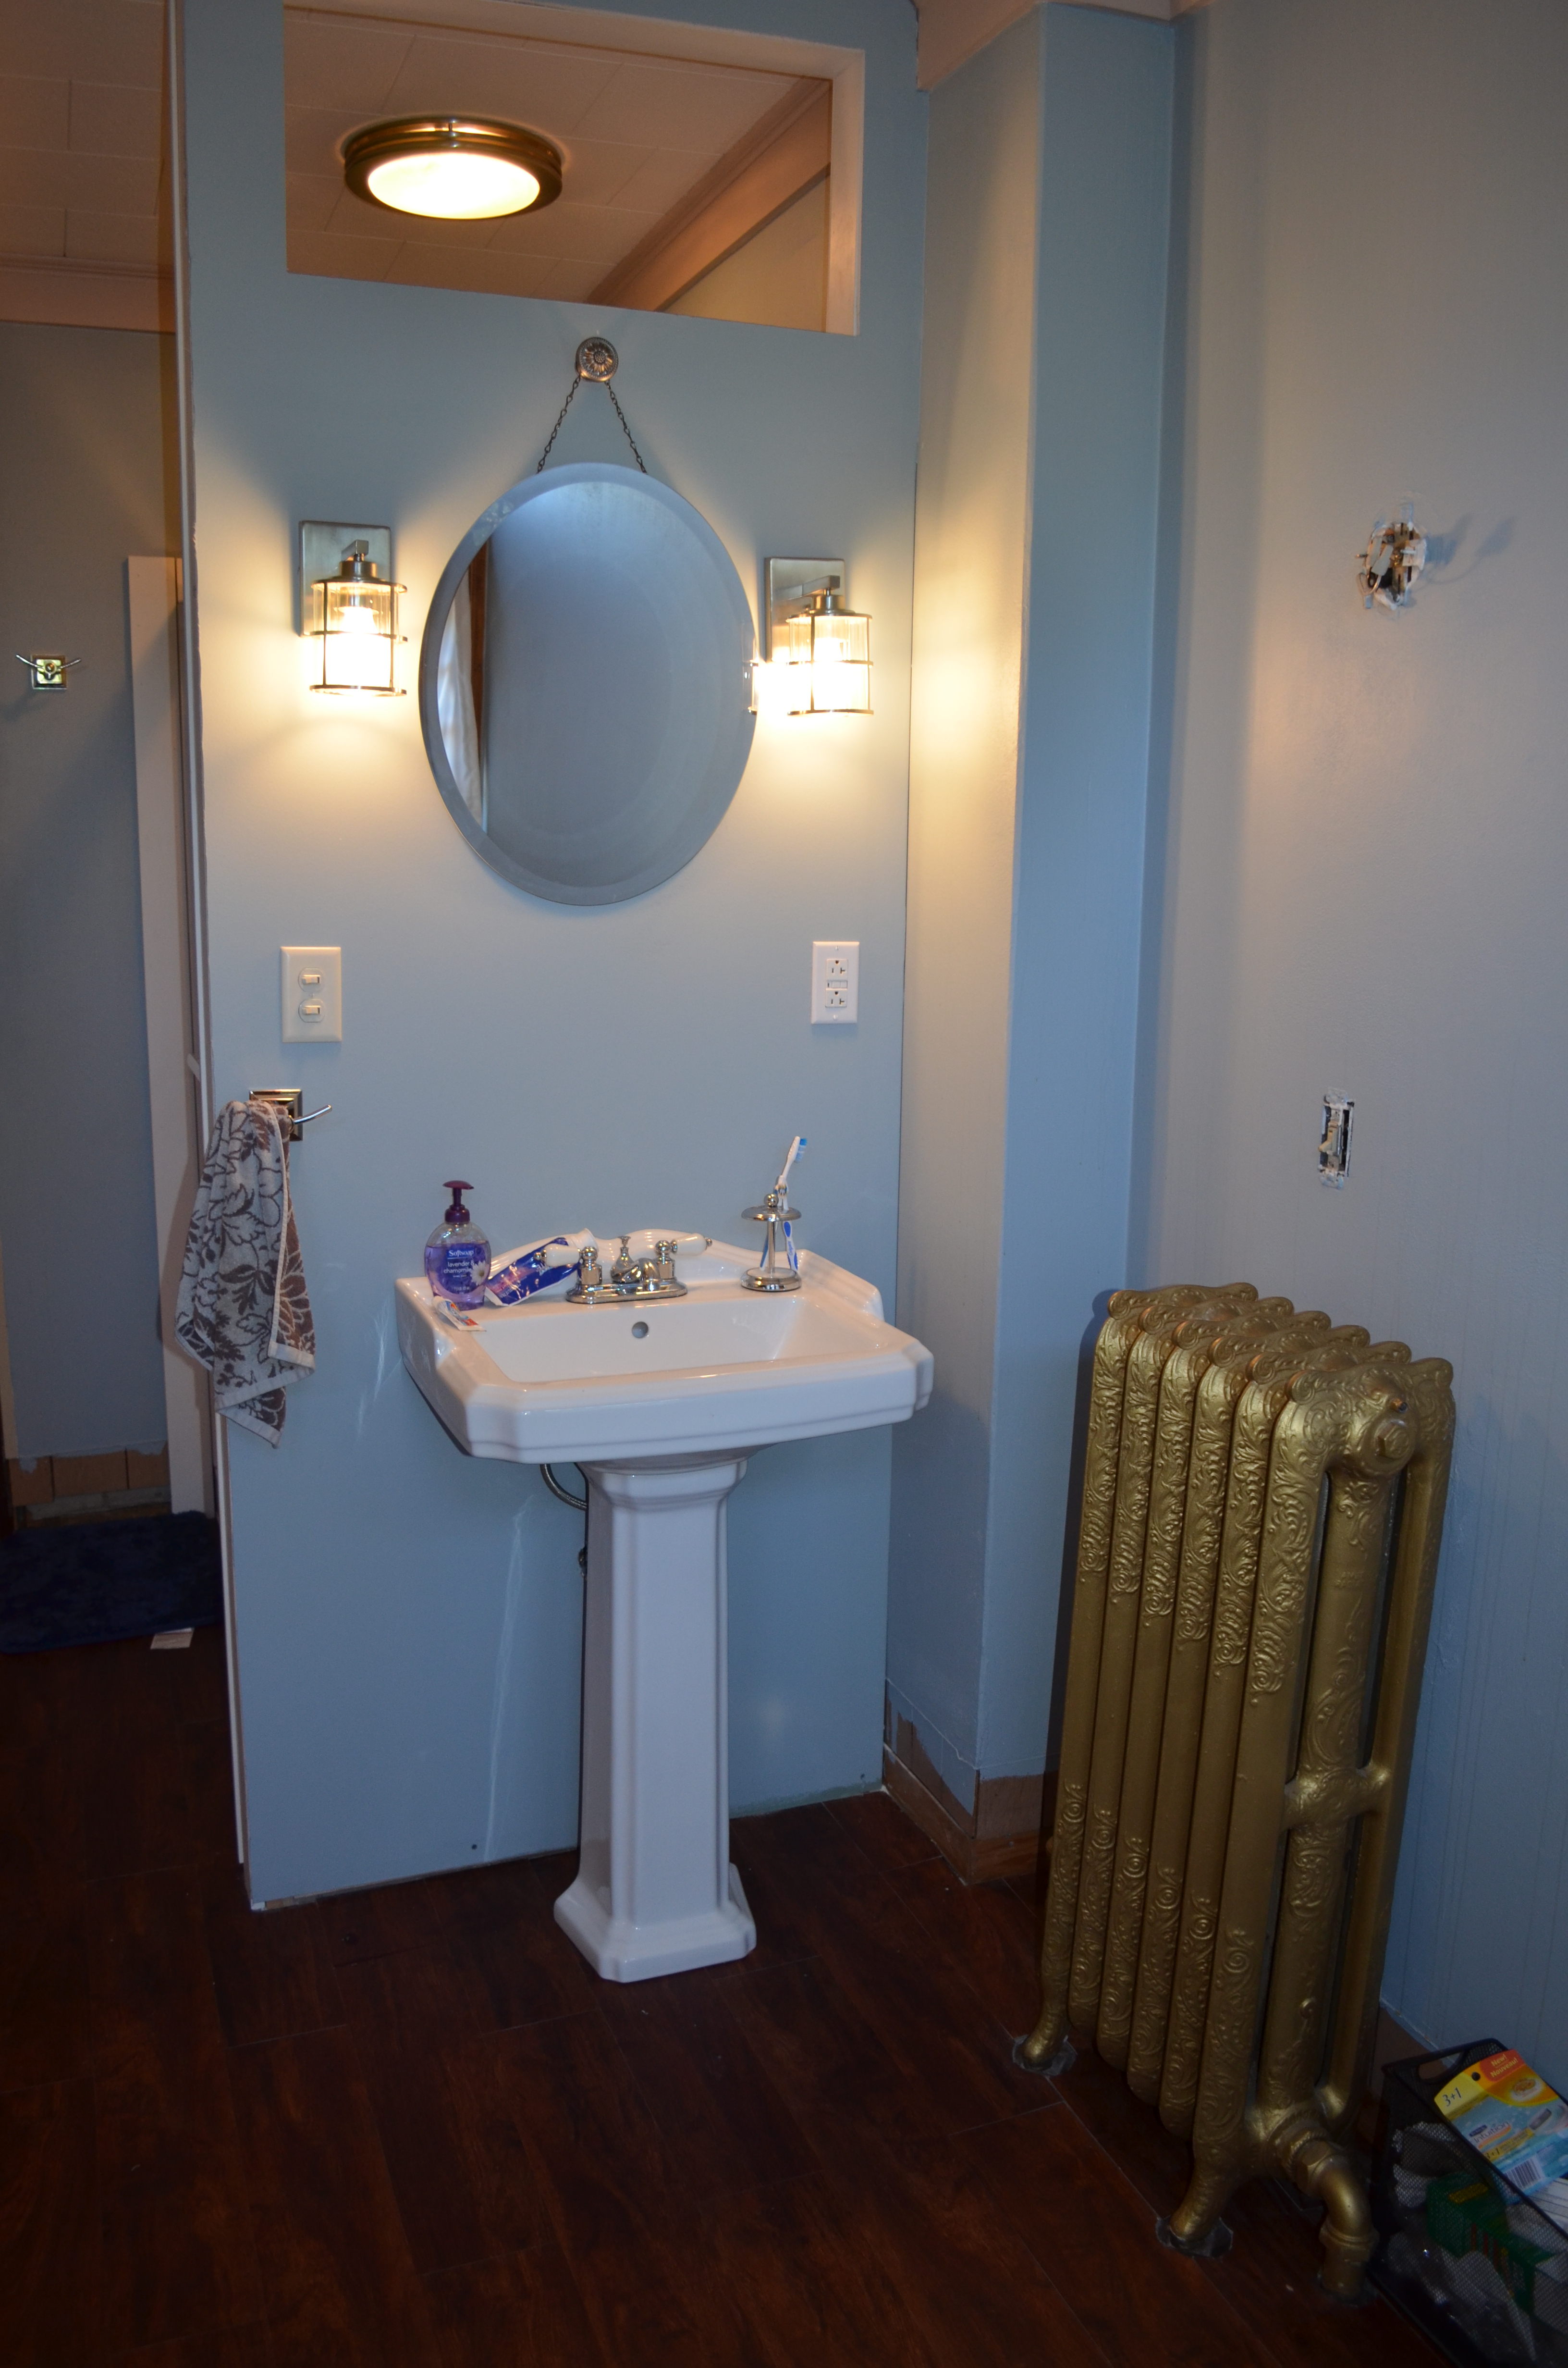
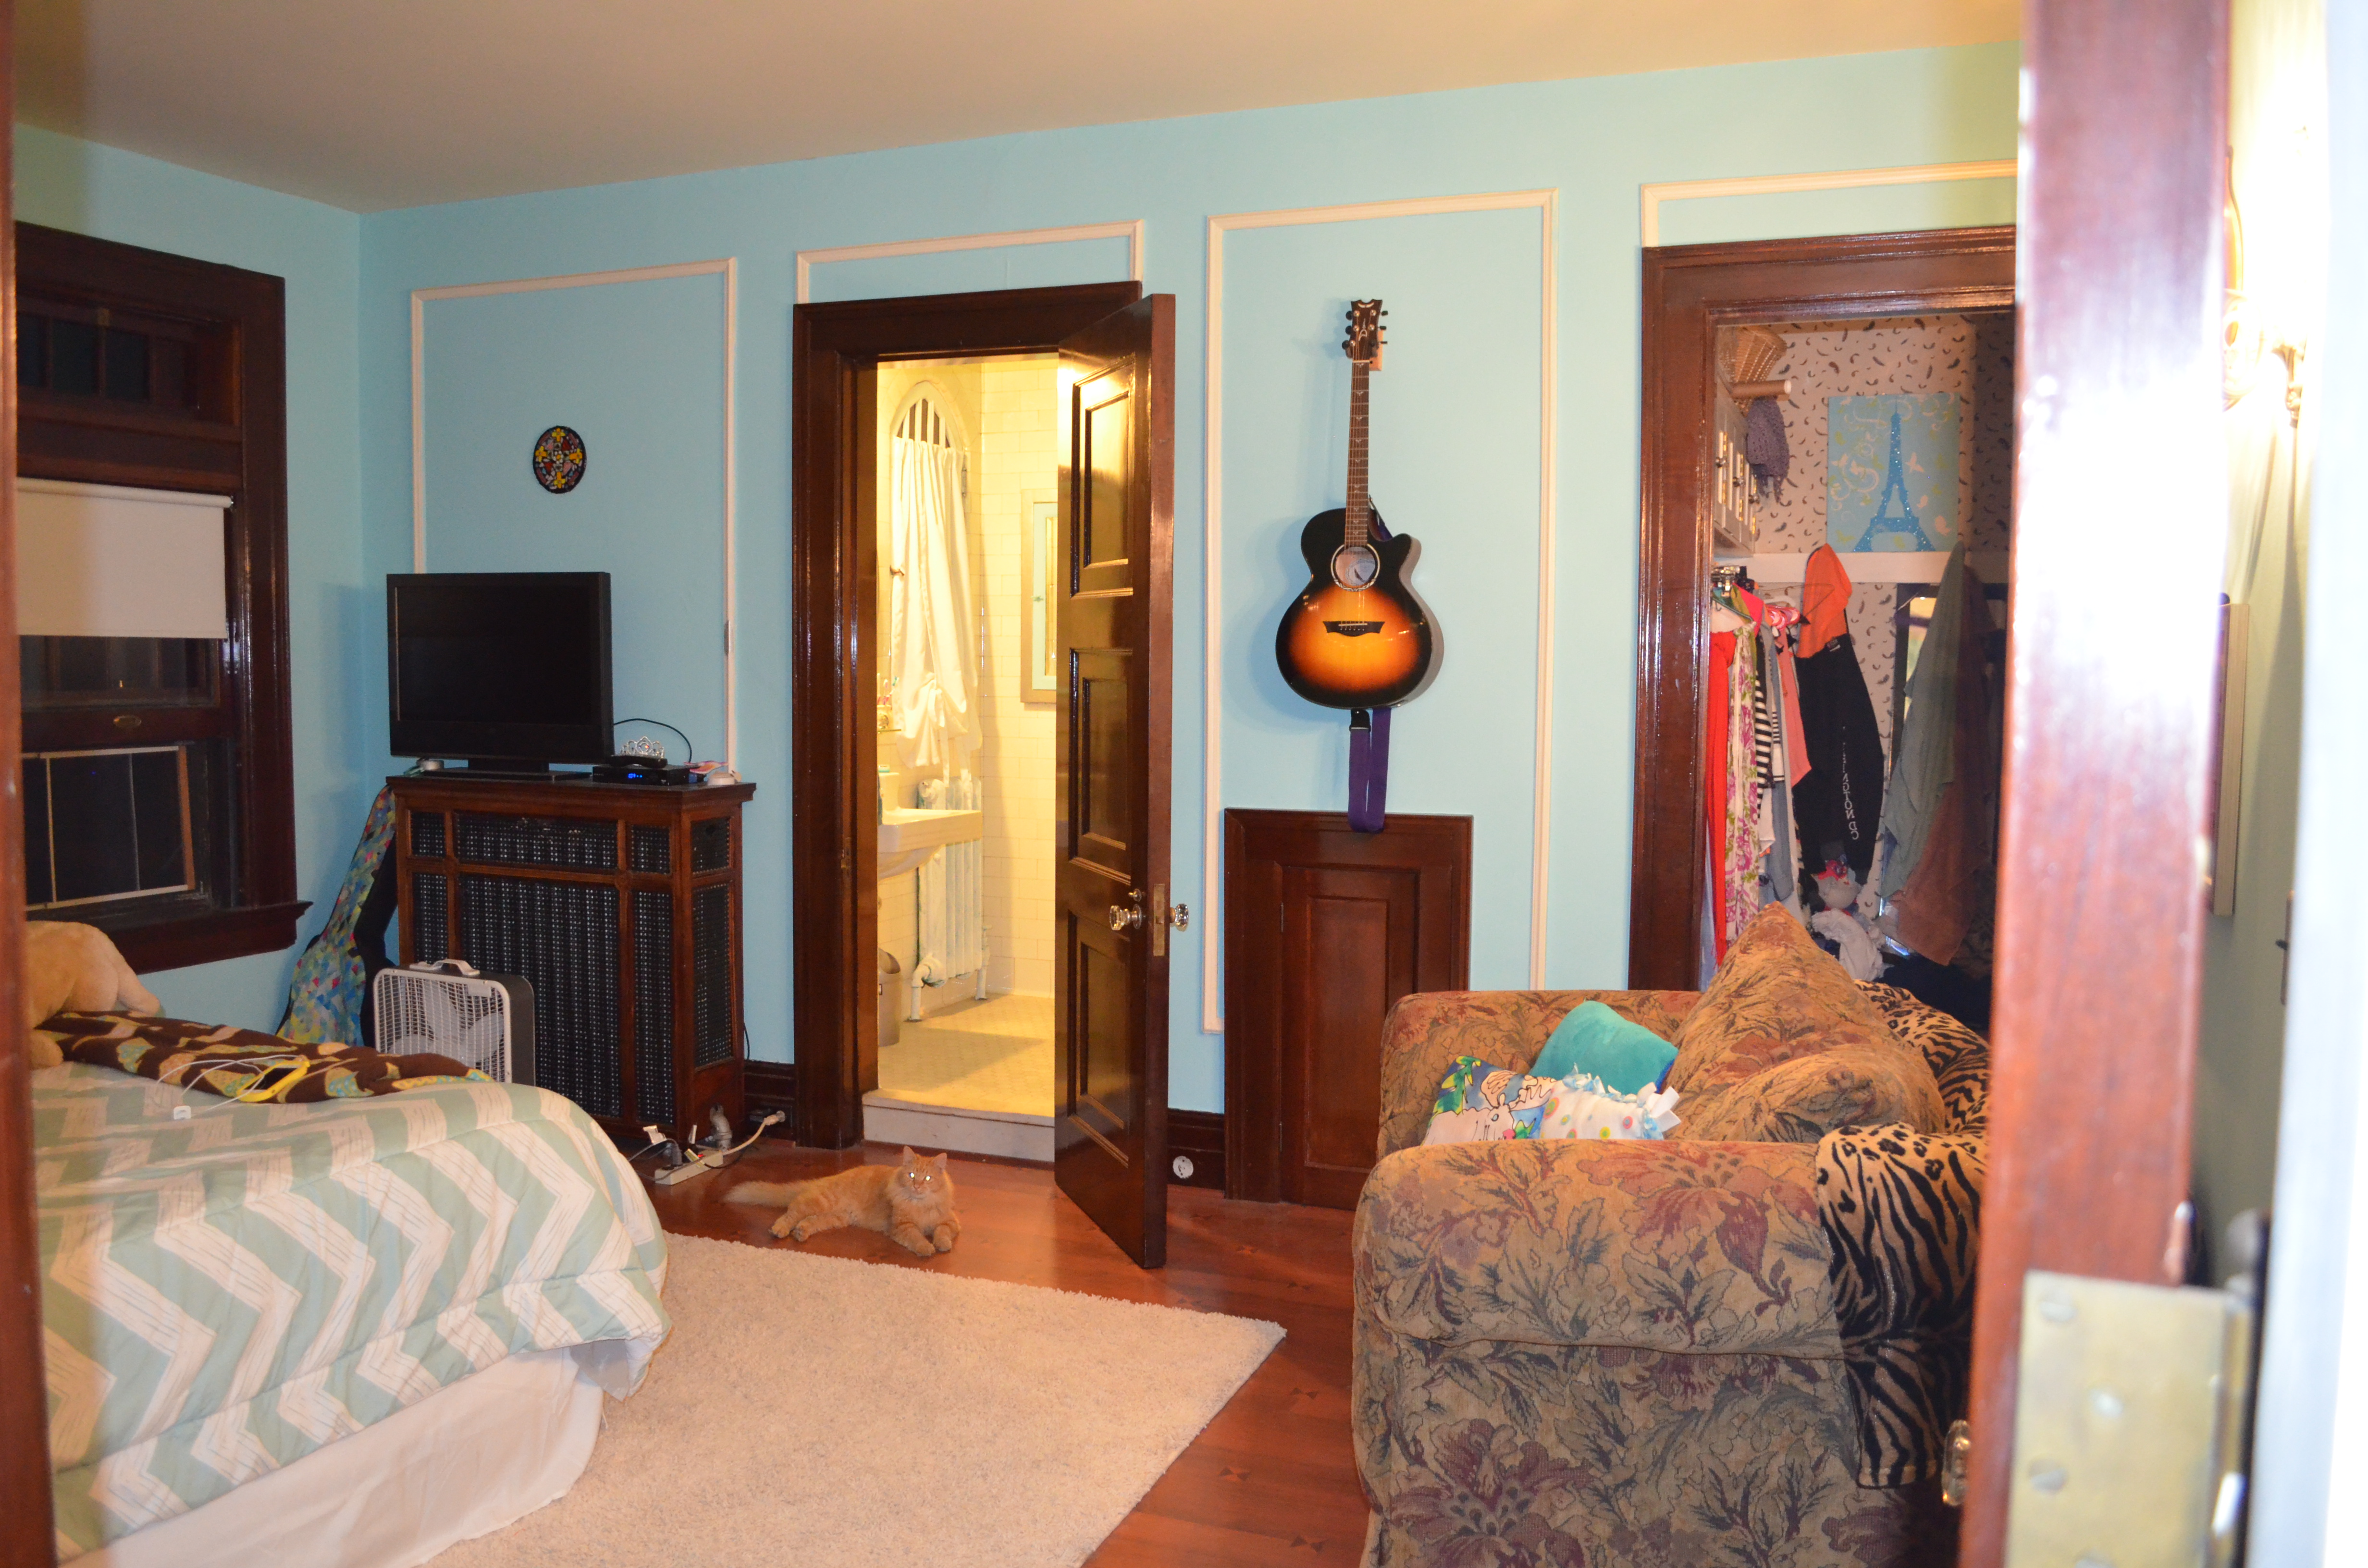
The master bath is currently the only nonfunctioning bathroom in the house. Well, other than the horrible 1940 RV bathroom on the third floor. That one we decided must just go away. All of it. We will talk about that when we eventually get up to the third floor.
The master has some issues. Major issues. We were unable to get water to the shower. The shower pipes were sandwiched between the nearly one inch thick marble shower walls and a chimney. The only way to access them was removing the marble. We also discovered the shower had been leaking into the music room. For years. Maybe decades. With more research we determined the ceiling damage was due to a leaking shower pan and not roof damage. The original marble shower was going to have to come out. I was not entirely unhappy with this. The shower was a small marble cave. Floor, ceiling, walls…all marble. No lights and no vent. I am claustrophobic so the shower terrified me more than a little. I did not take a before picture I am sorry to say.
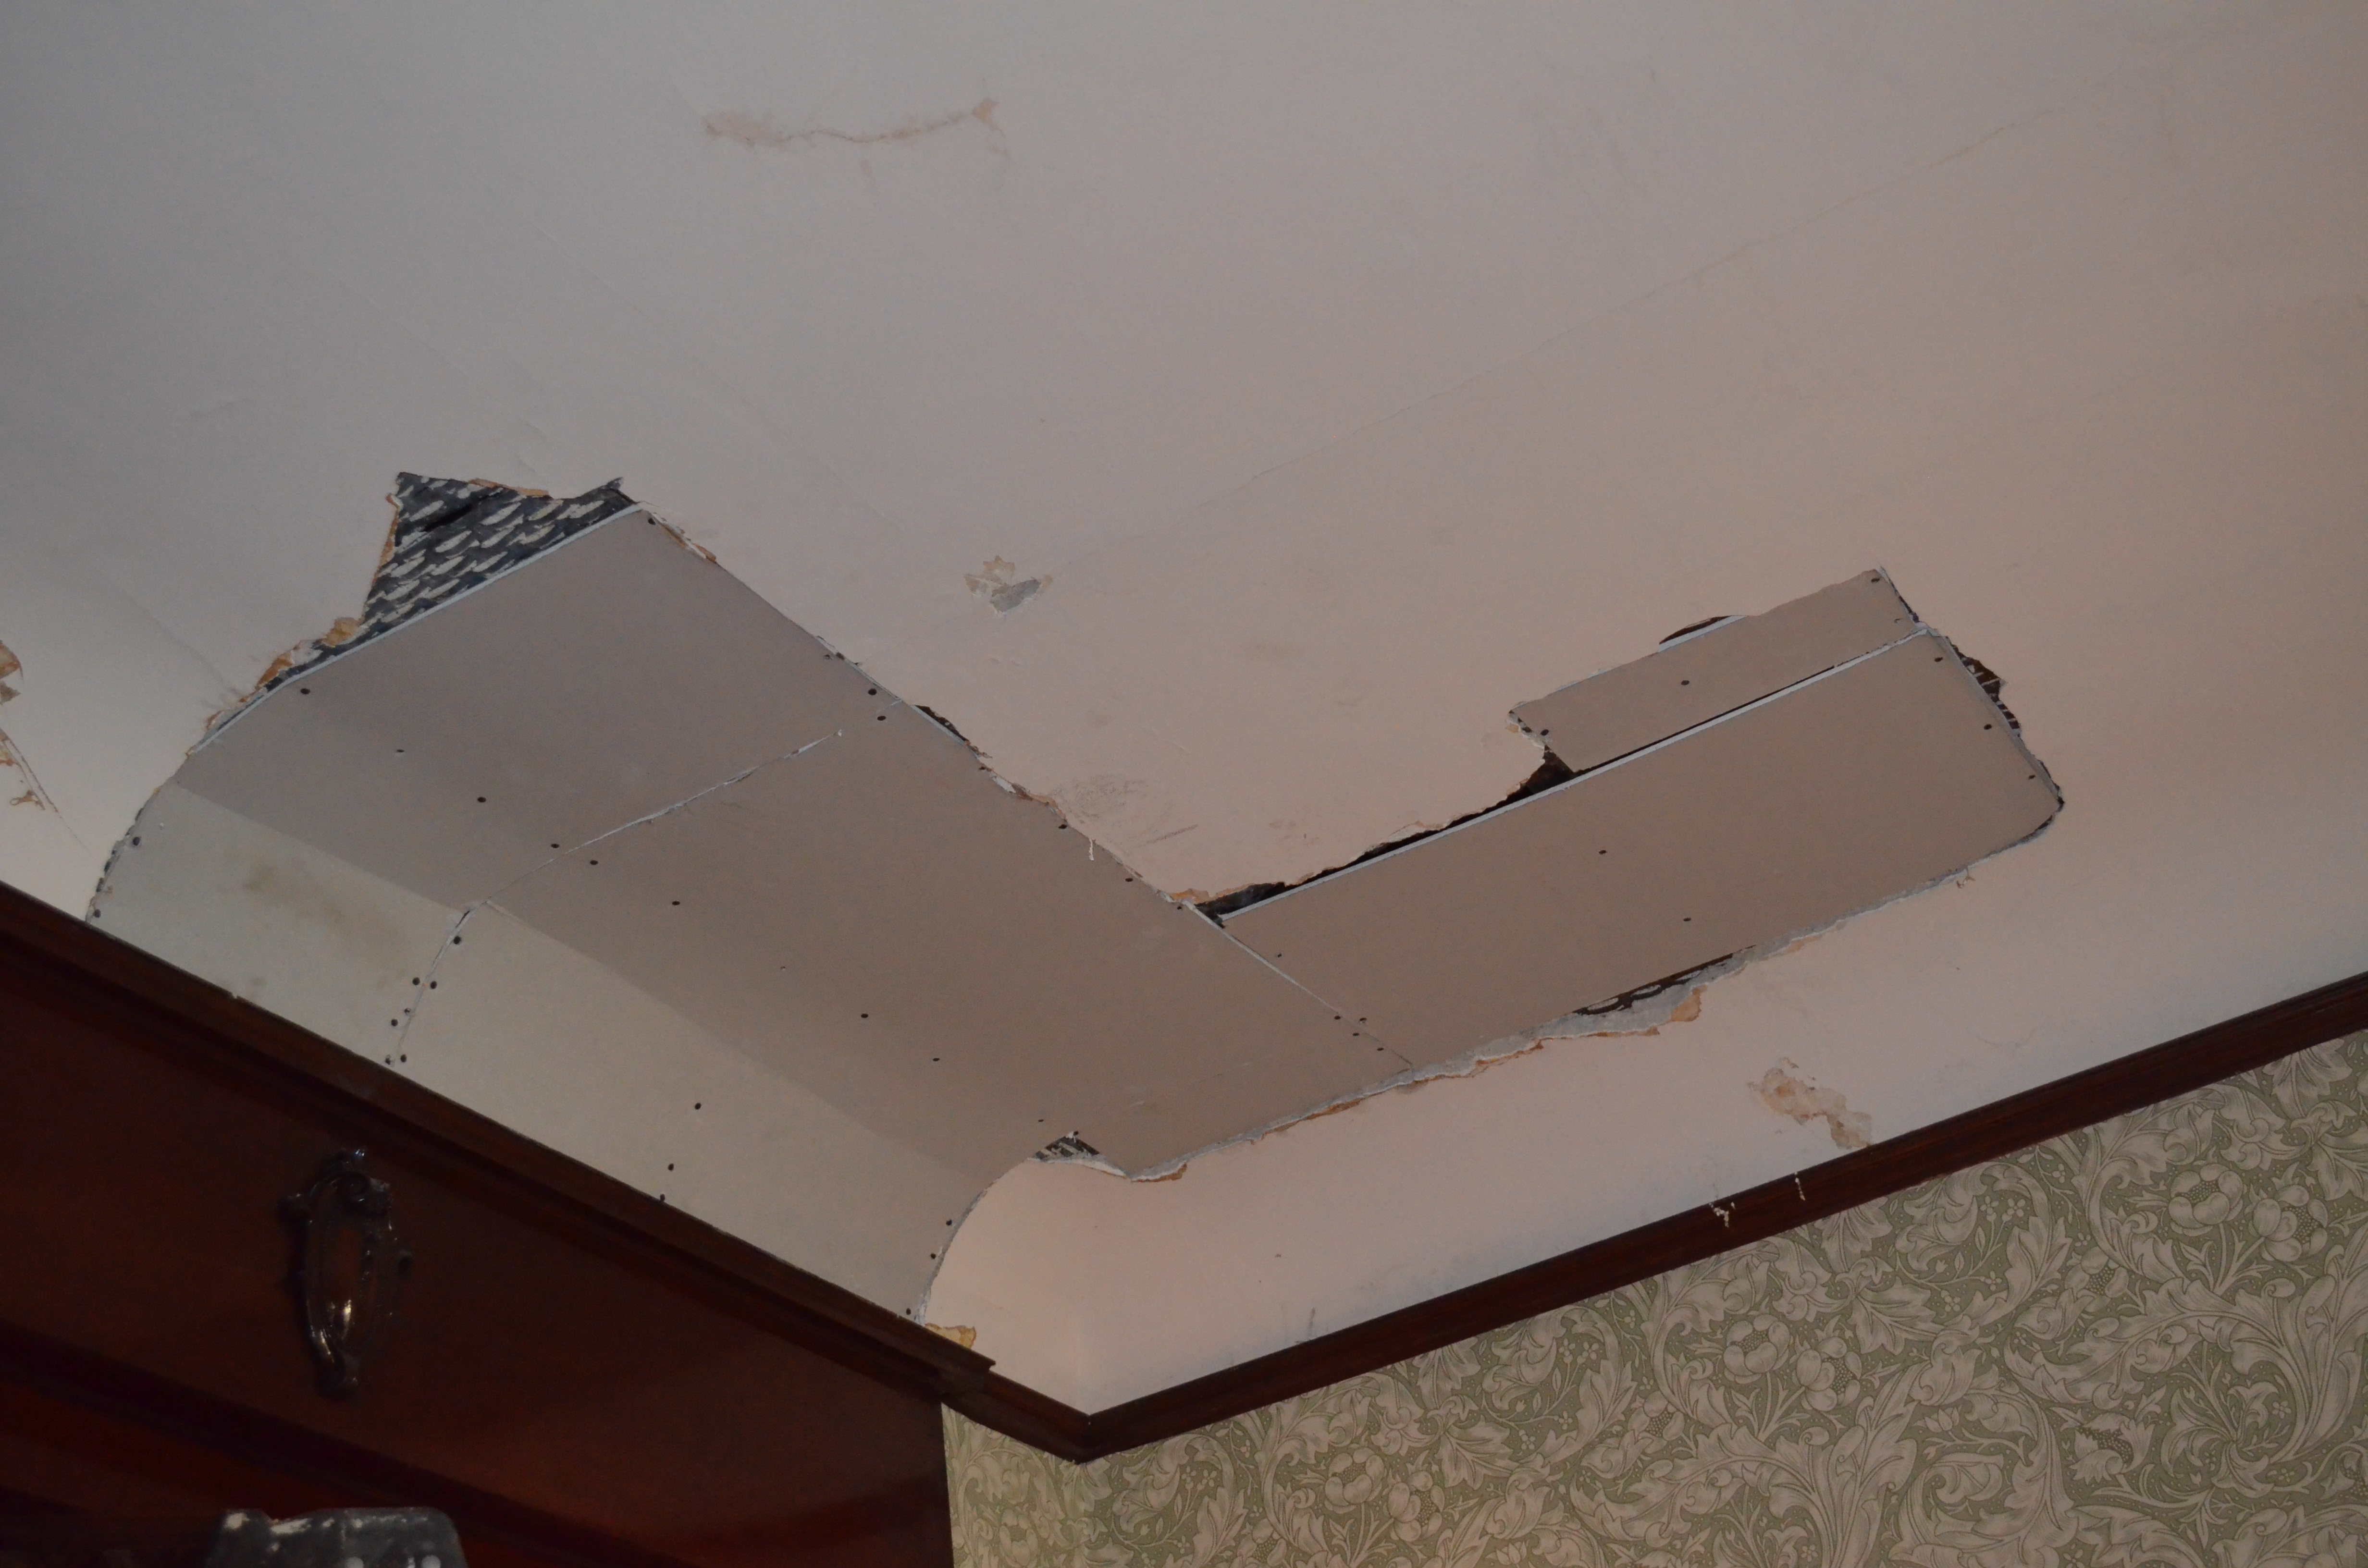
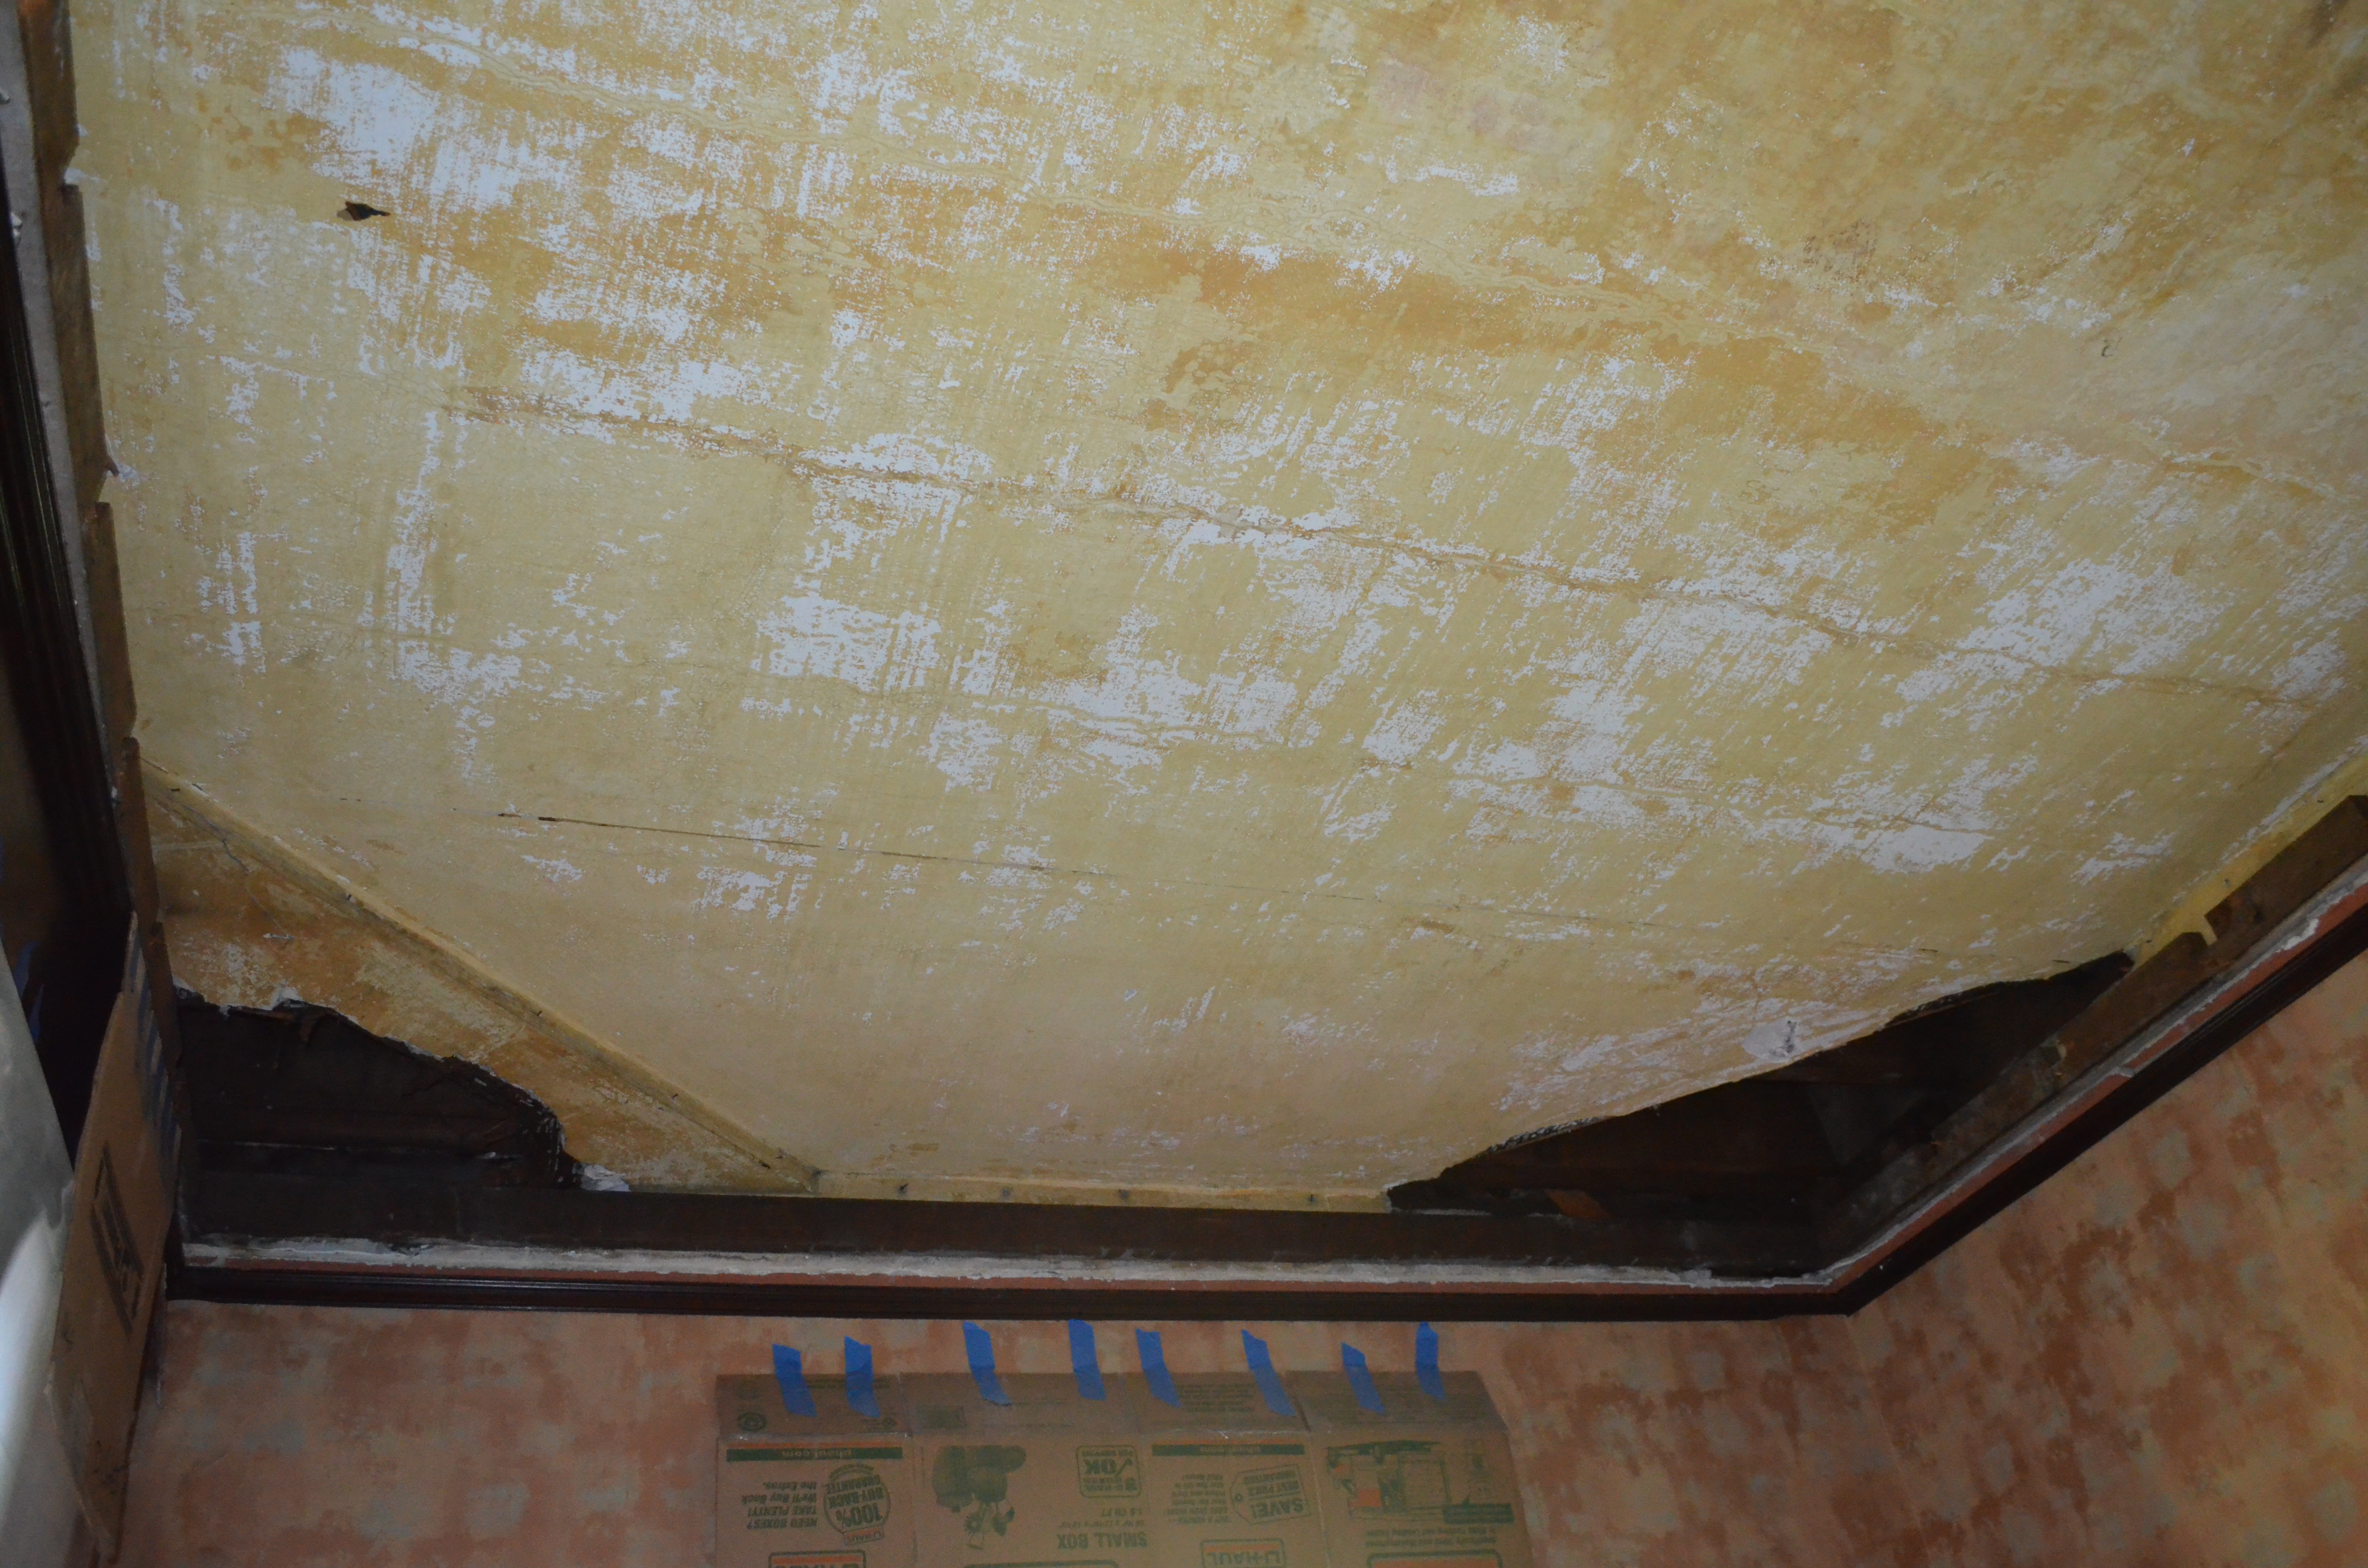
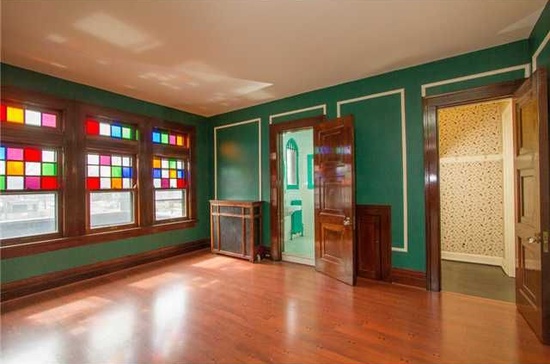
We opened up the music room ceiling. We knew the ceiling that was visible was not original and expected the music room to have been coved the same as the adjoining living room. We discovered however that the ceiling had been replaced several times. Rather than go after the leak, previous owners had just added a layer of drywall over the bad ceiling.
The project started with this:

And then this:

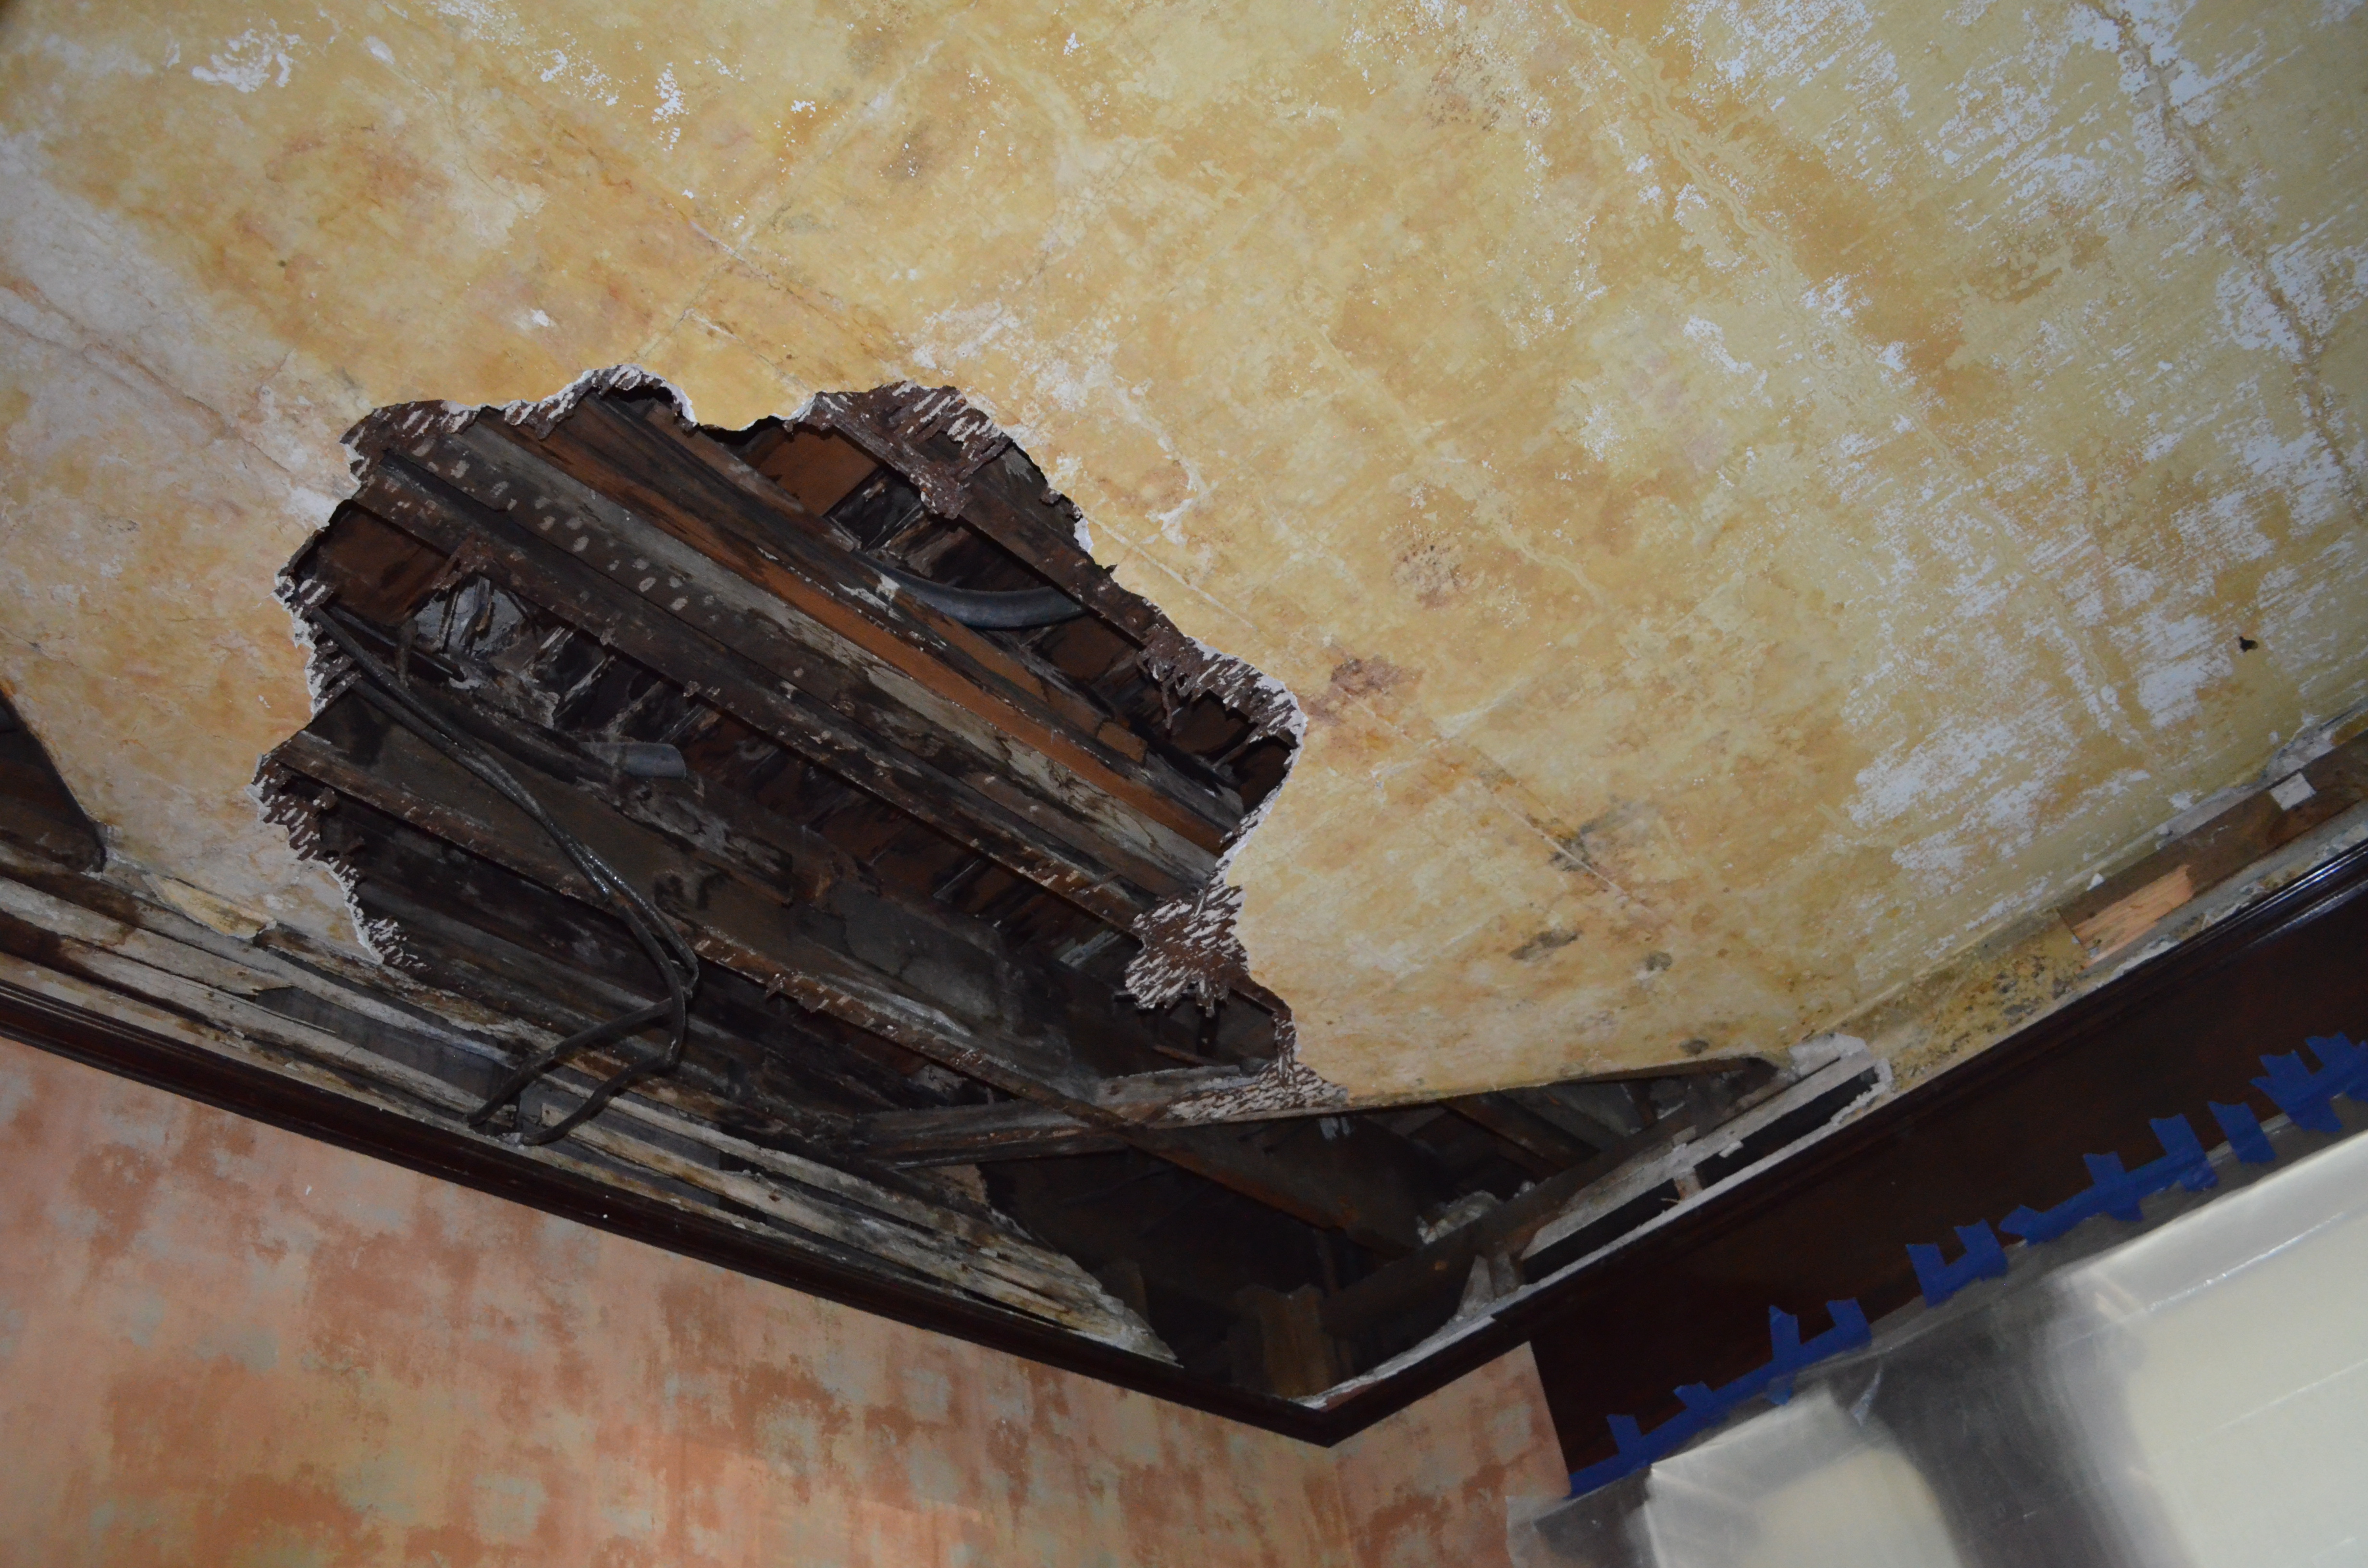
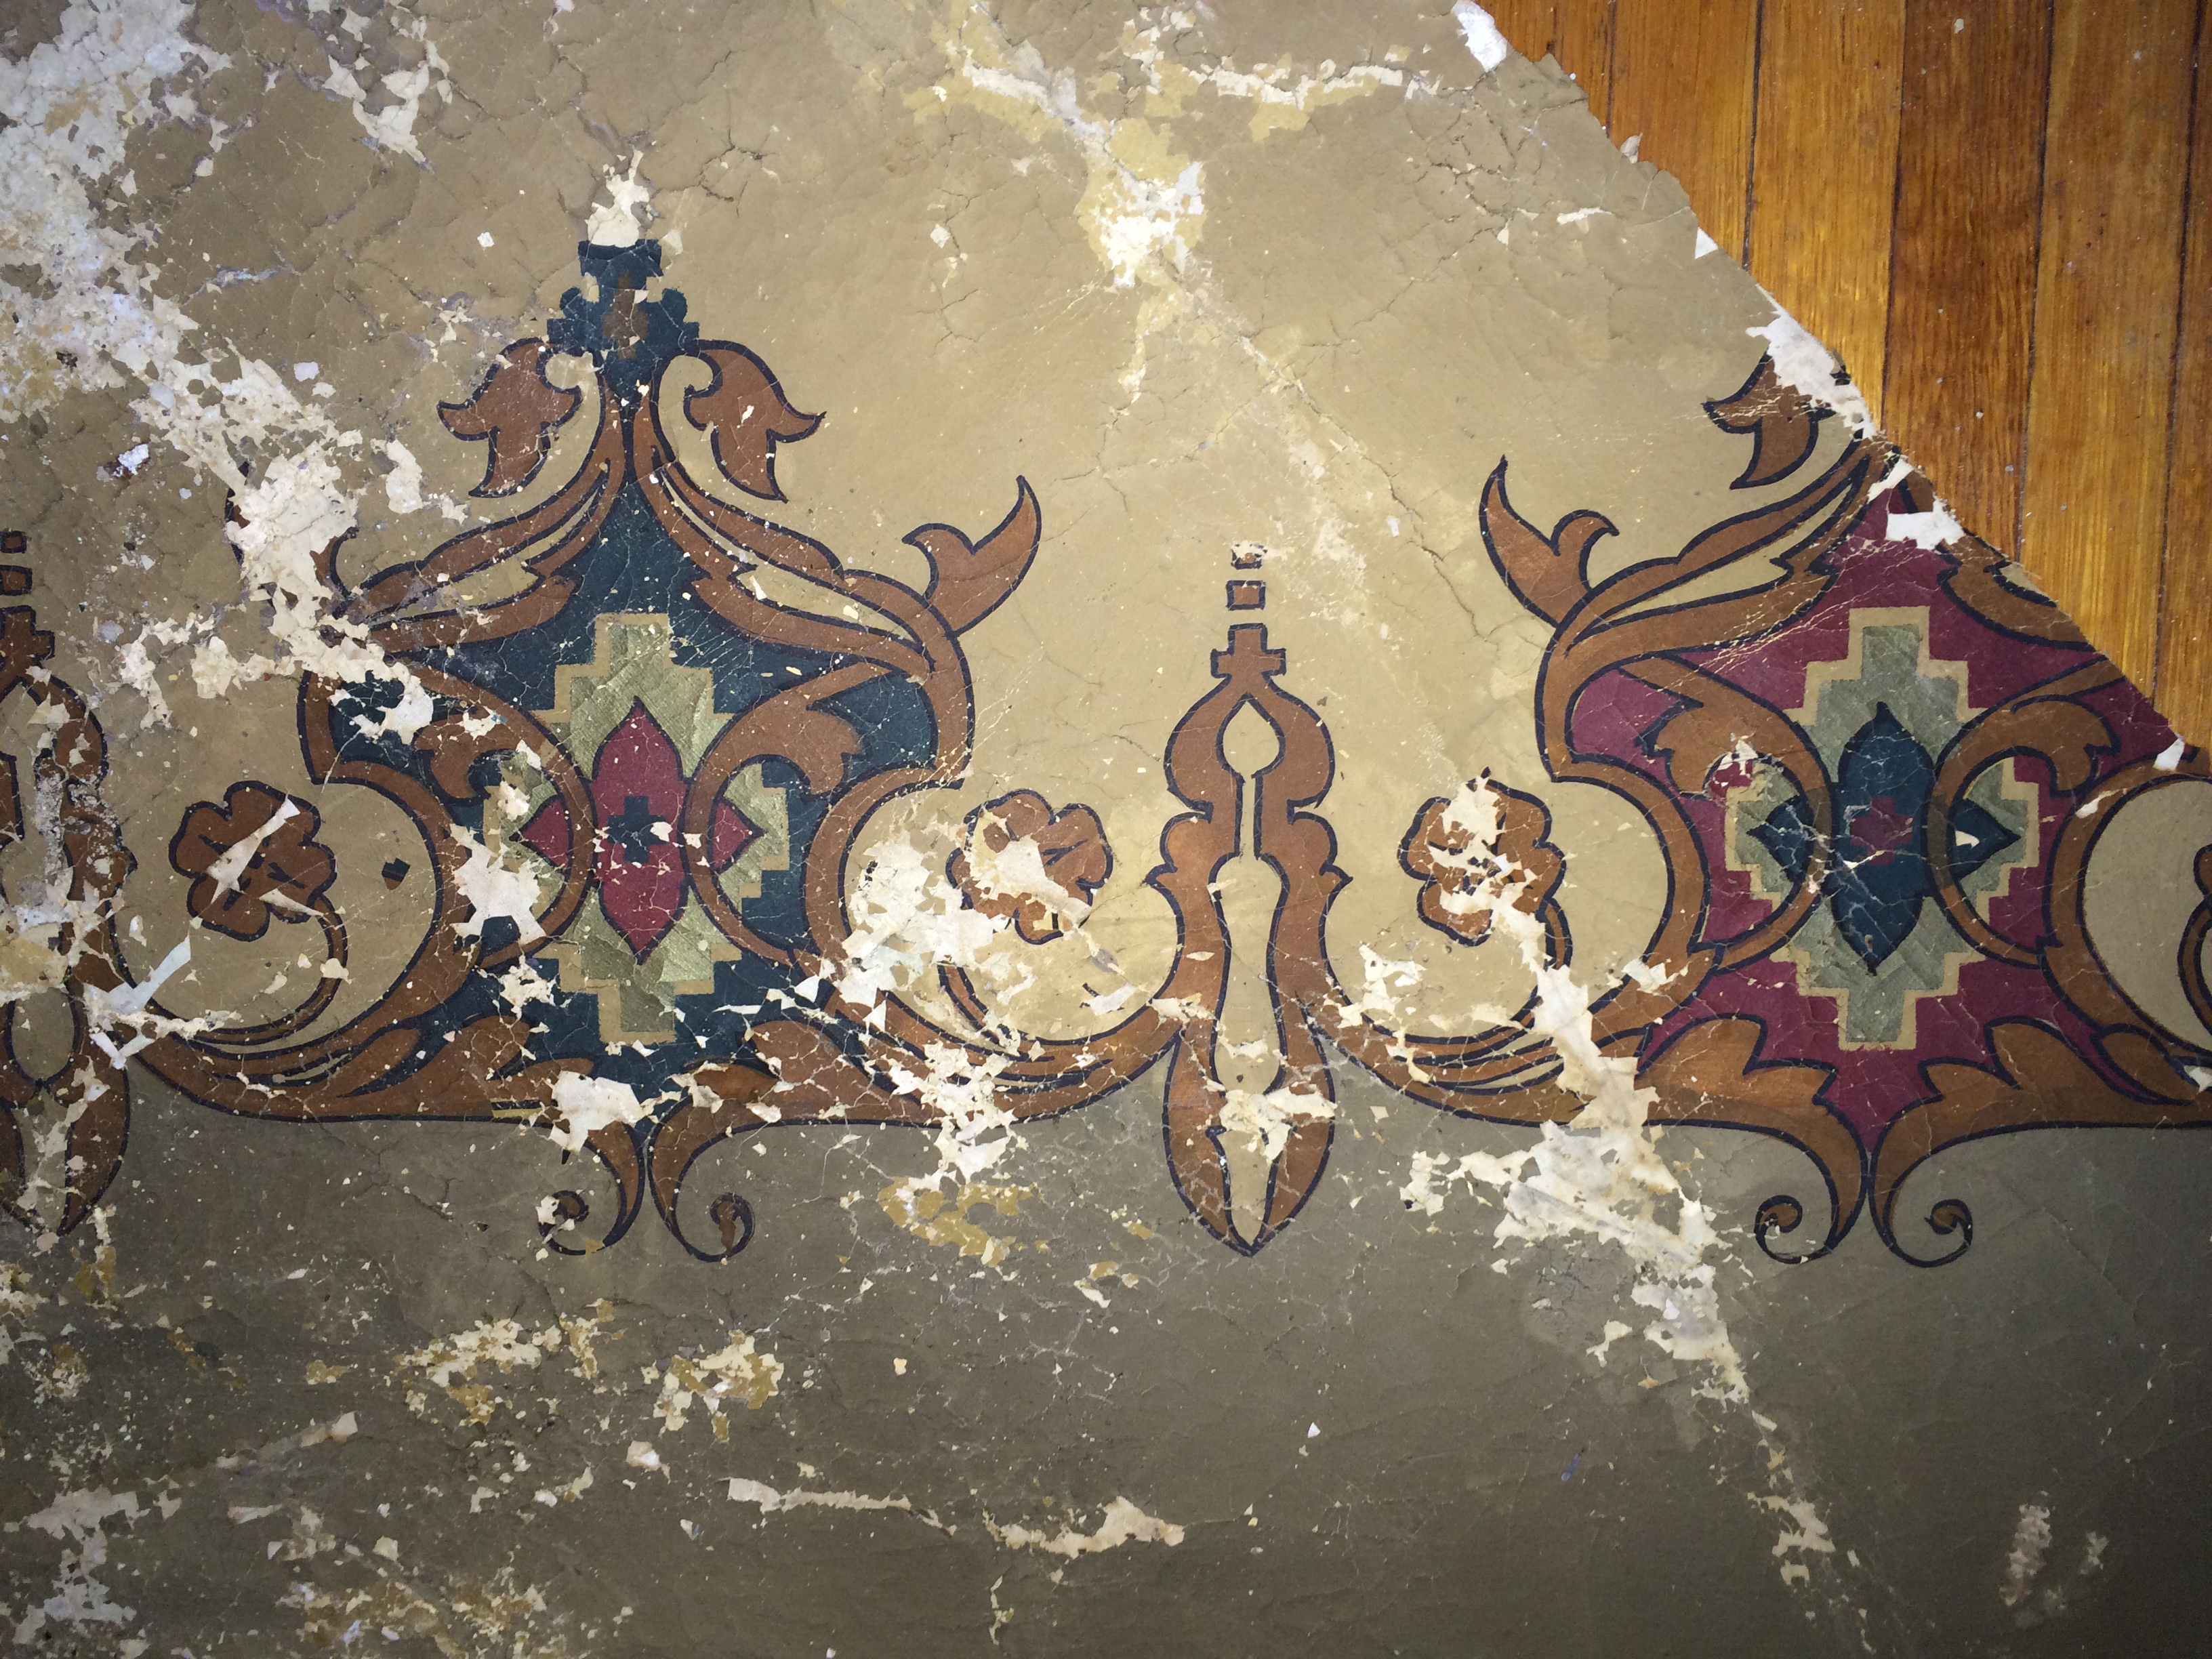
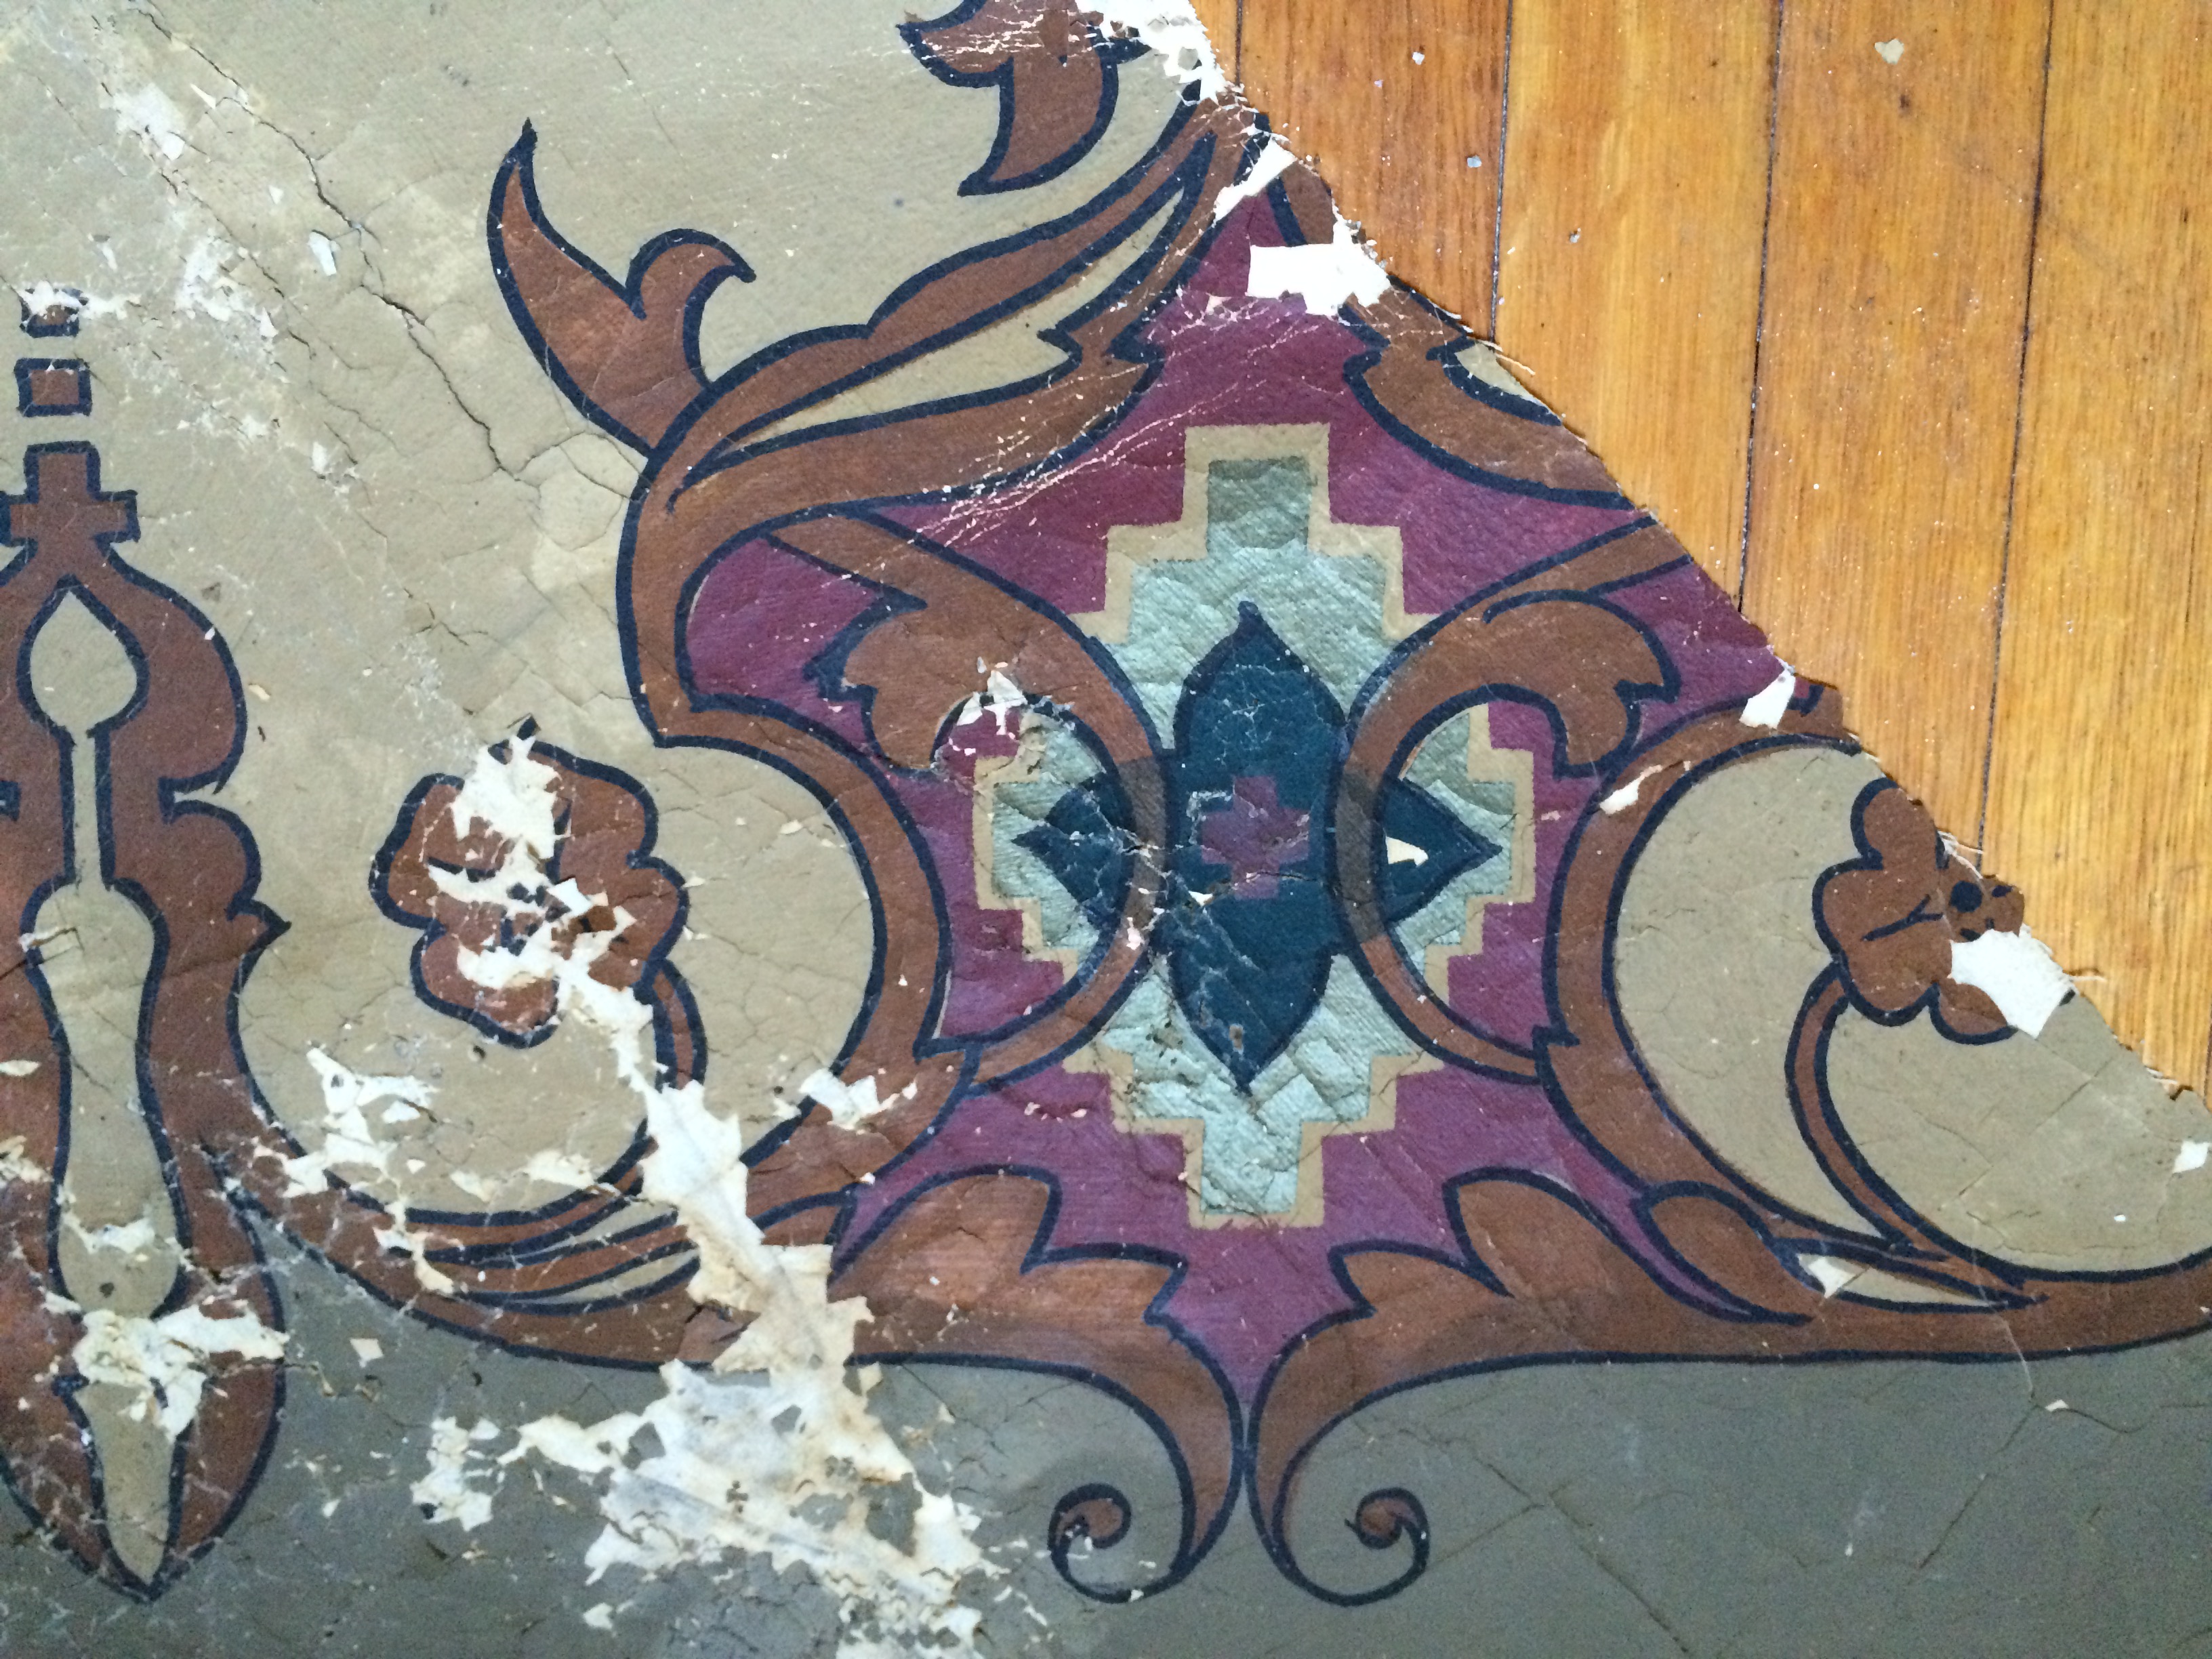
We found this!!:


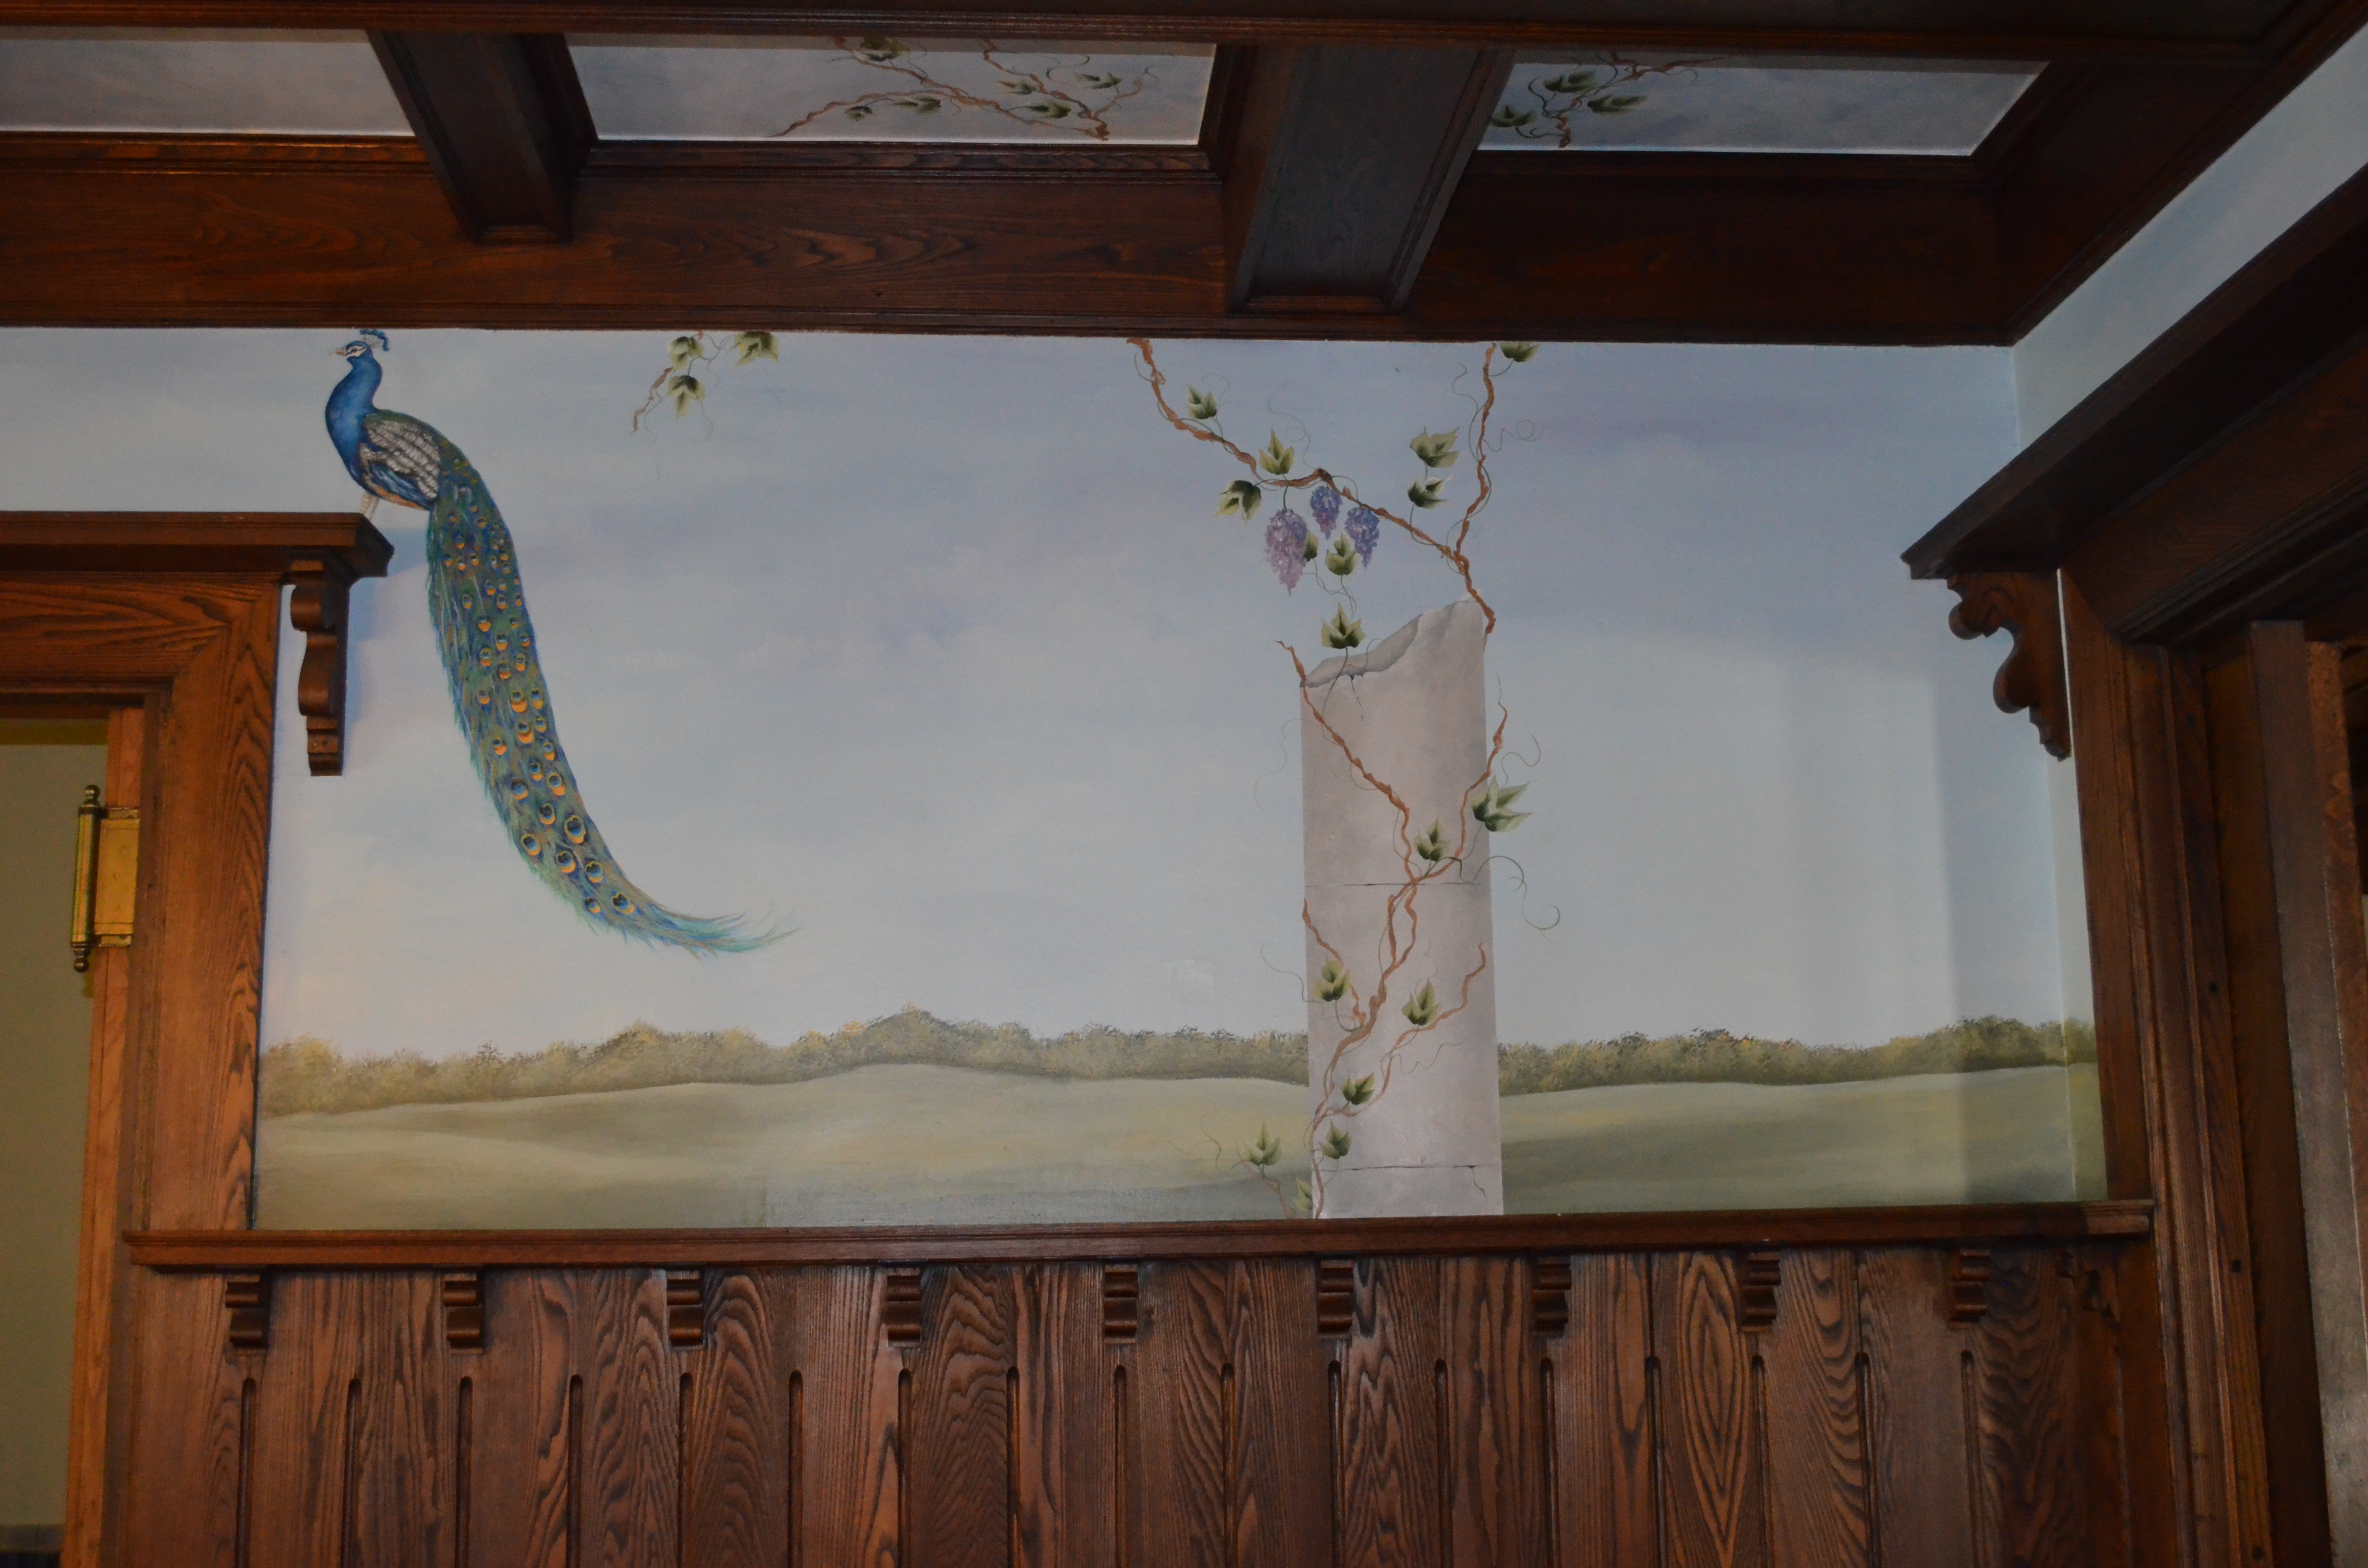
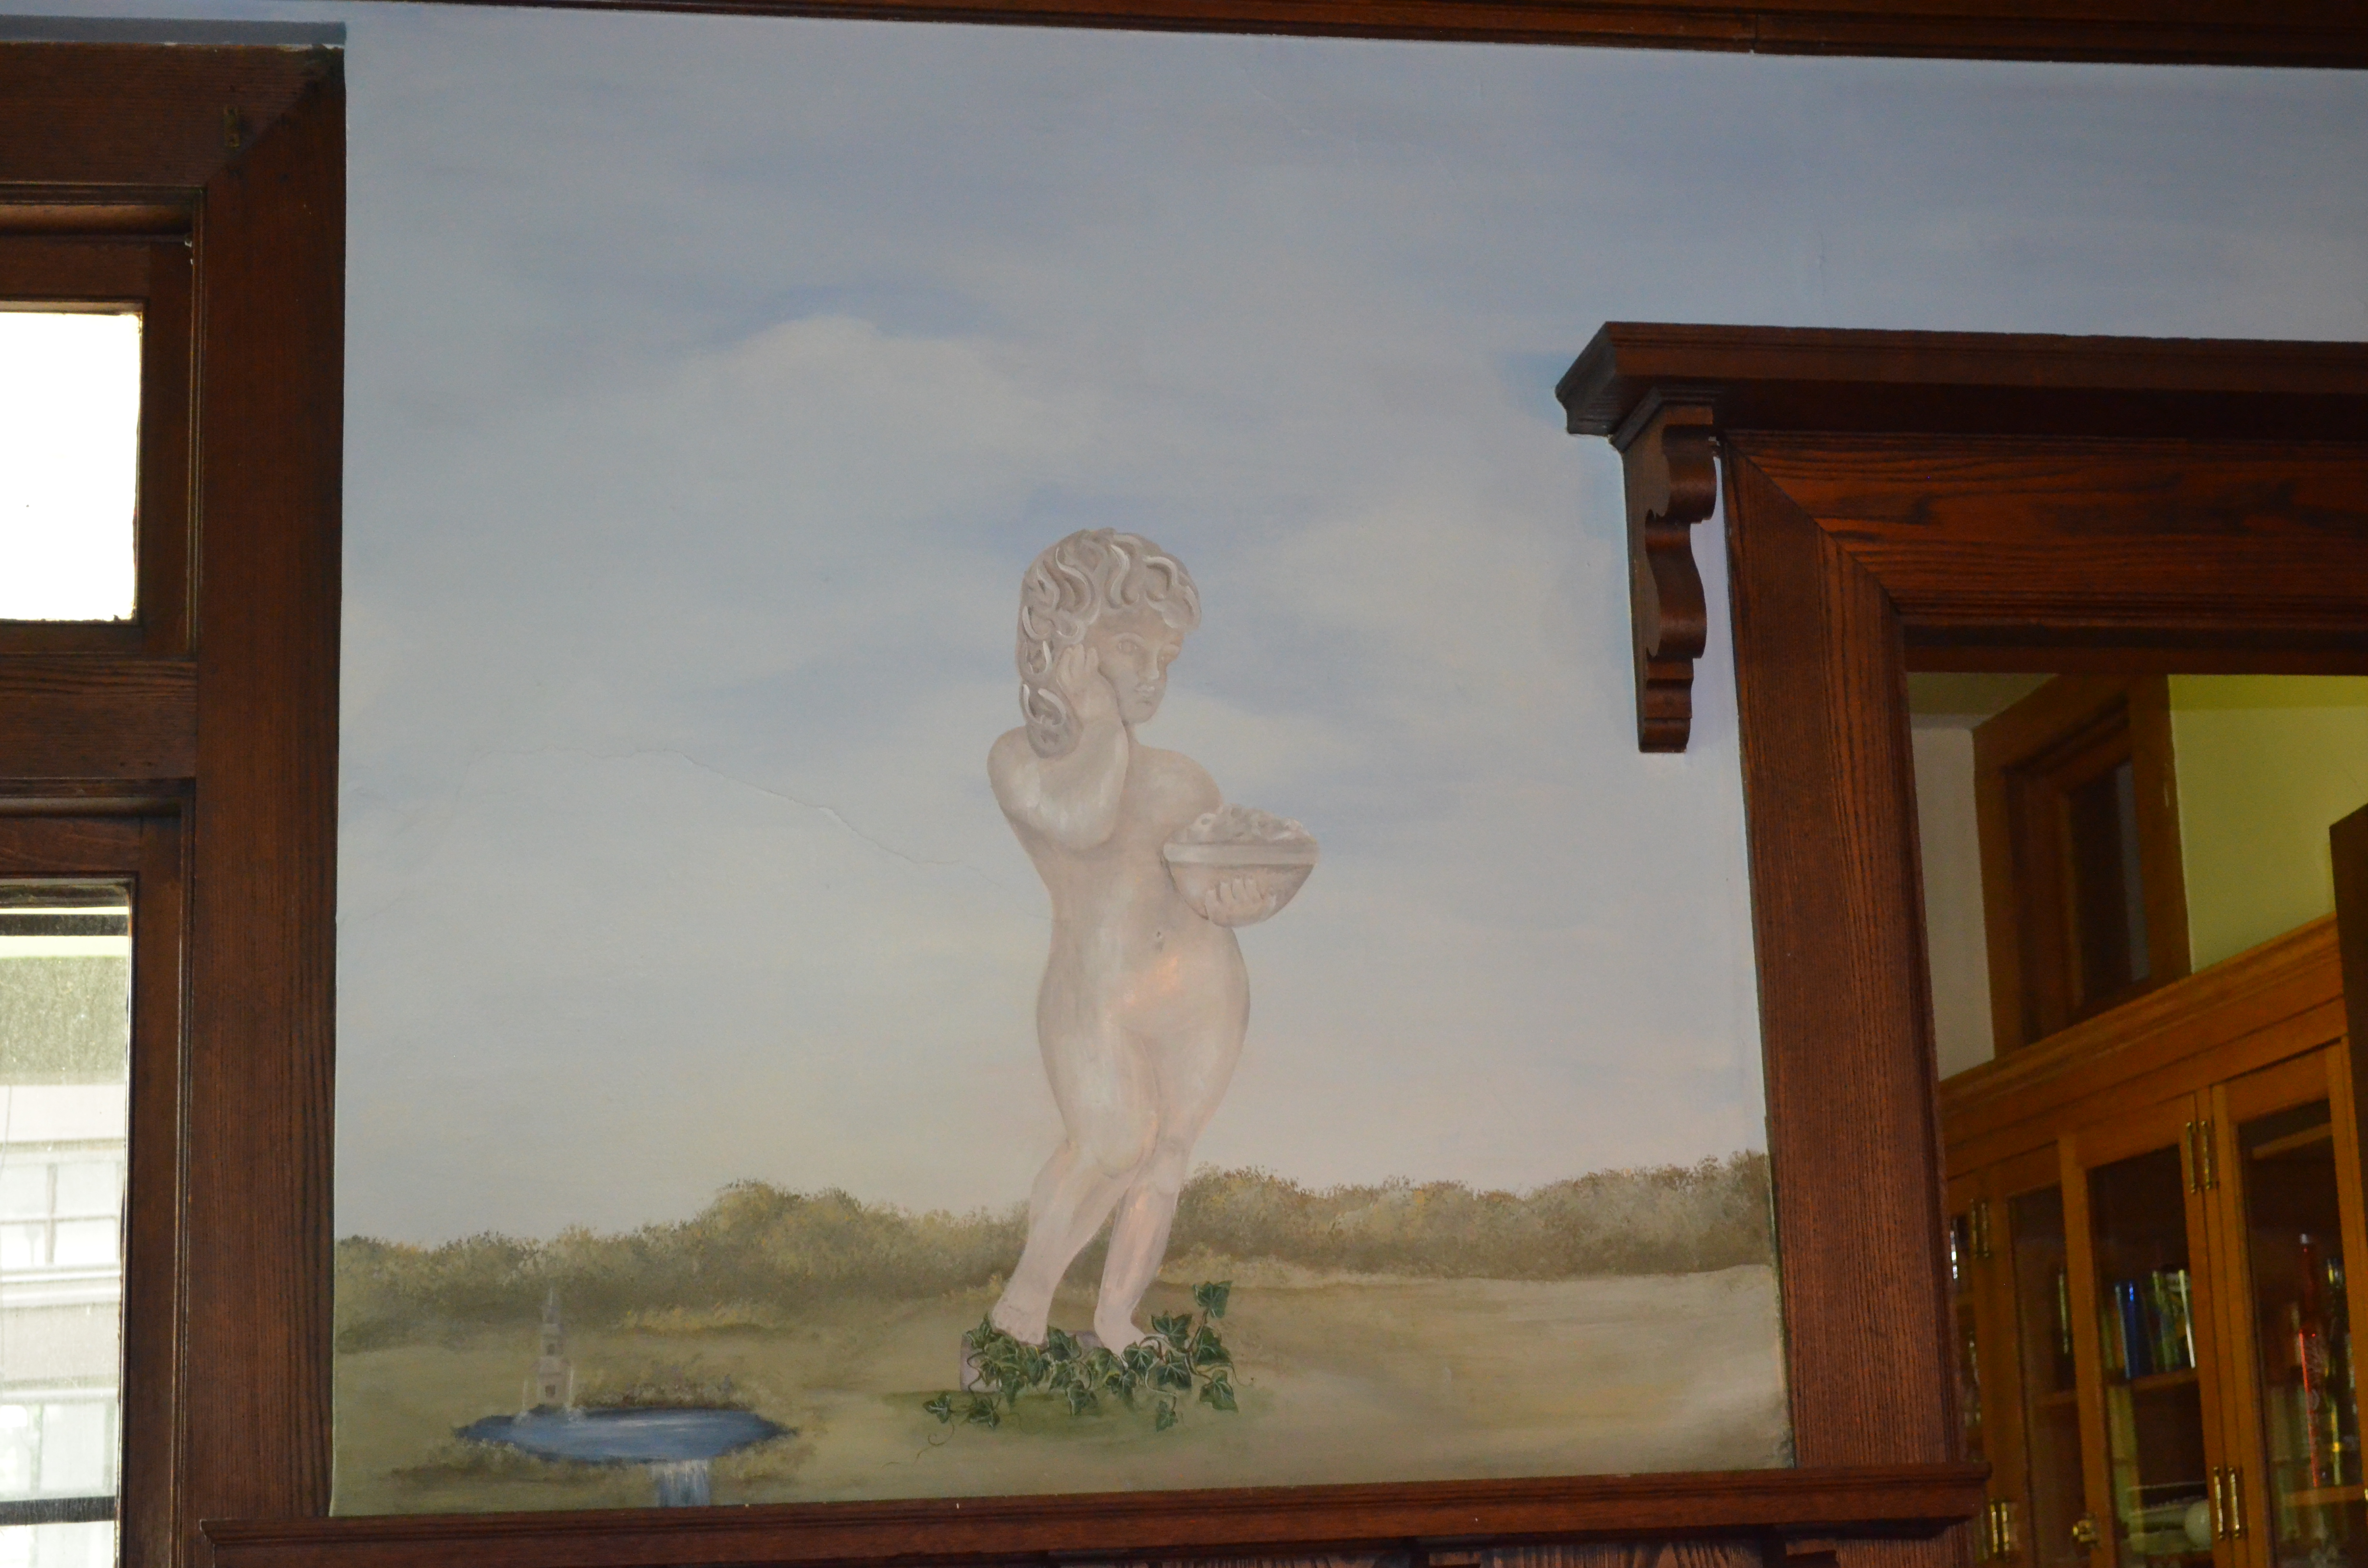
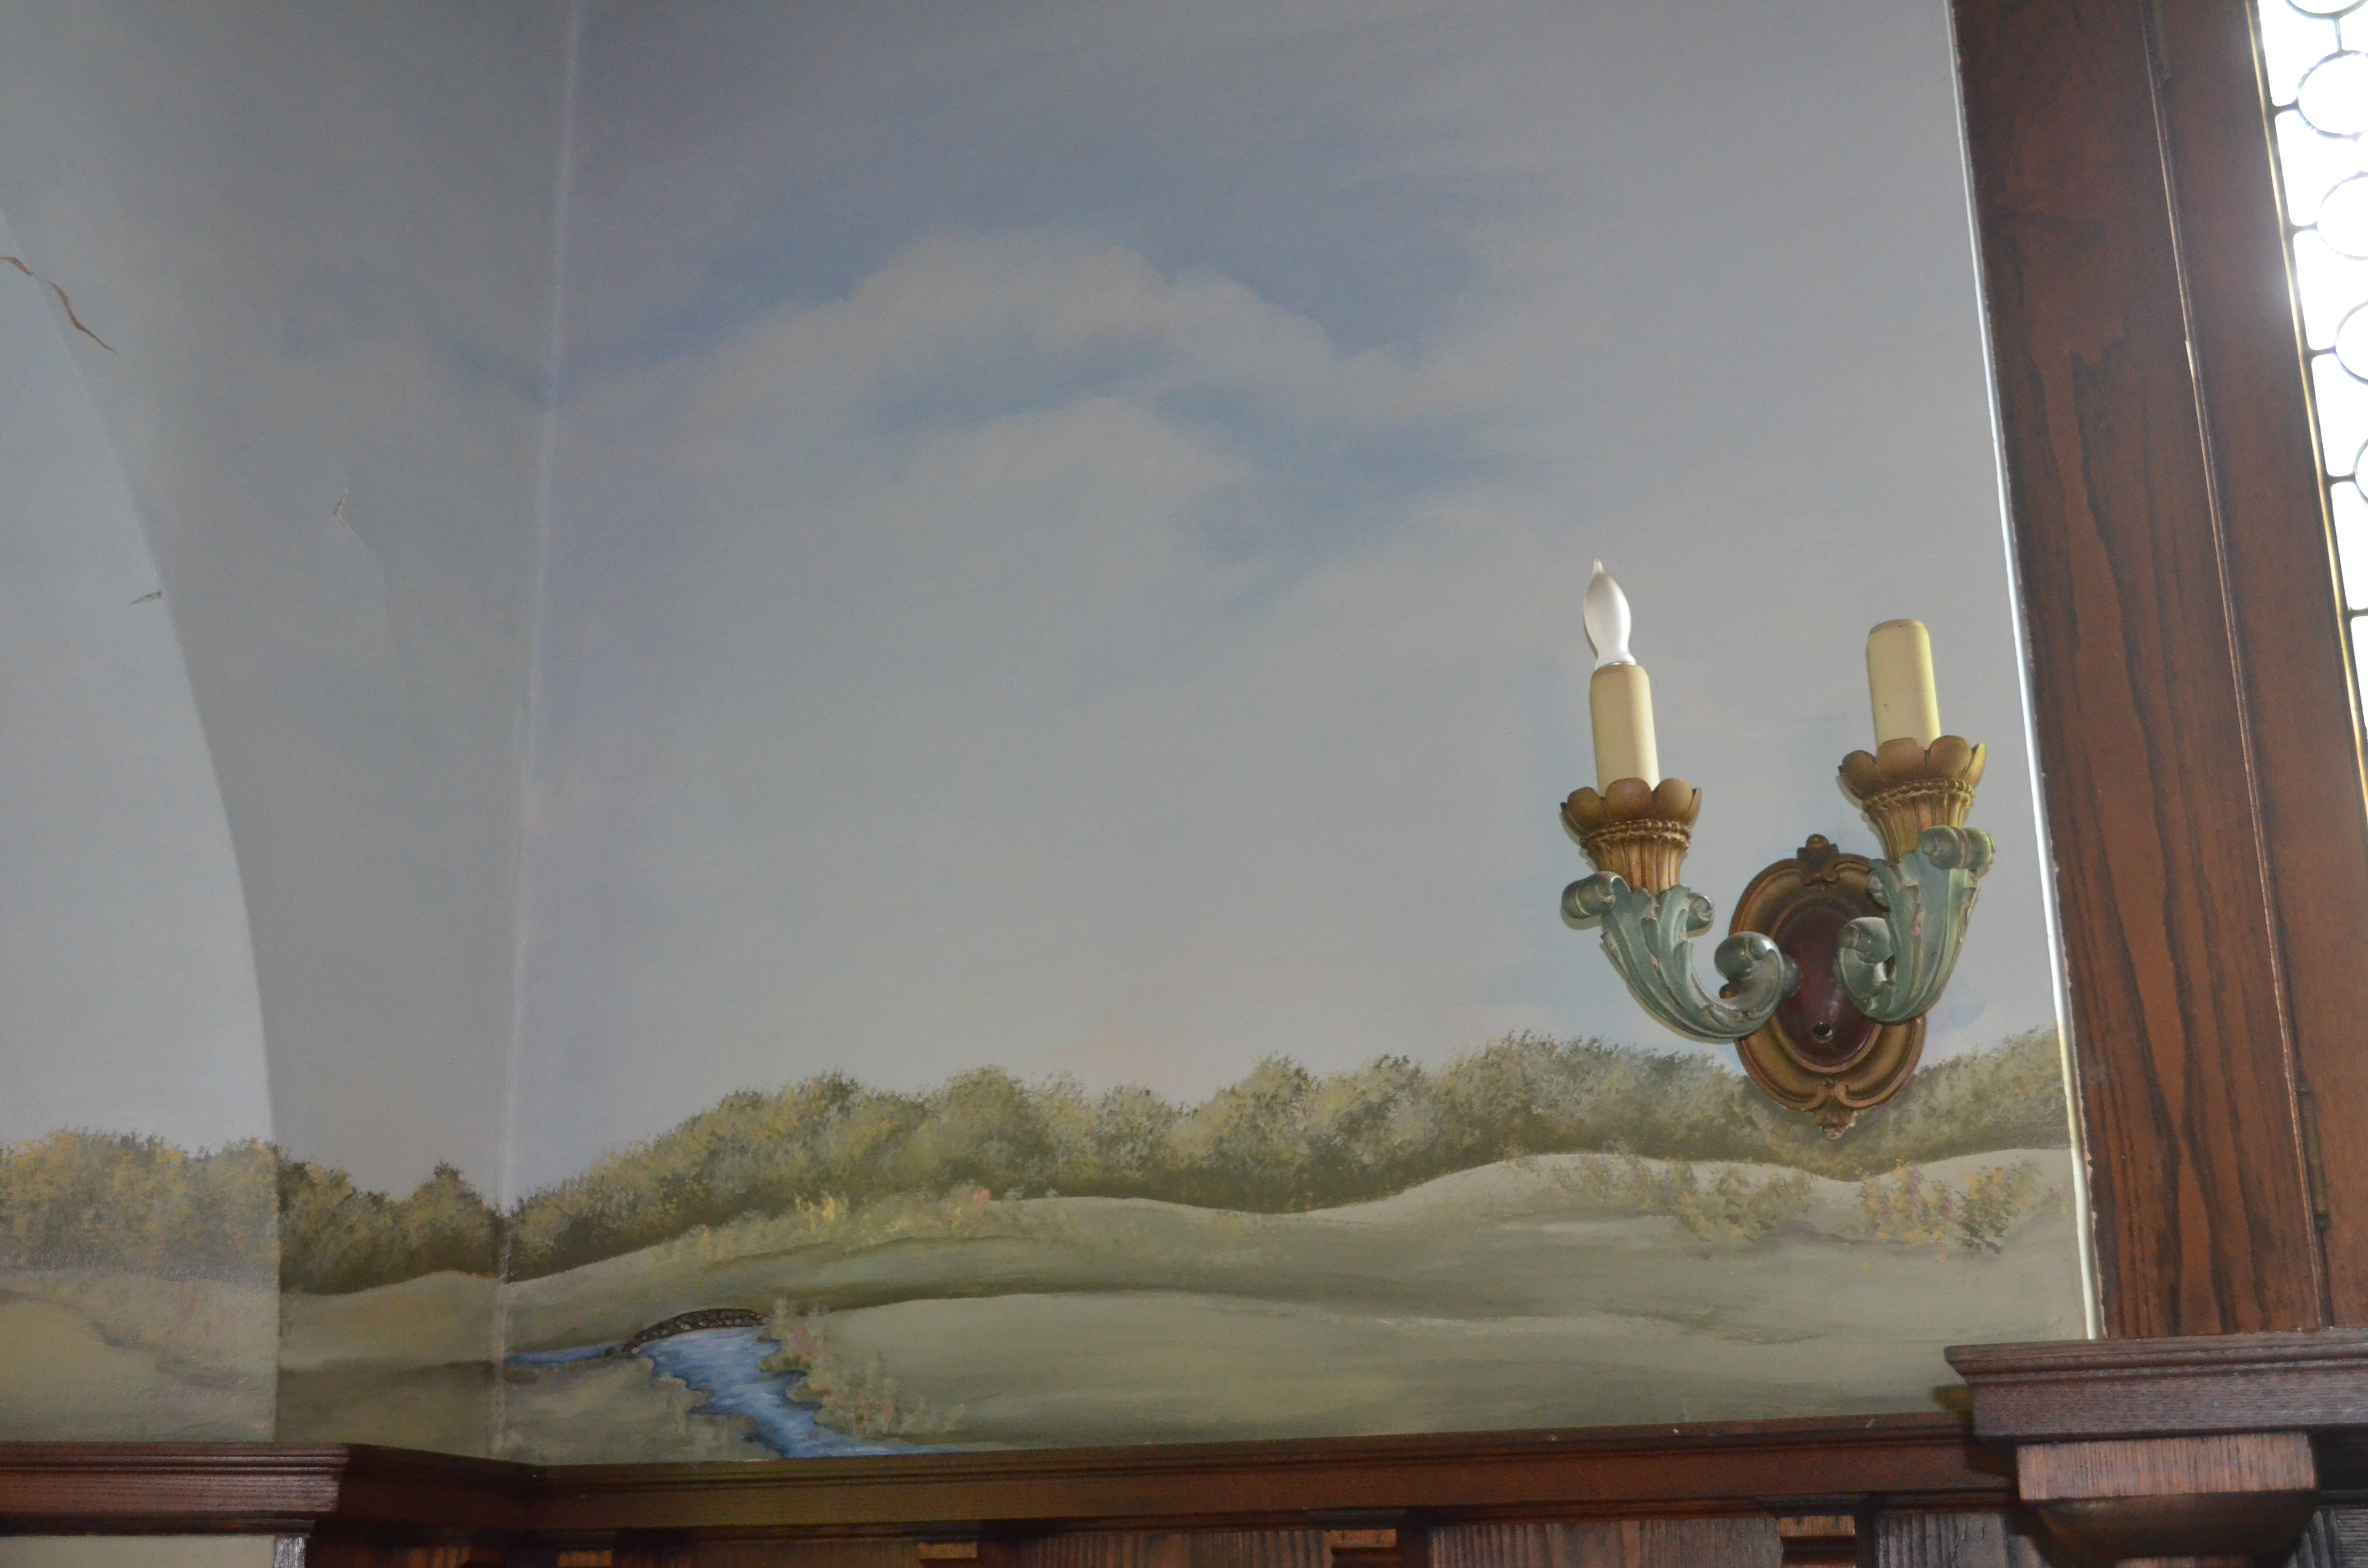
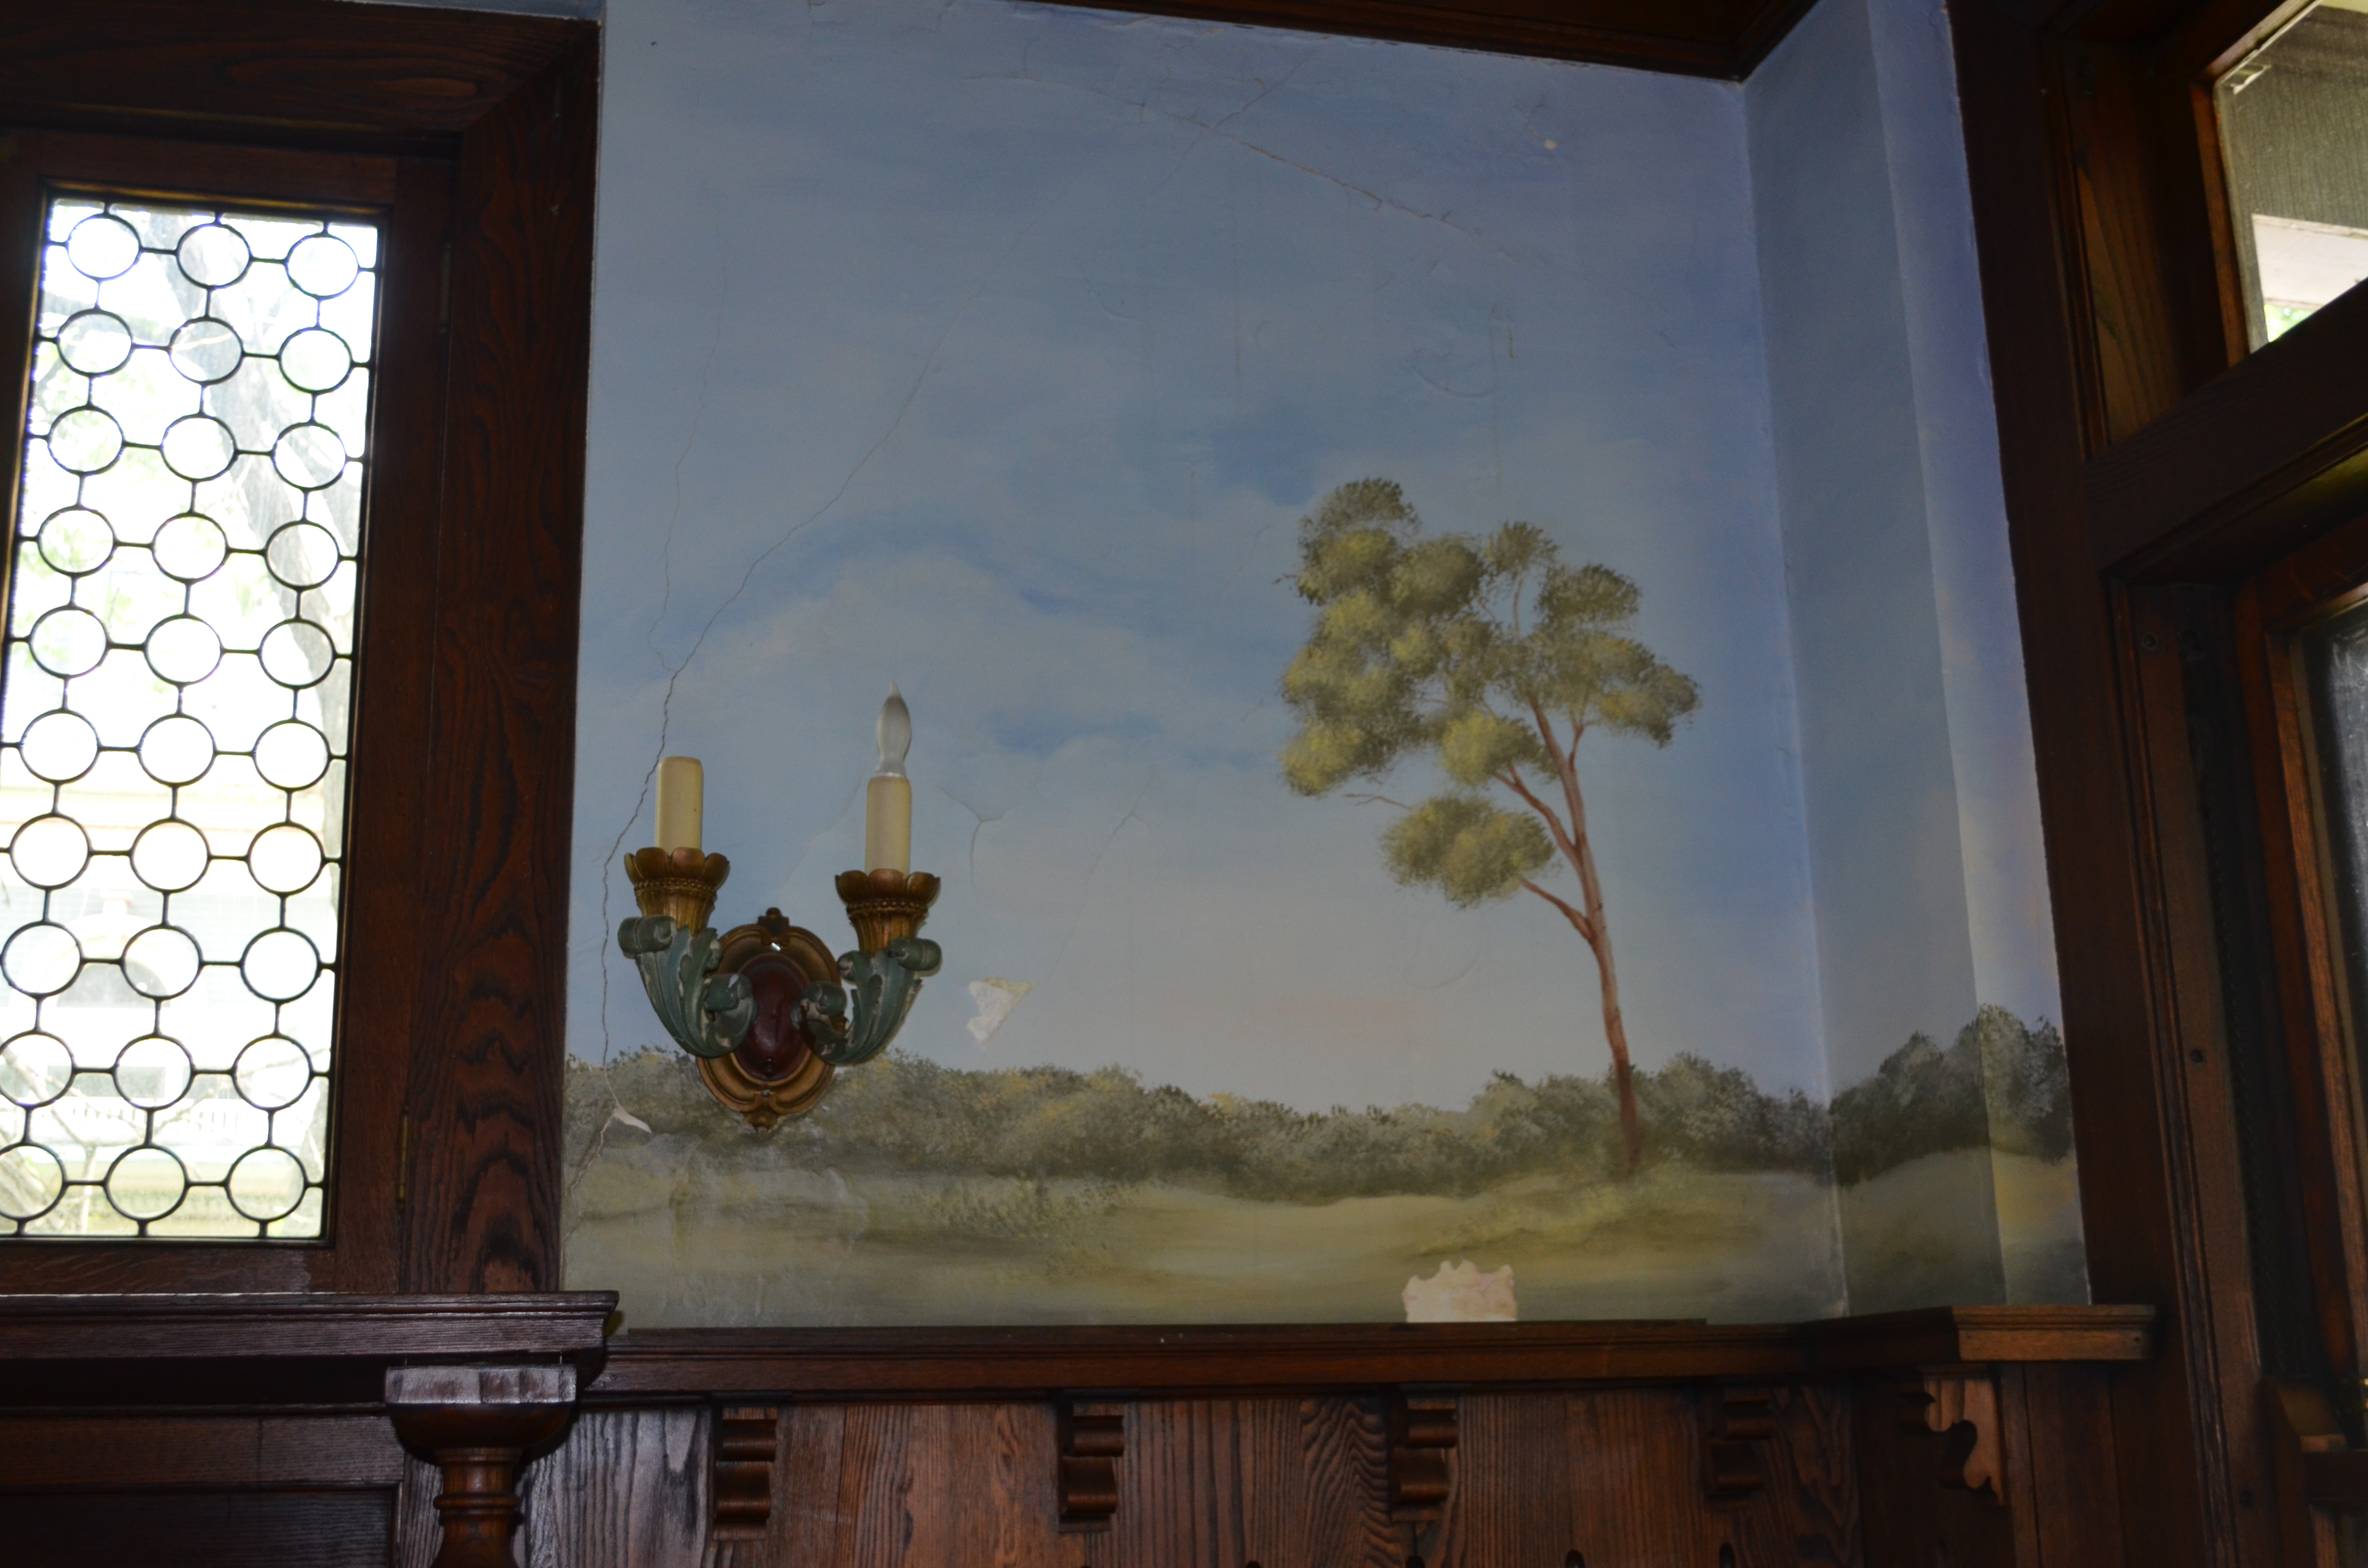
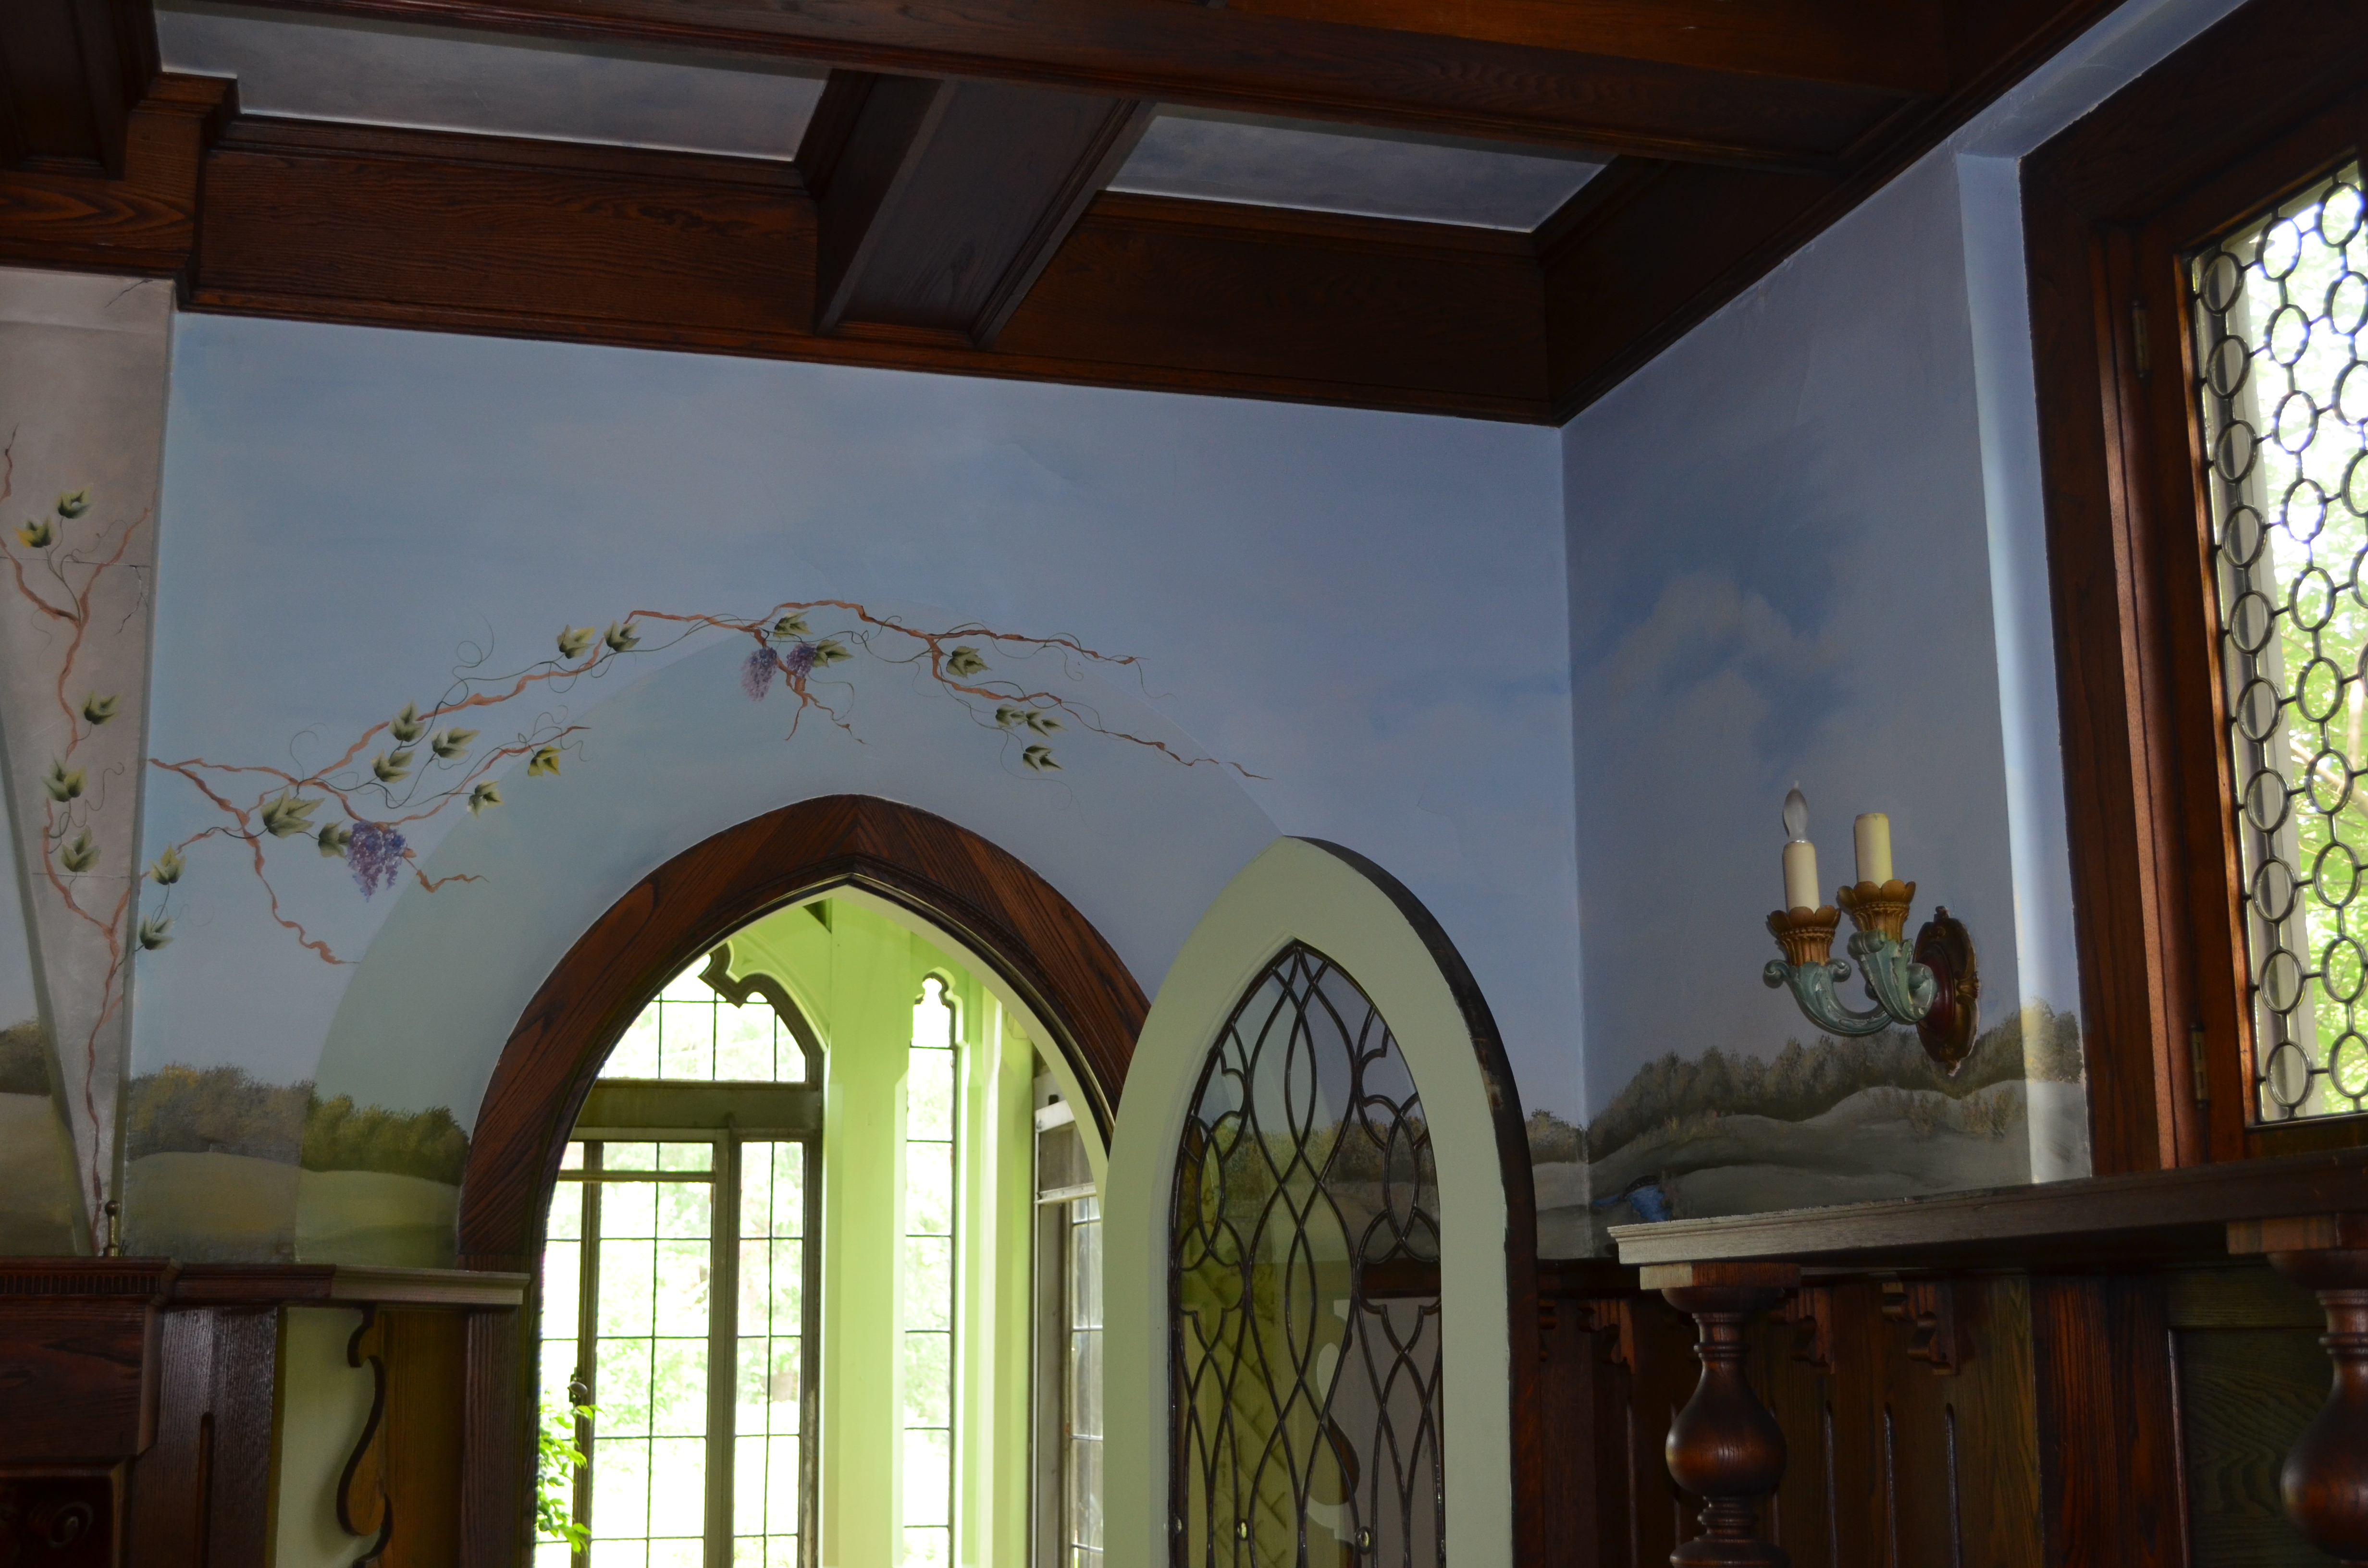
The original ceiling was a hand painted canvas. The pattern is similar to what is carved in the mahogany wood work. It was very deteriorated due to the years of water damage.
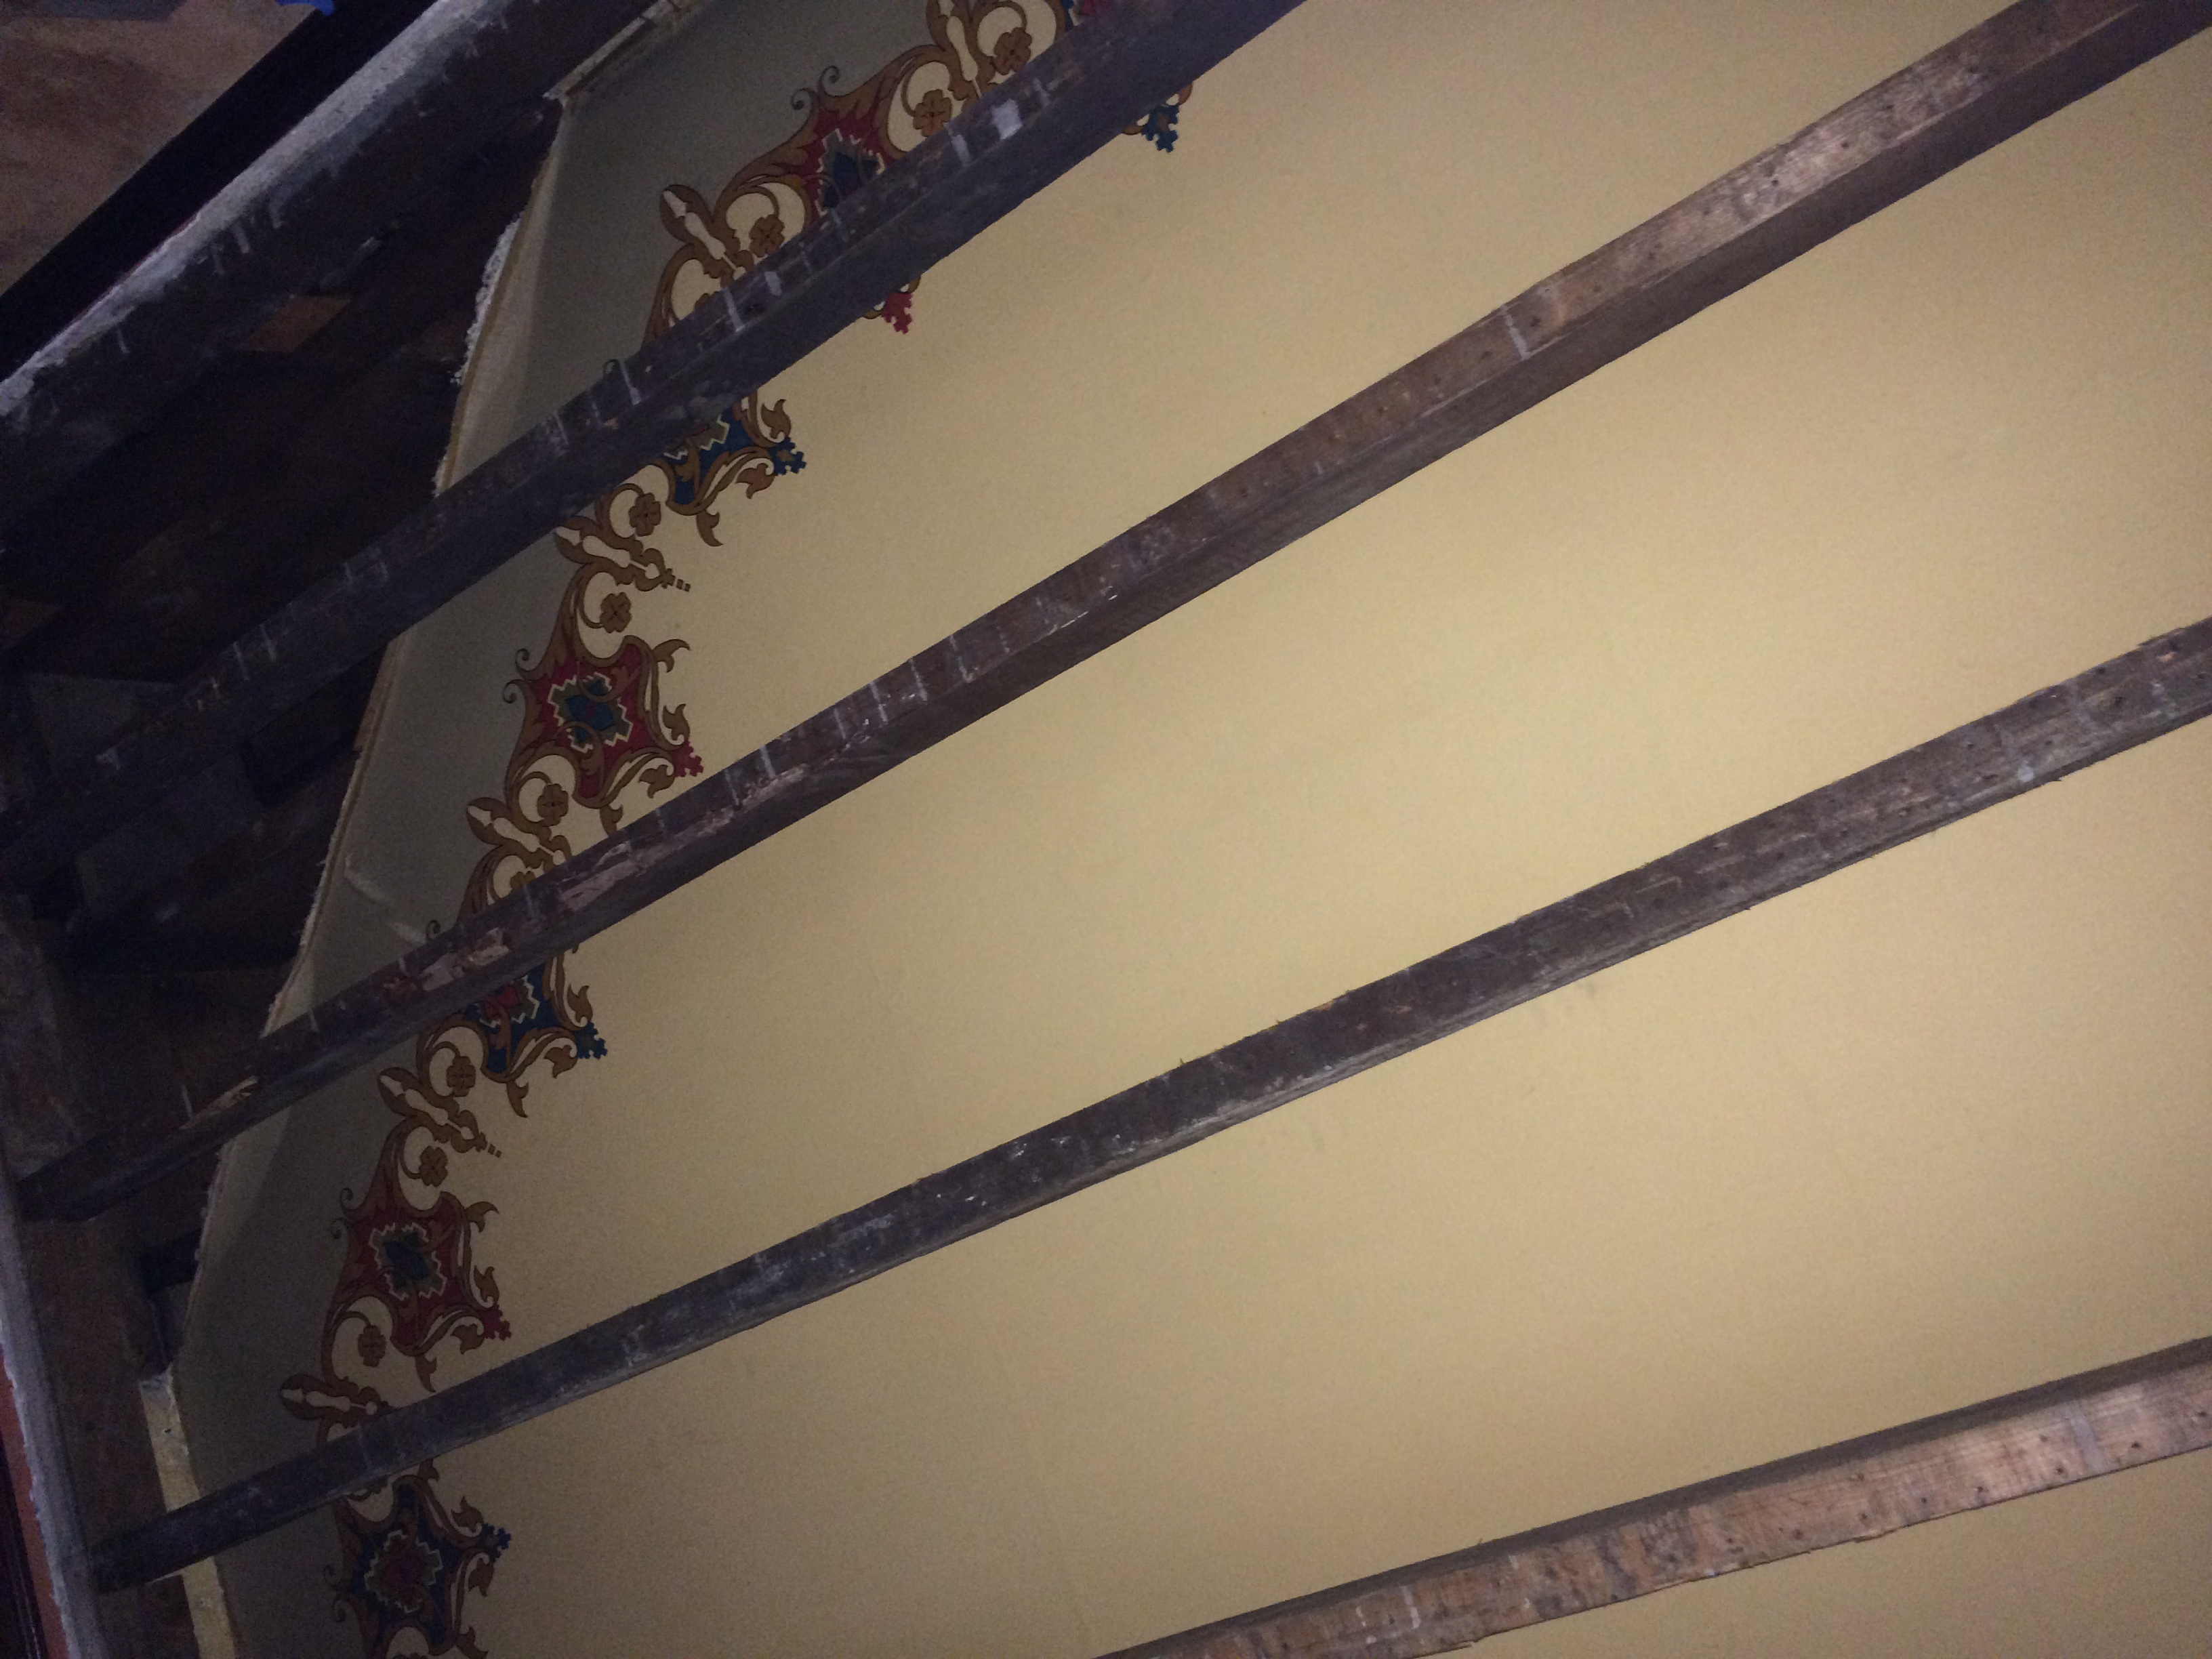
Eventually the scope of the project changed and we had to open up all of the ceiling. This is what we found once we took back the layers of drywall:


The original canvas is in remarkable shape except for the part under where the shower had been leaking. I am hoping that my sister might be able (and willing) to recreate this for us and we can put the reproduction one back on the ceiling when we are done. The corners of the room were dropped down several inches to accommodate the master toilet drain.
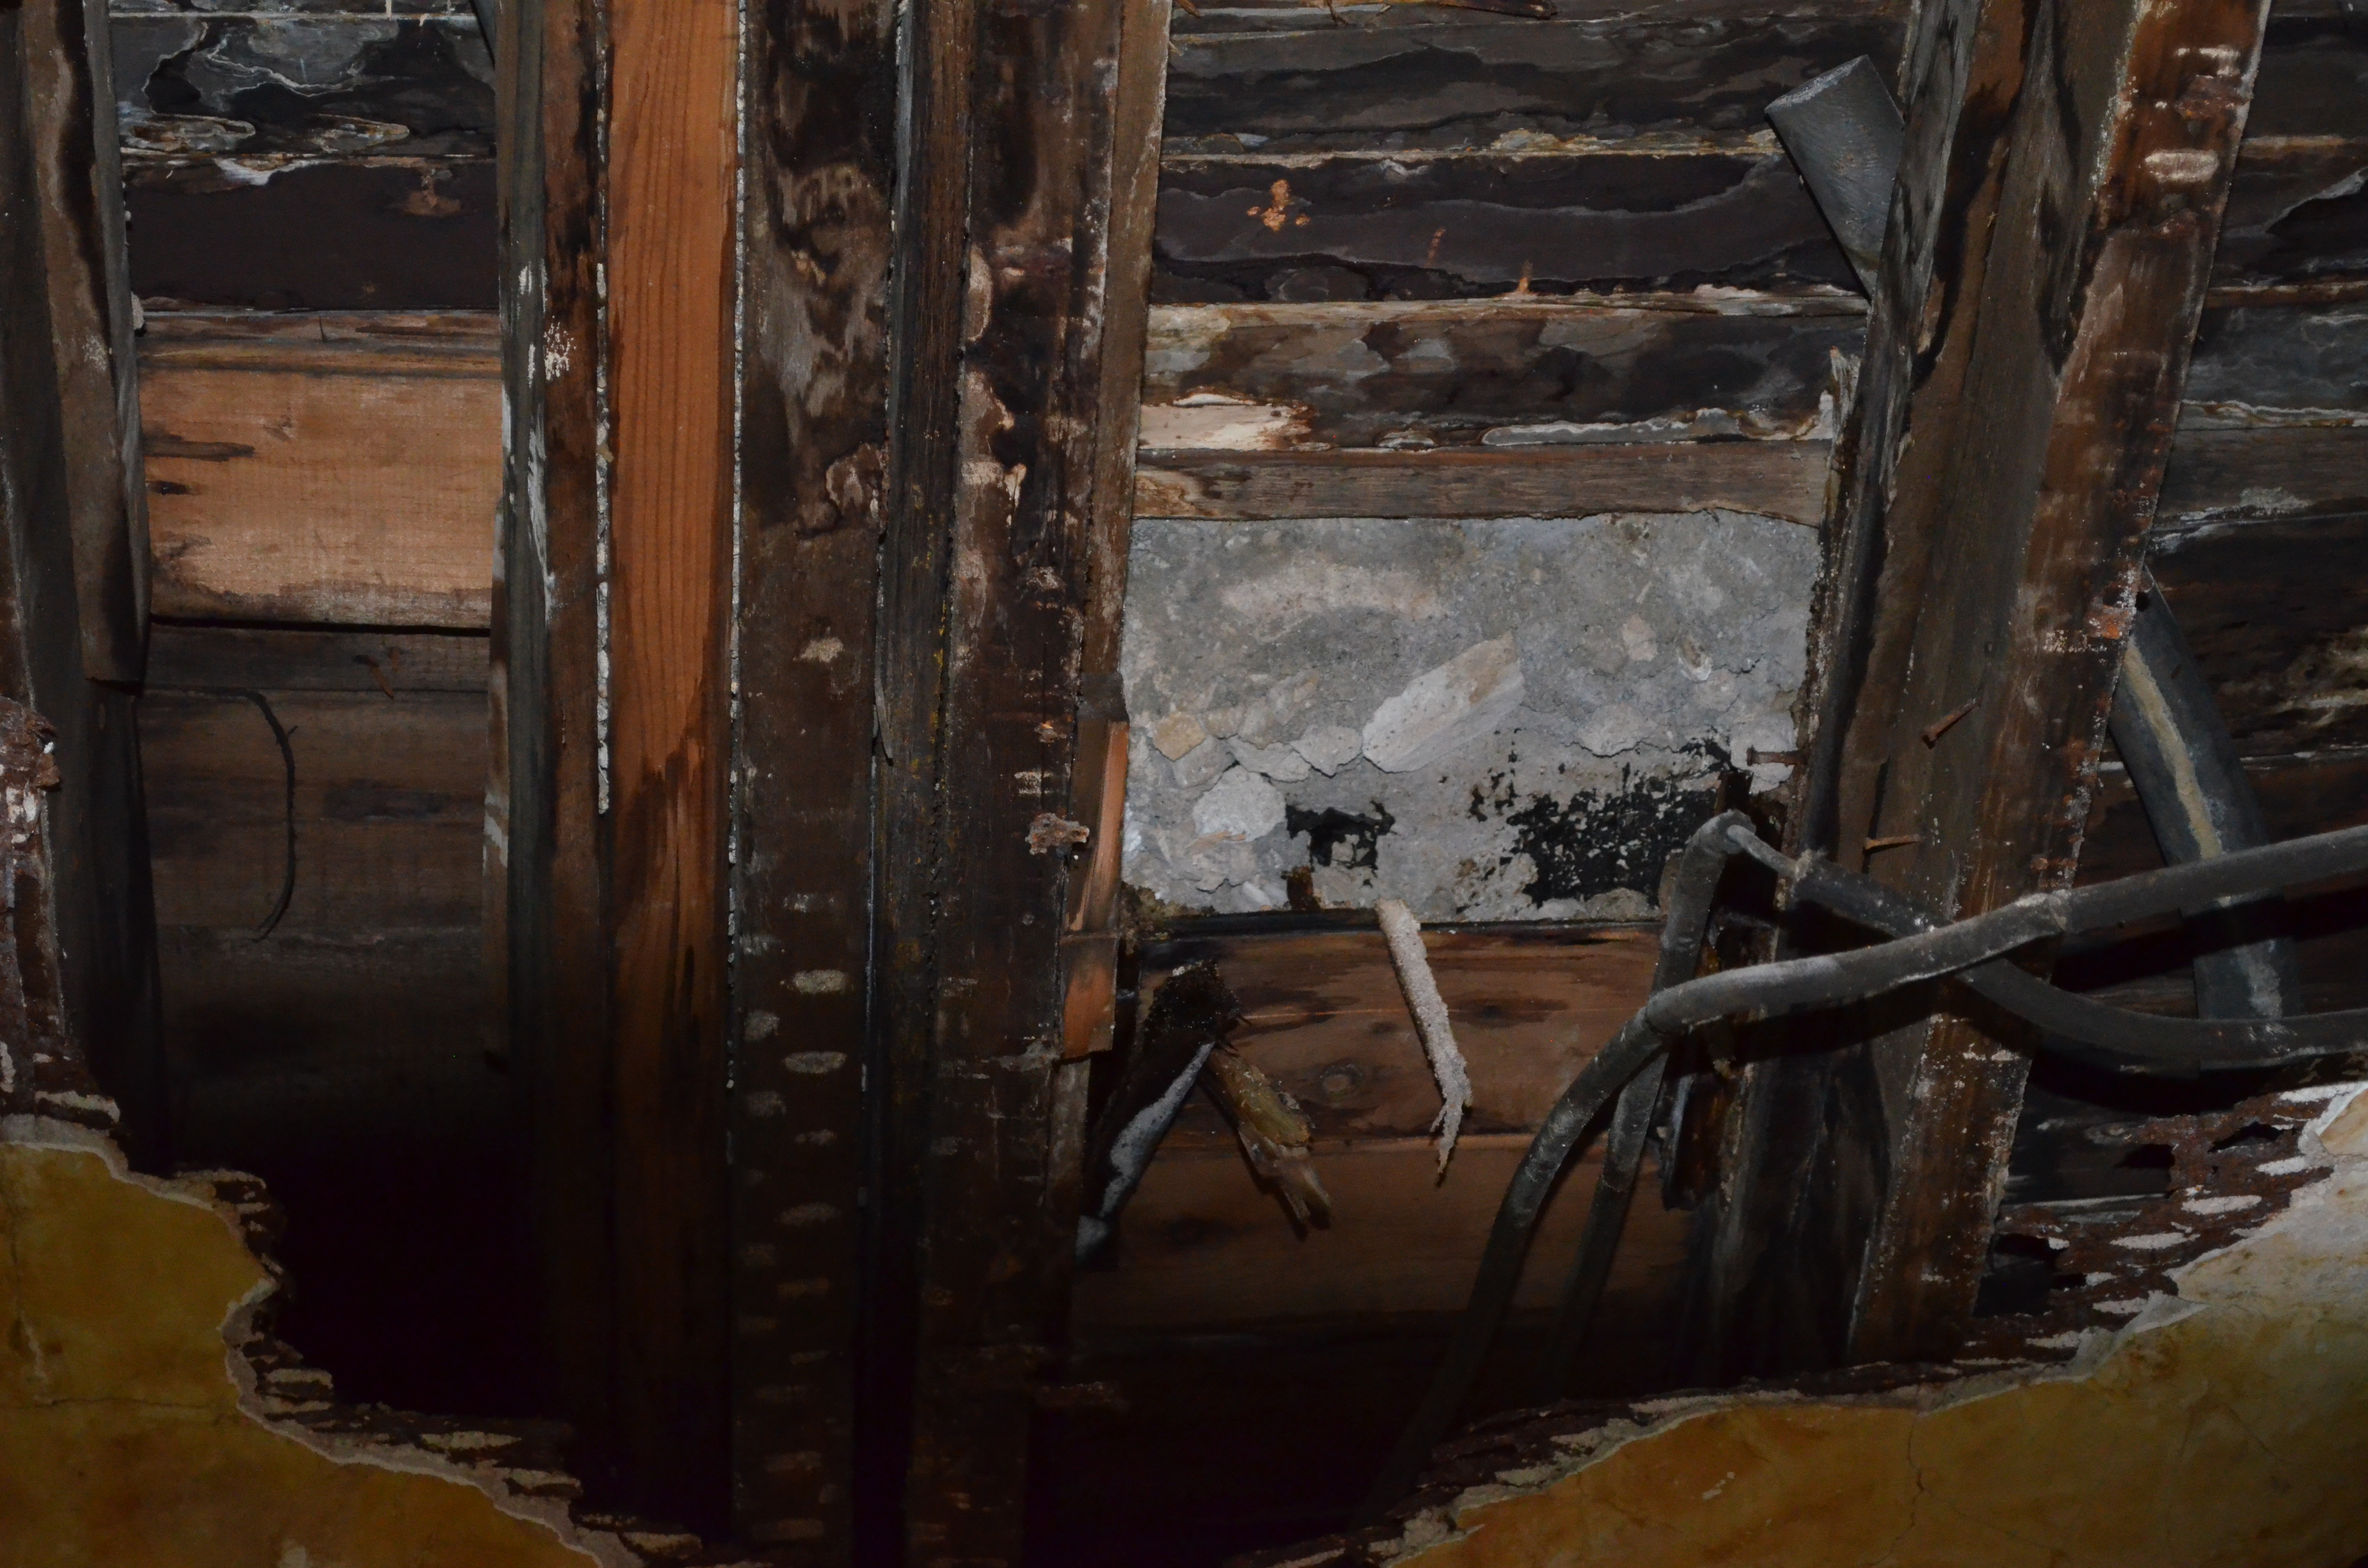
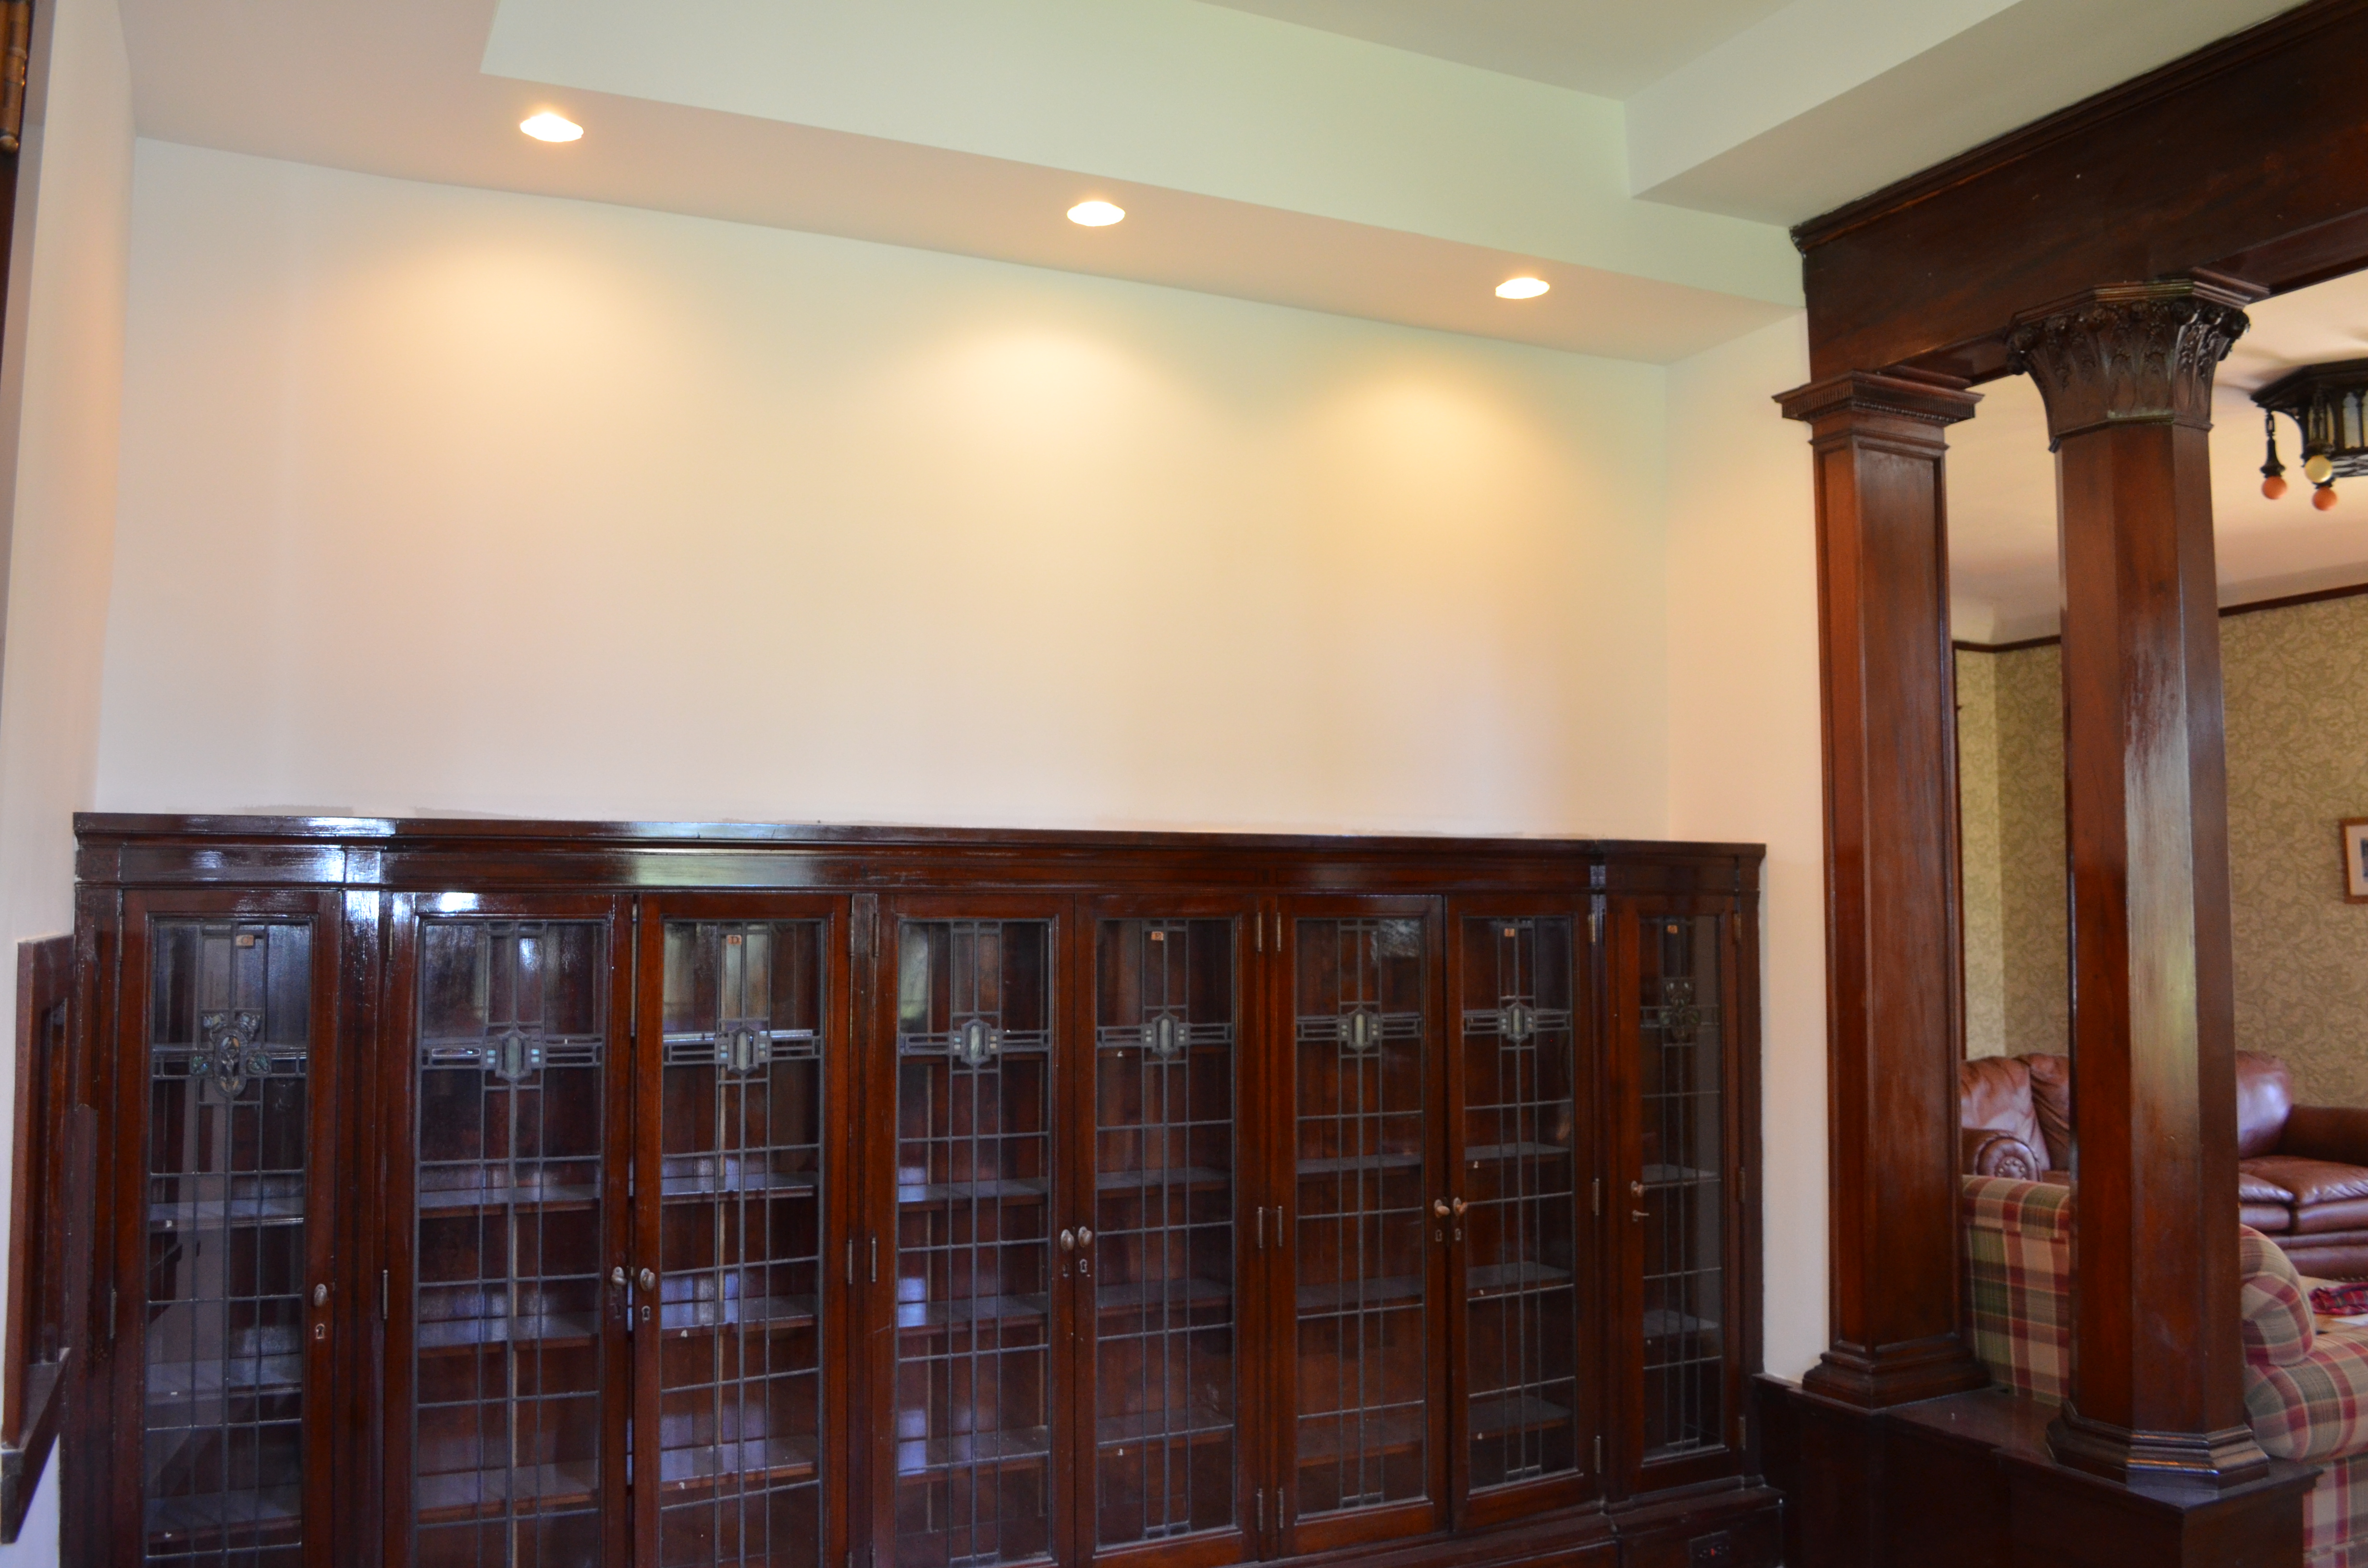
Next we were down to this:

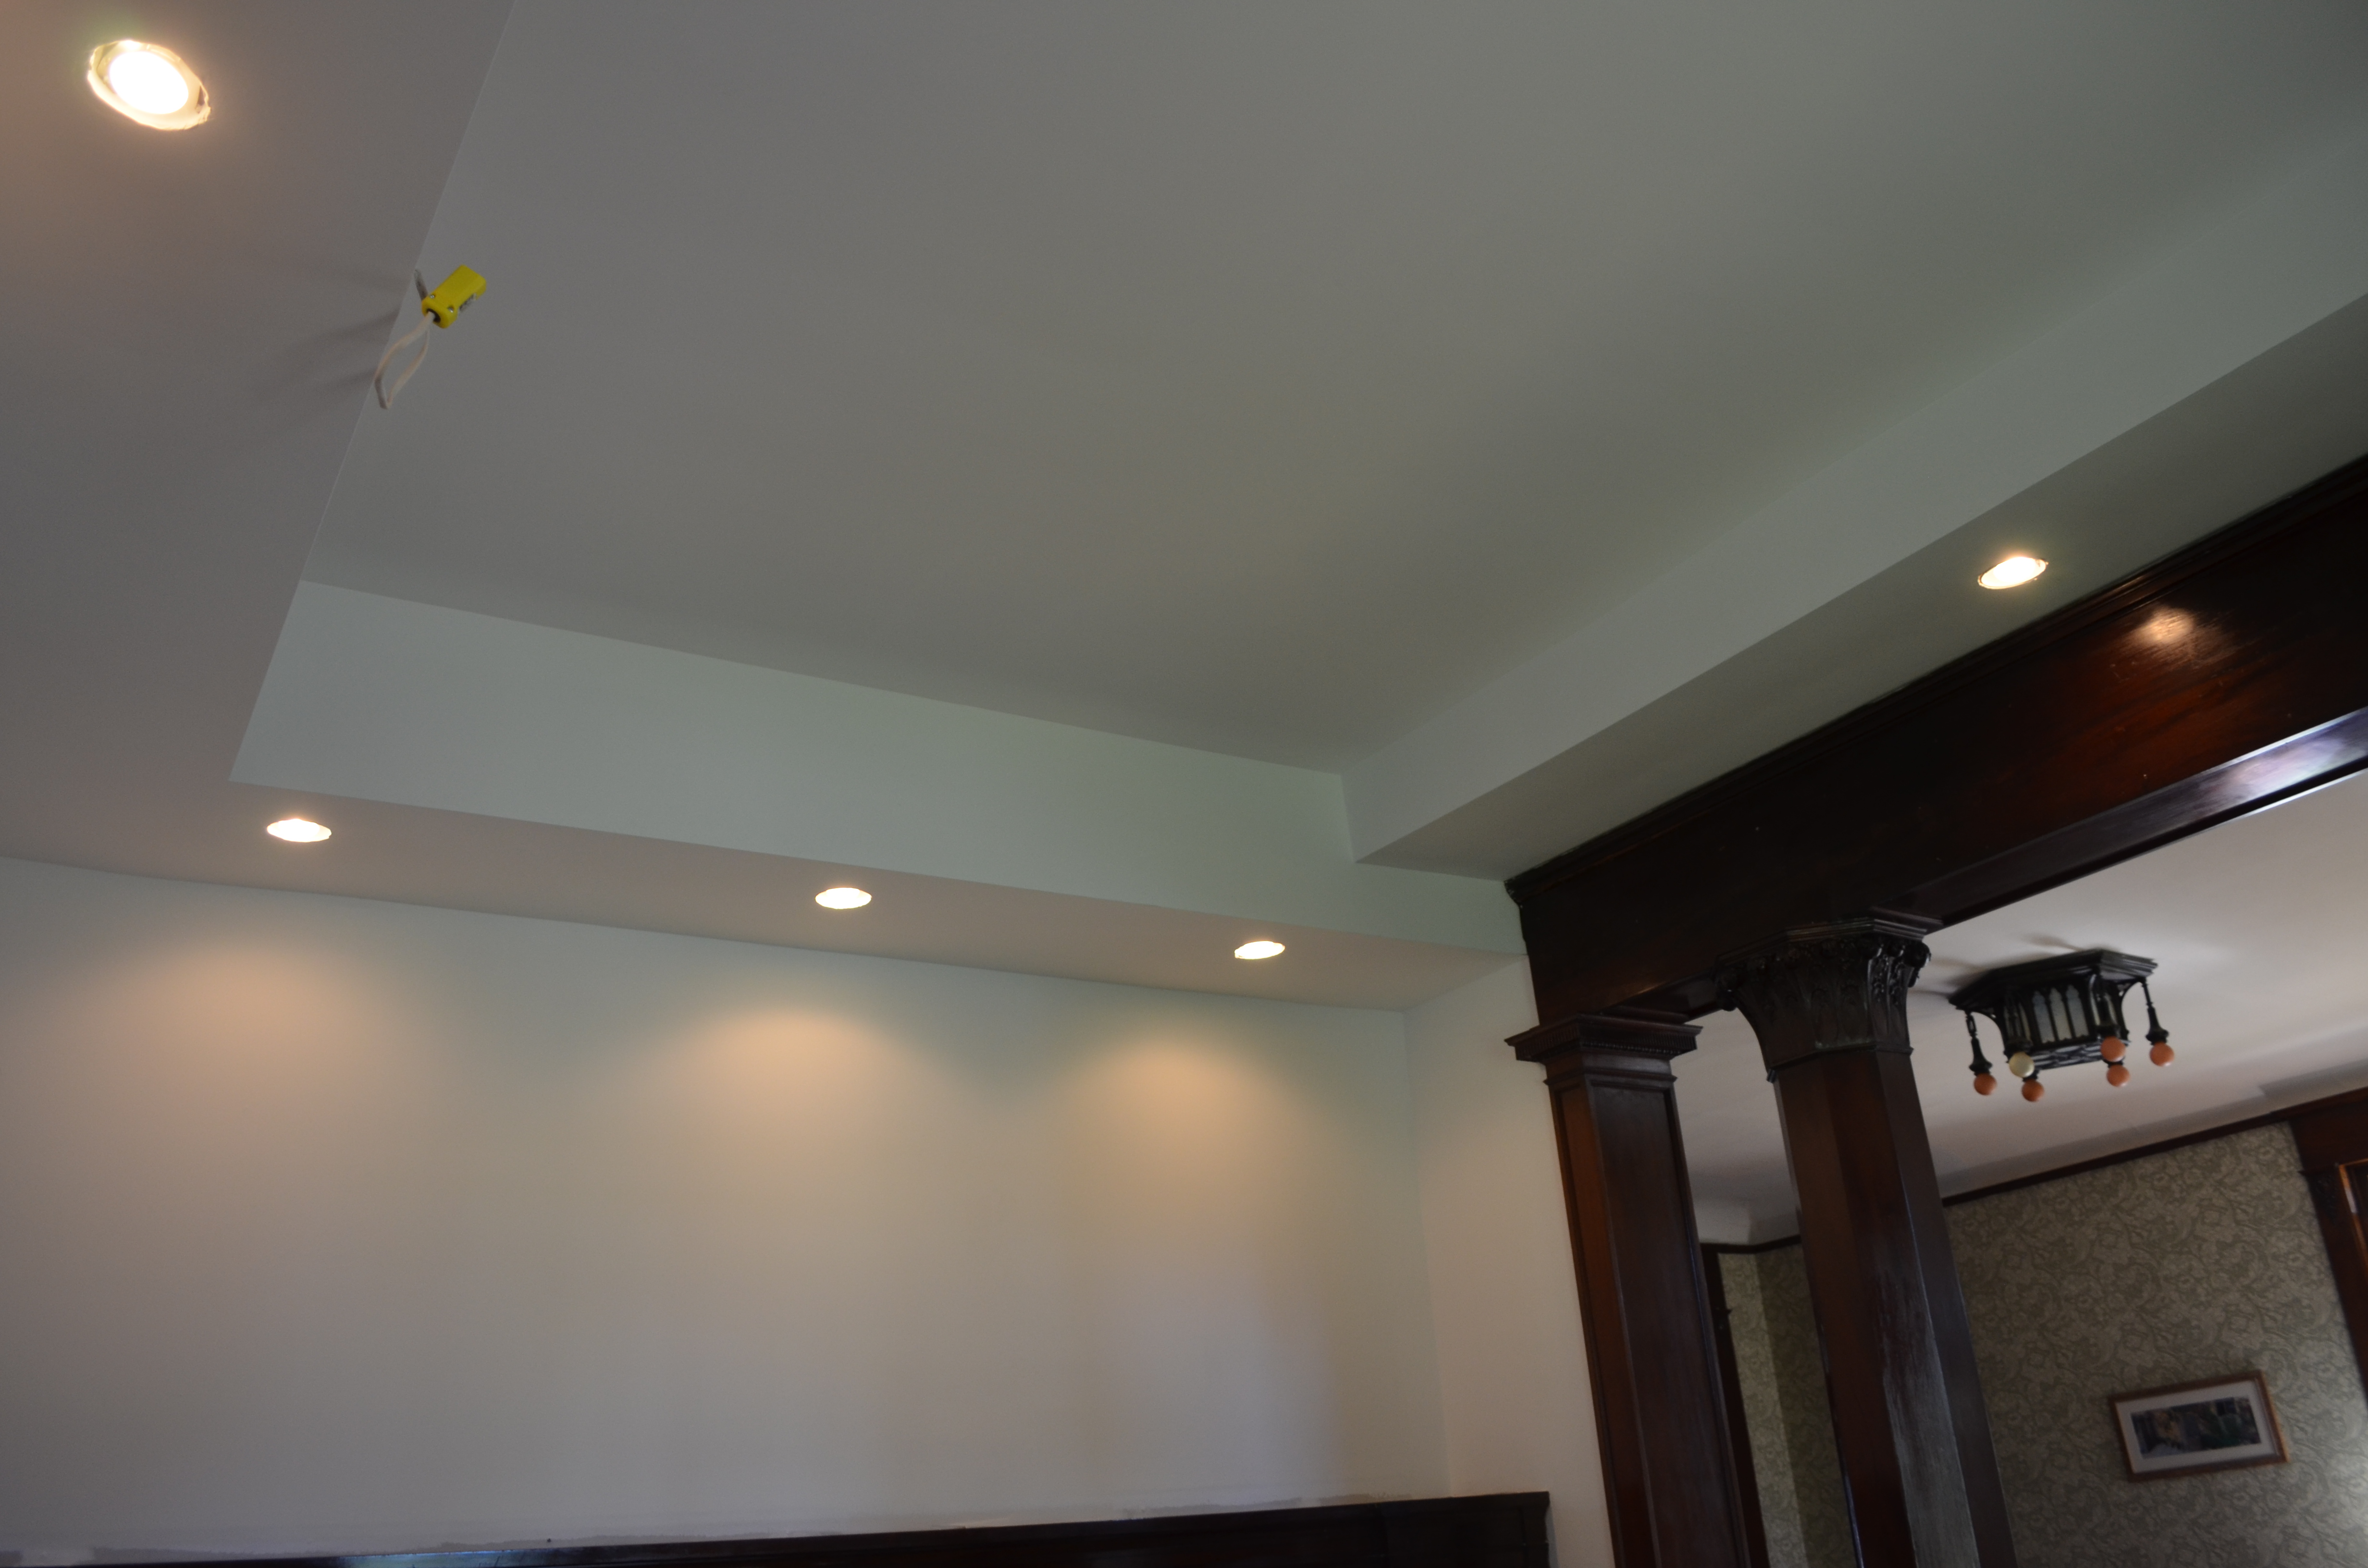
Still not enough access for the plumber, so the music room currently looks like this:


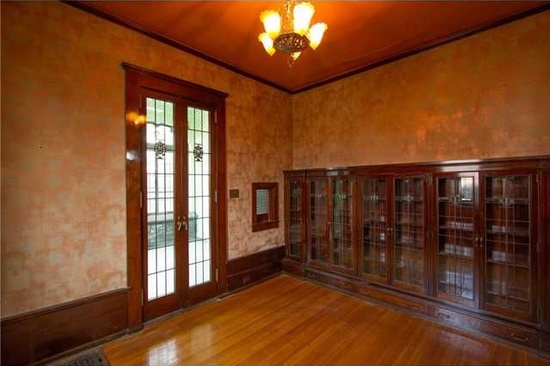
I have lived through a whole house remodel so I am not surprised by the ever changing scope of work and all the mess. It is still hard to watch this pretty little room endure so much. I know in the end it will be beautiful again. We hope to restore the original lines of the ceiling, redo the canvas covering and find a period appropriate chandelier. The art deco one that was there is pretty but historically it doesn’t fit.
The master bath project that started this project is a story for another day.