We talked about all the damage done on the first floor music room. We have nearly finished the restoration work there.
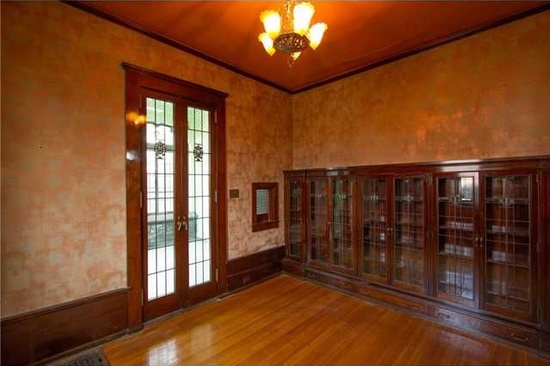
What looked like a very nice room, if you don’t look too closely.
The room had some funky metallic and orange wallpaper. You can’t tell from the photo but there was plaster crumbling behind the paper above the confessional window (have I mentioned our home has a confessional?!) above the built in leaded glass cabinets on both sides of the room and visible damage on the ceiling. The ceiling is clearly not original and while the period art deco chandelier is pretty, it doesn’t fit with the home’s architecture. We put the room on the to do list.
Soon we discovered most of the problems here came from the leaking plumbing in the master shower. So we had to open up the ceiling:
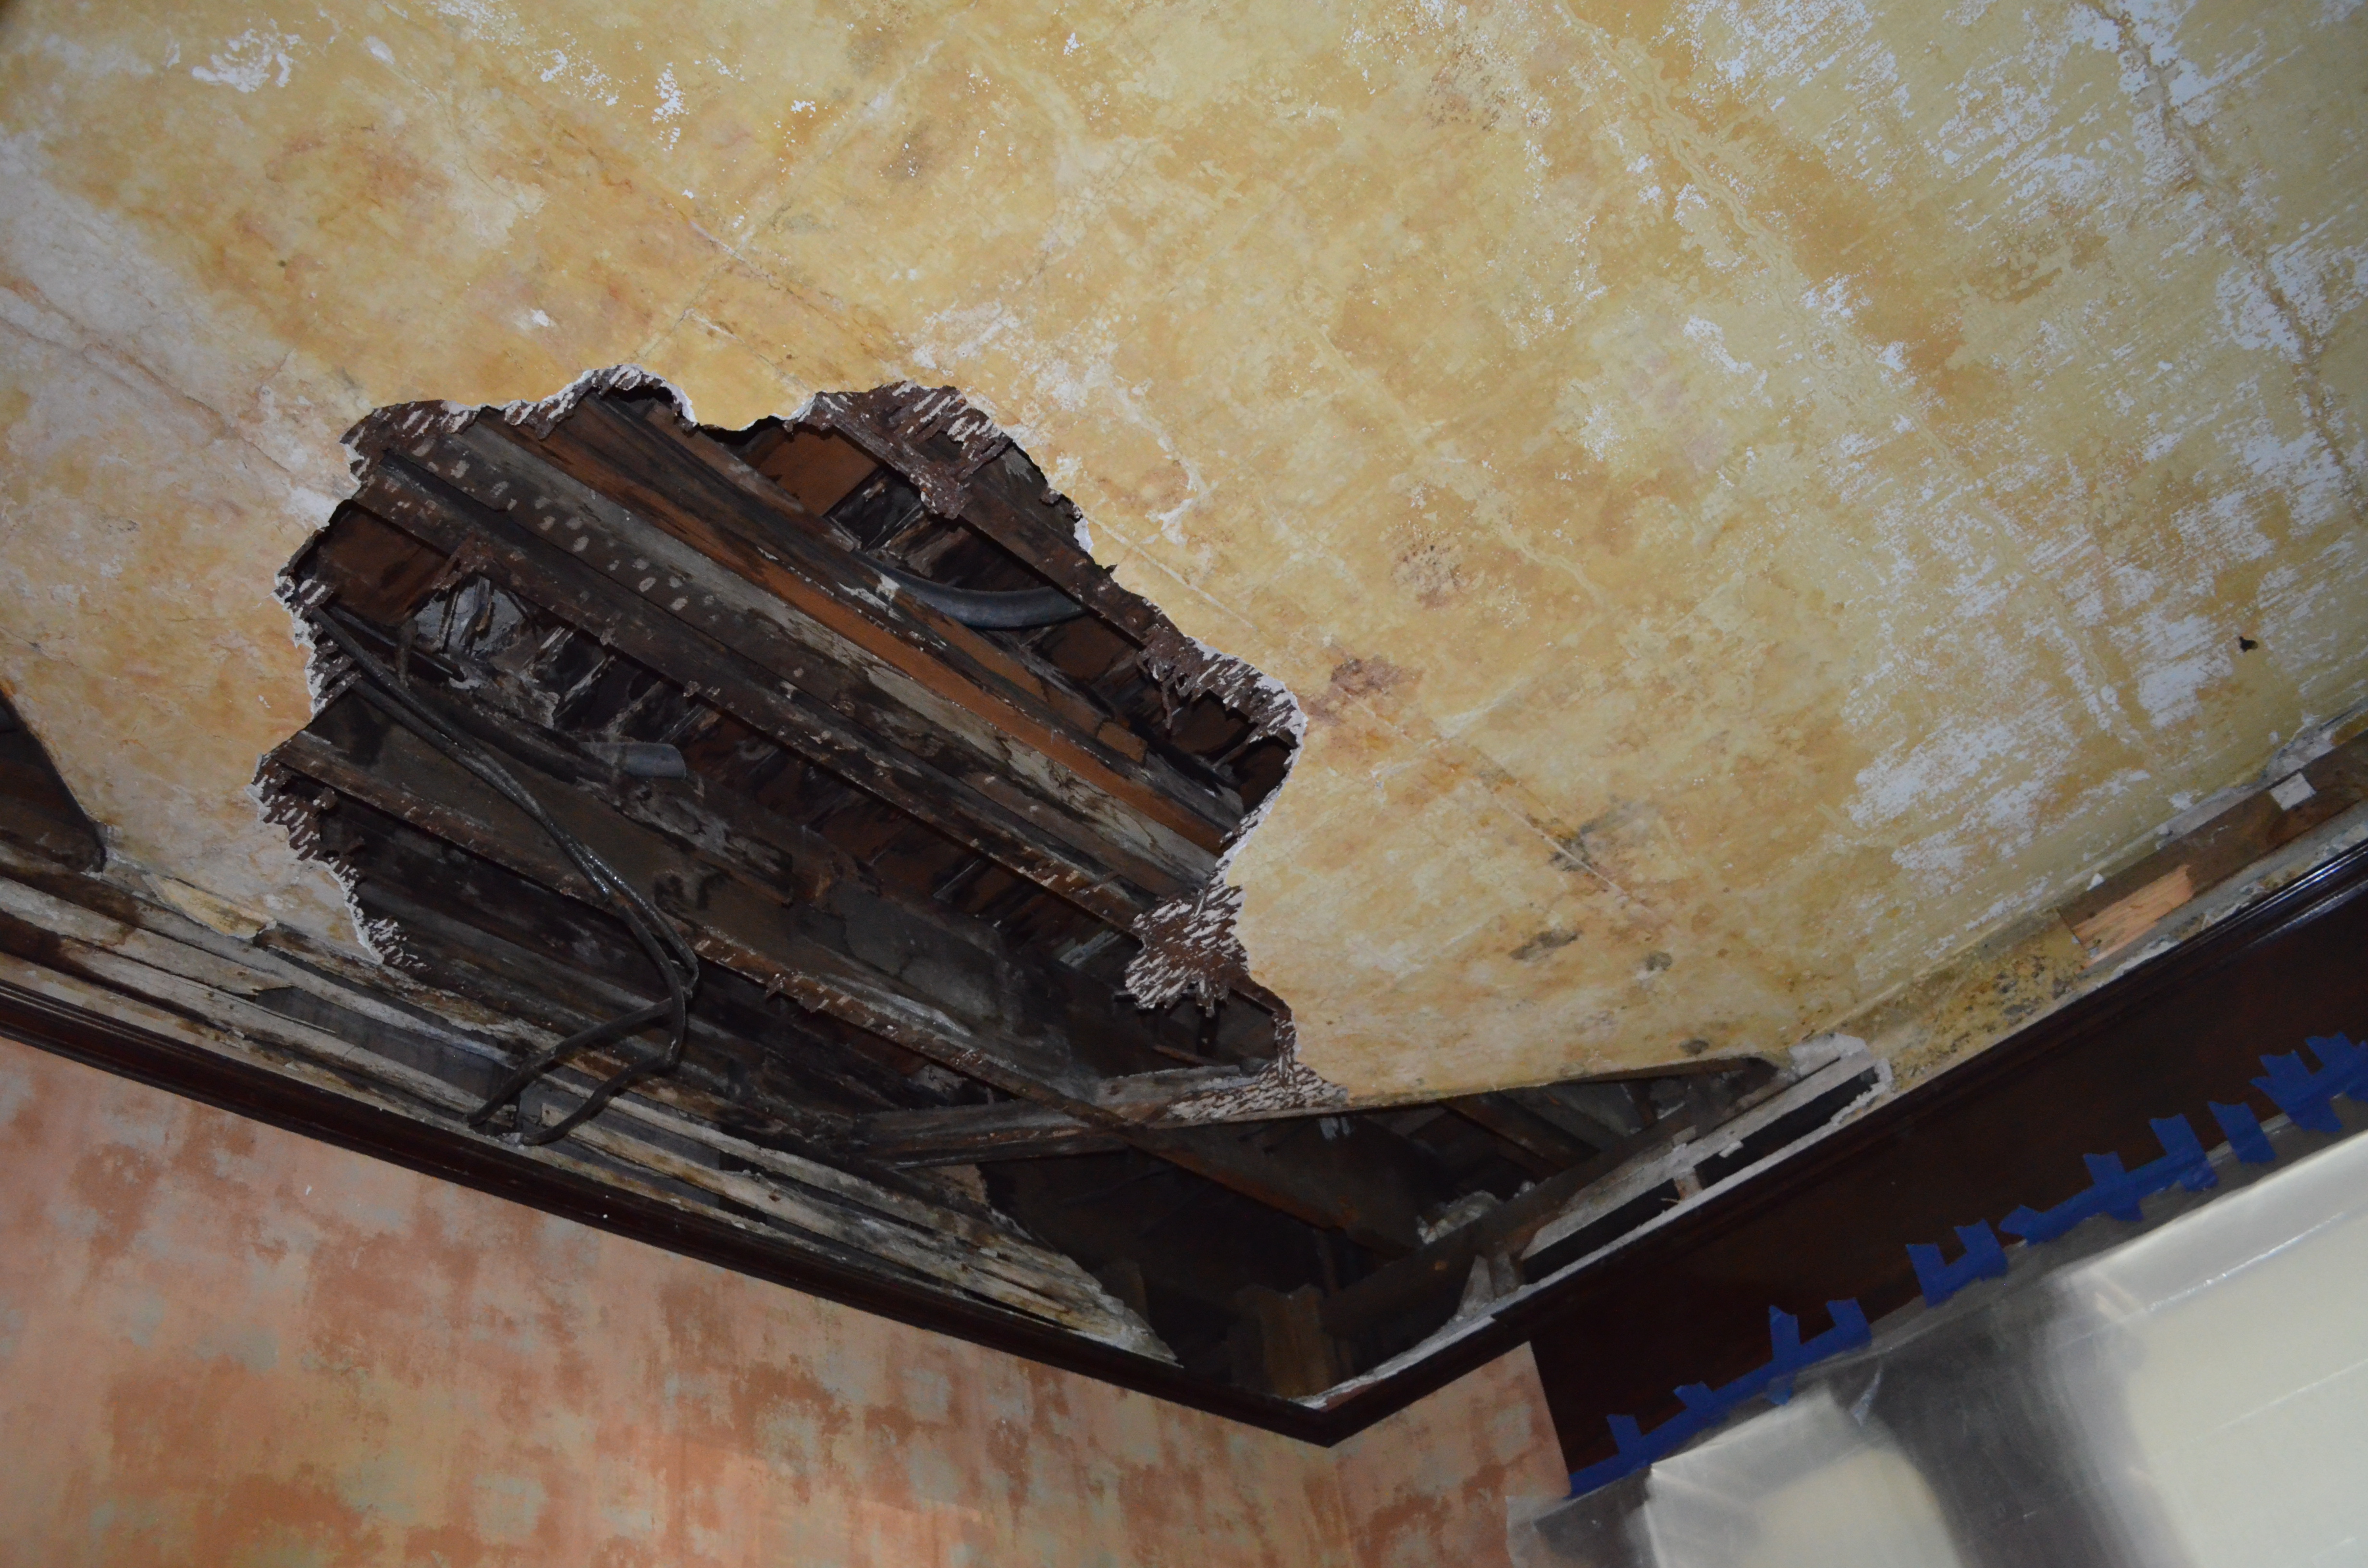
Then open it some more:

Eventually we had to remove the whole ceiling, actually there were at least four ceilings.
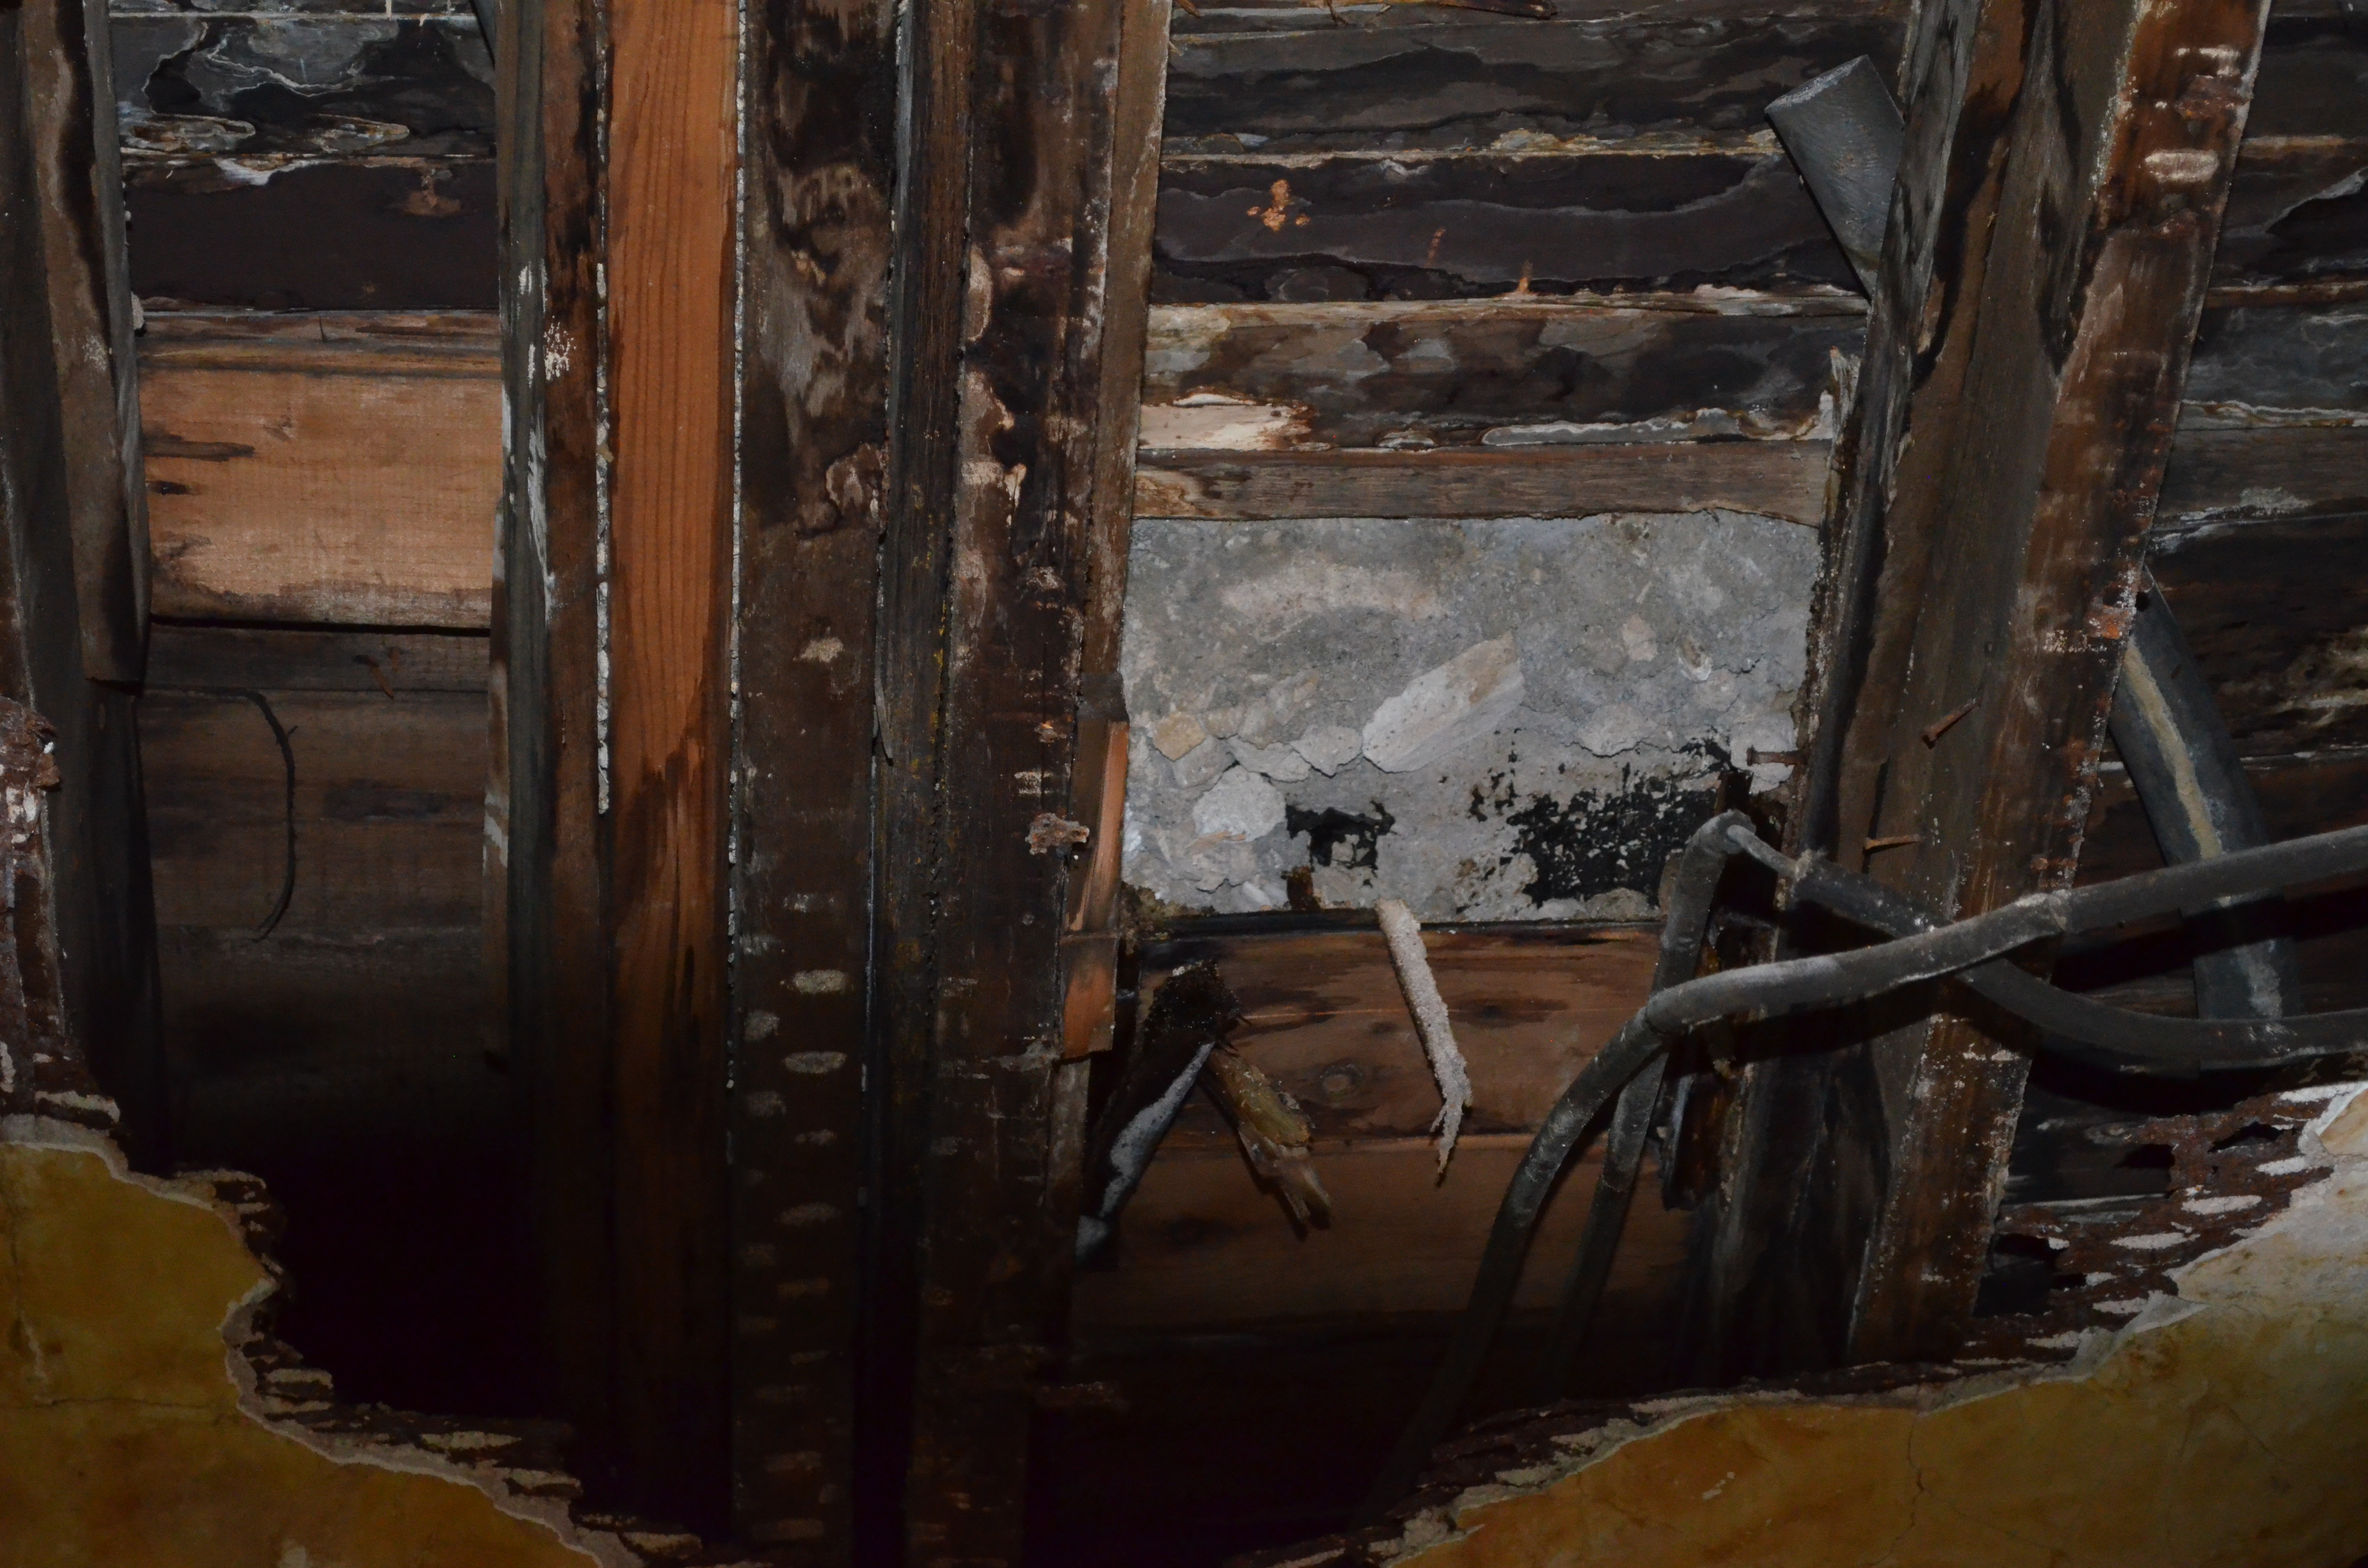
My guess is whenever the water damage got noticeable or perhaps when an owner decided to sell the house they didn’t fix the problem but covered up the ceiling with a new one. In the process we found the original lay out for the ceiling and the painted canvas mural that was original on the ceiling.
Ceiling had originally had the corners dropped down to allow for the plumbing, similar to old photo album corners.

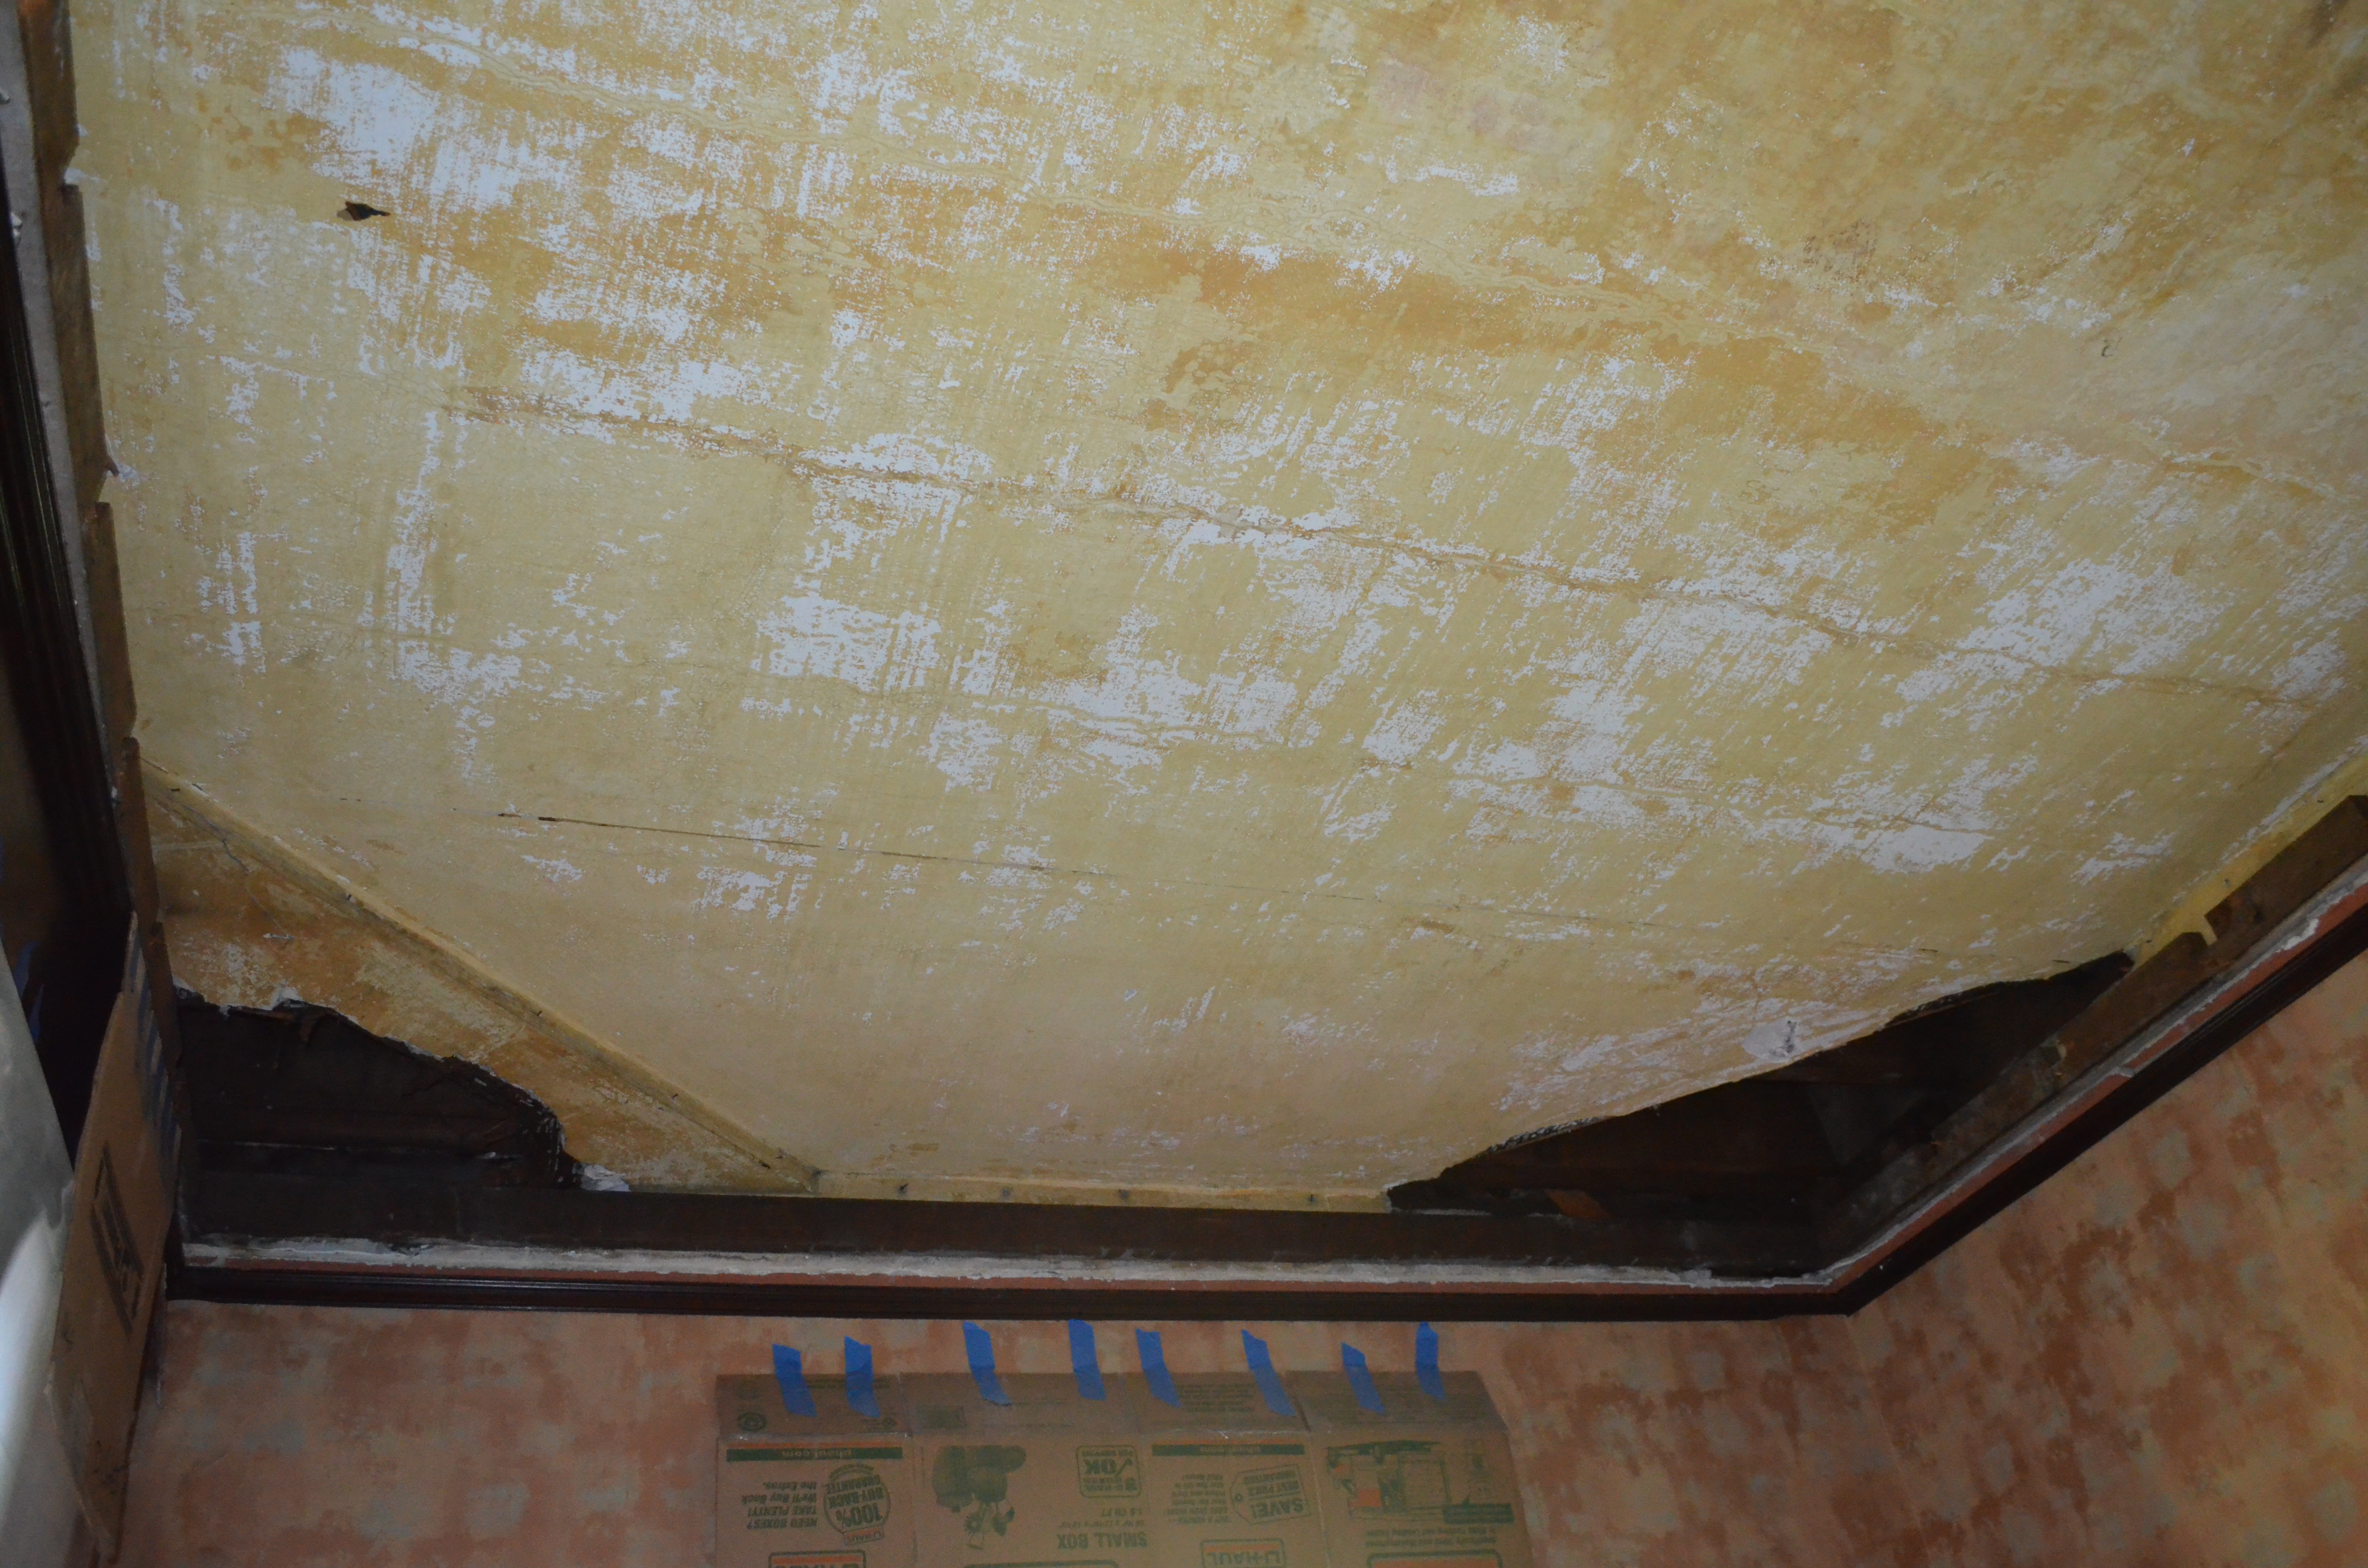
The intact side of the original ceiling mural
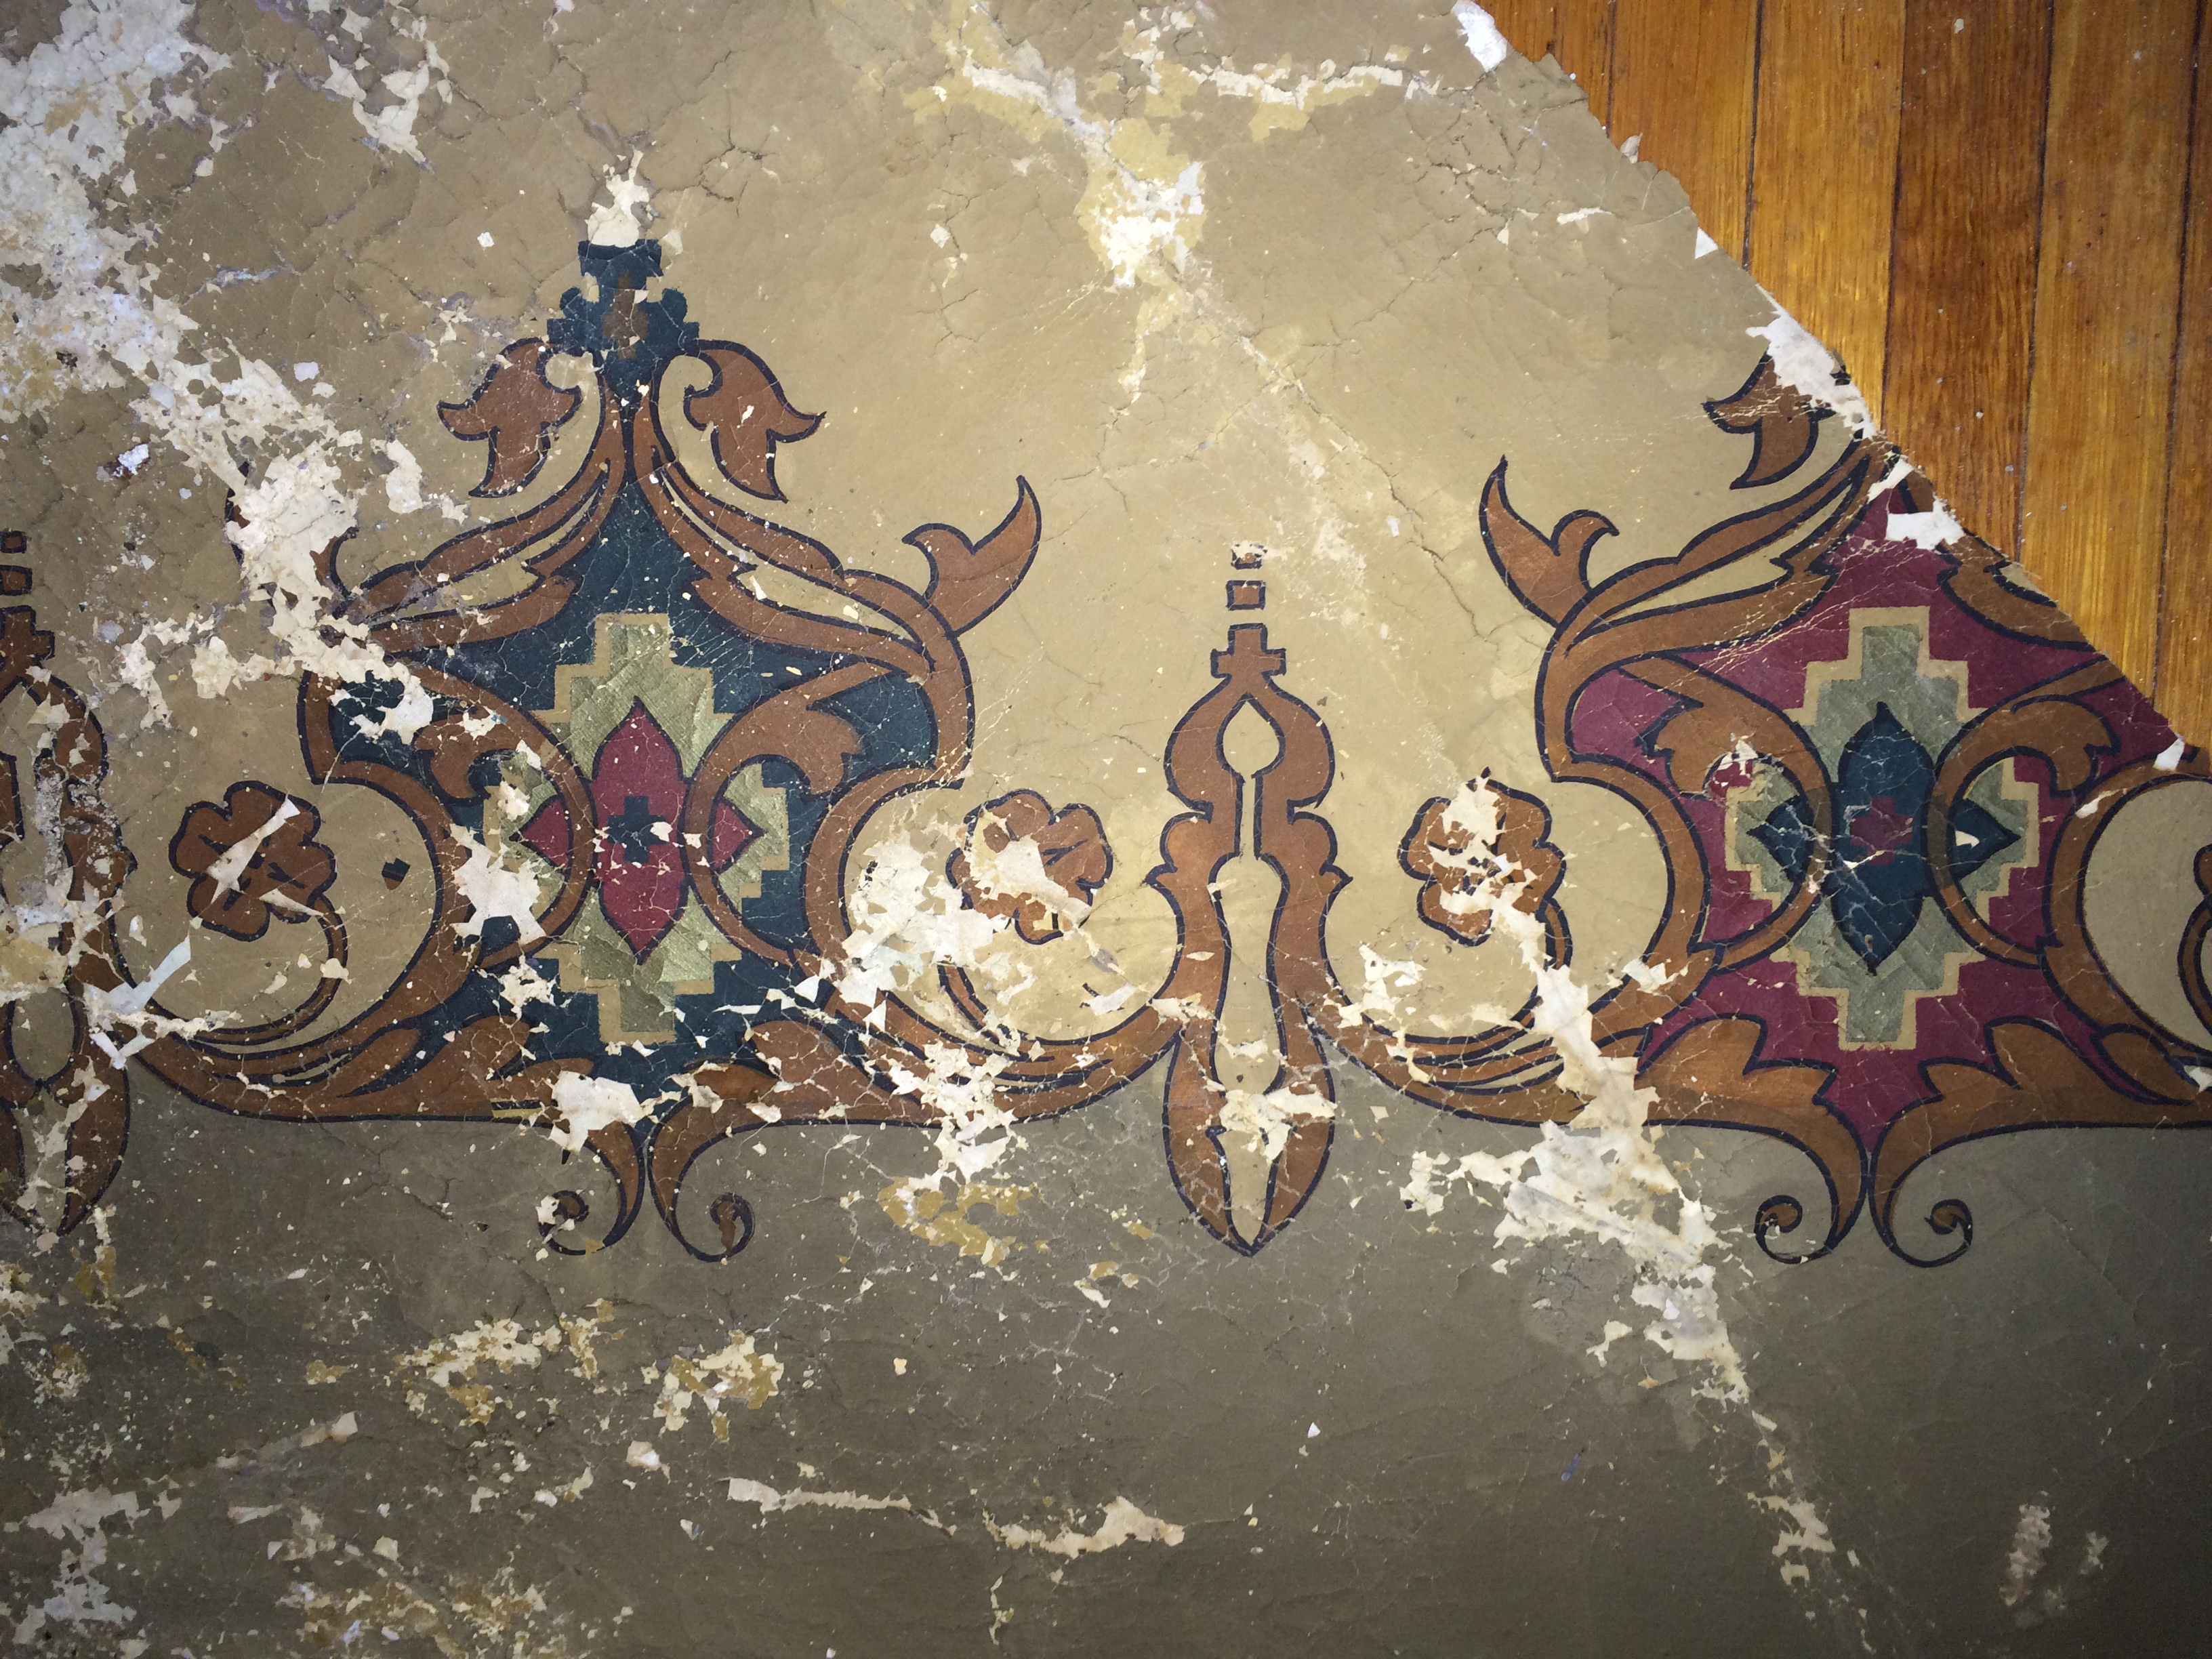
The water damaged pieces we first discovered
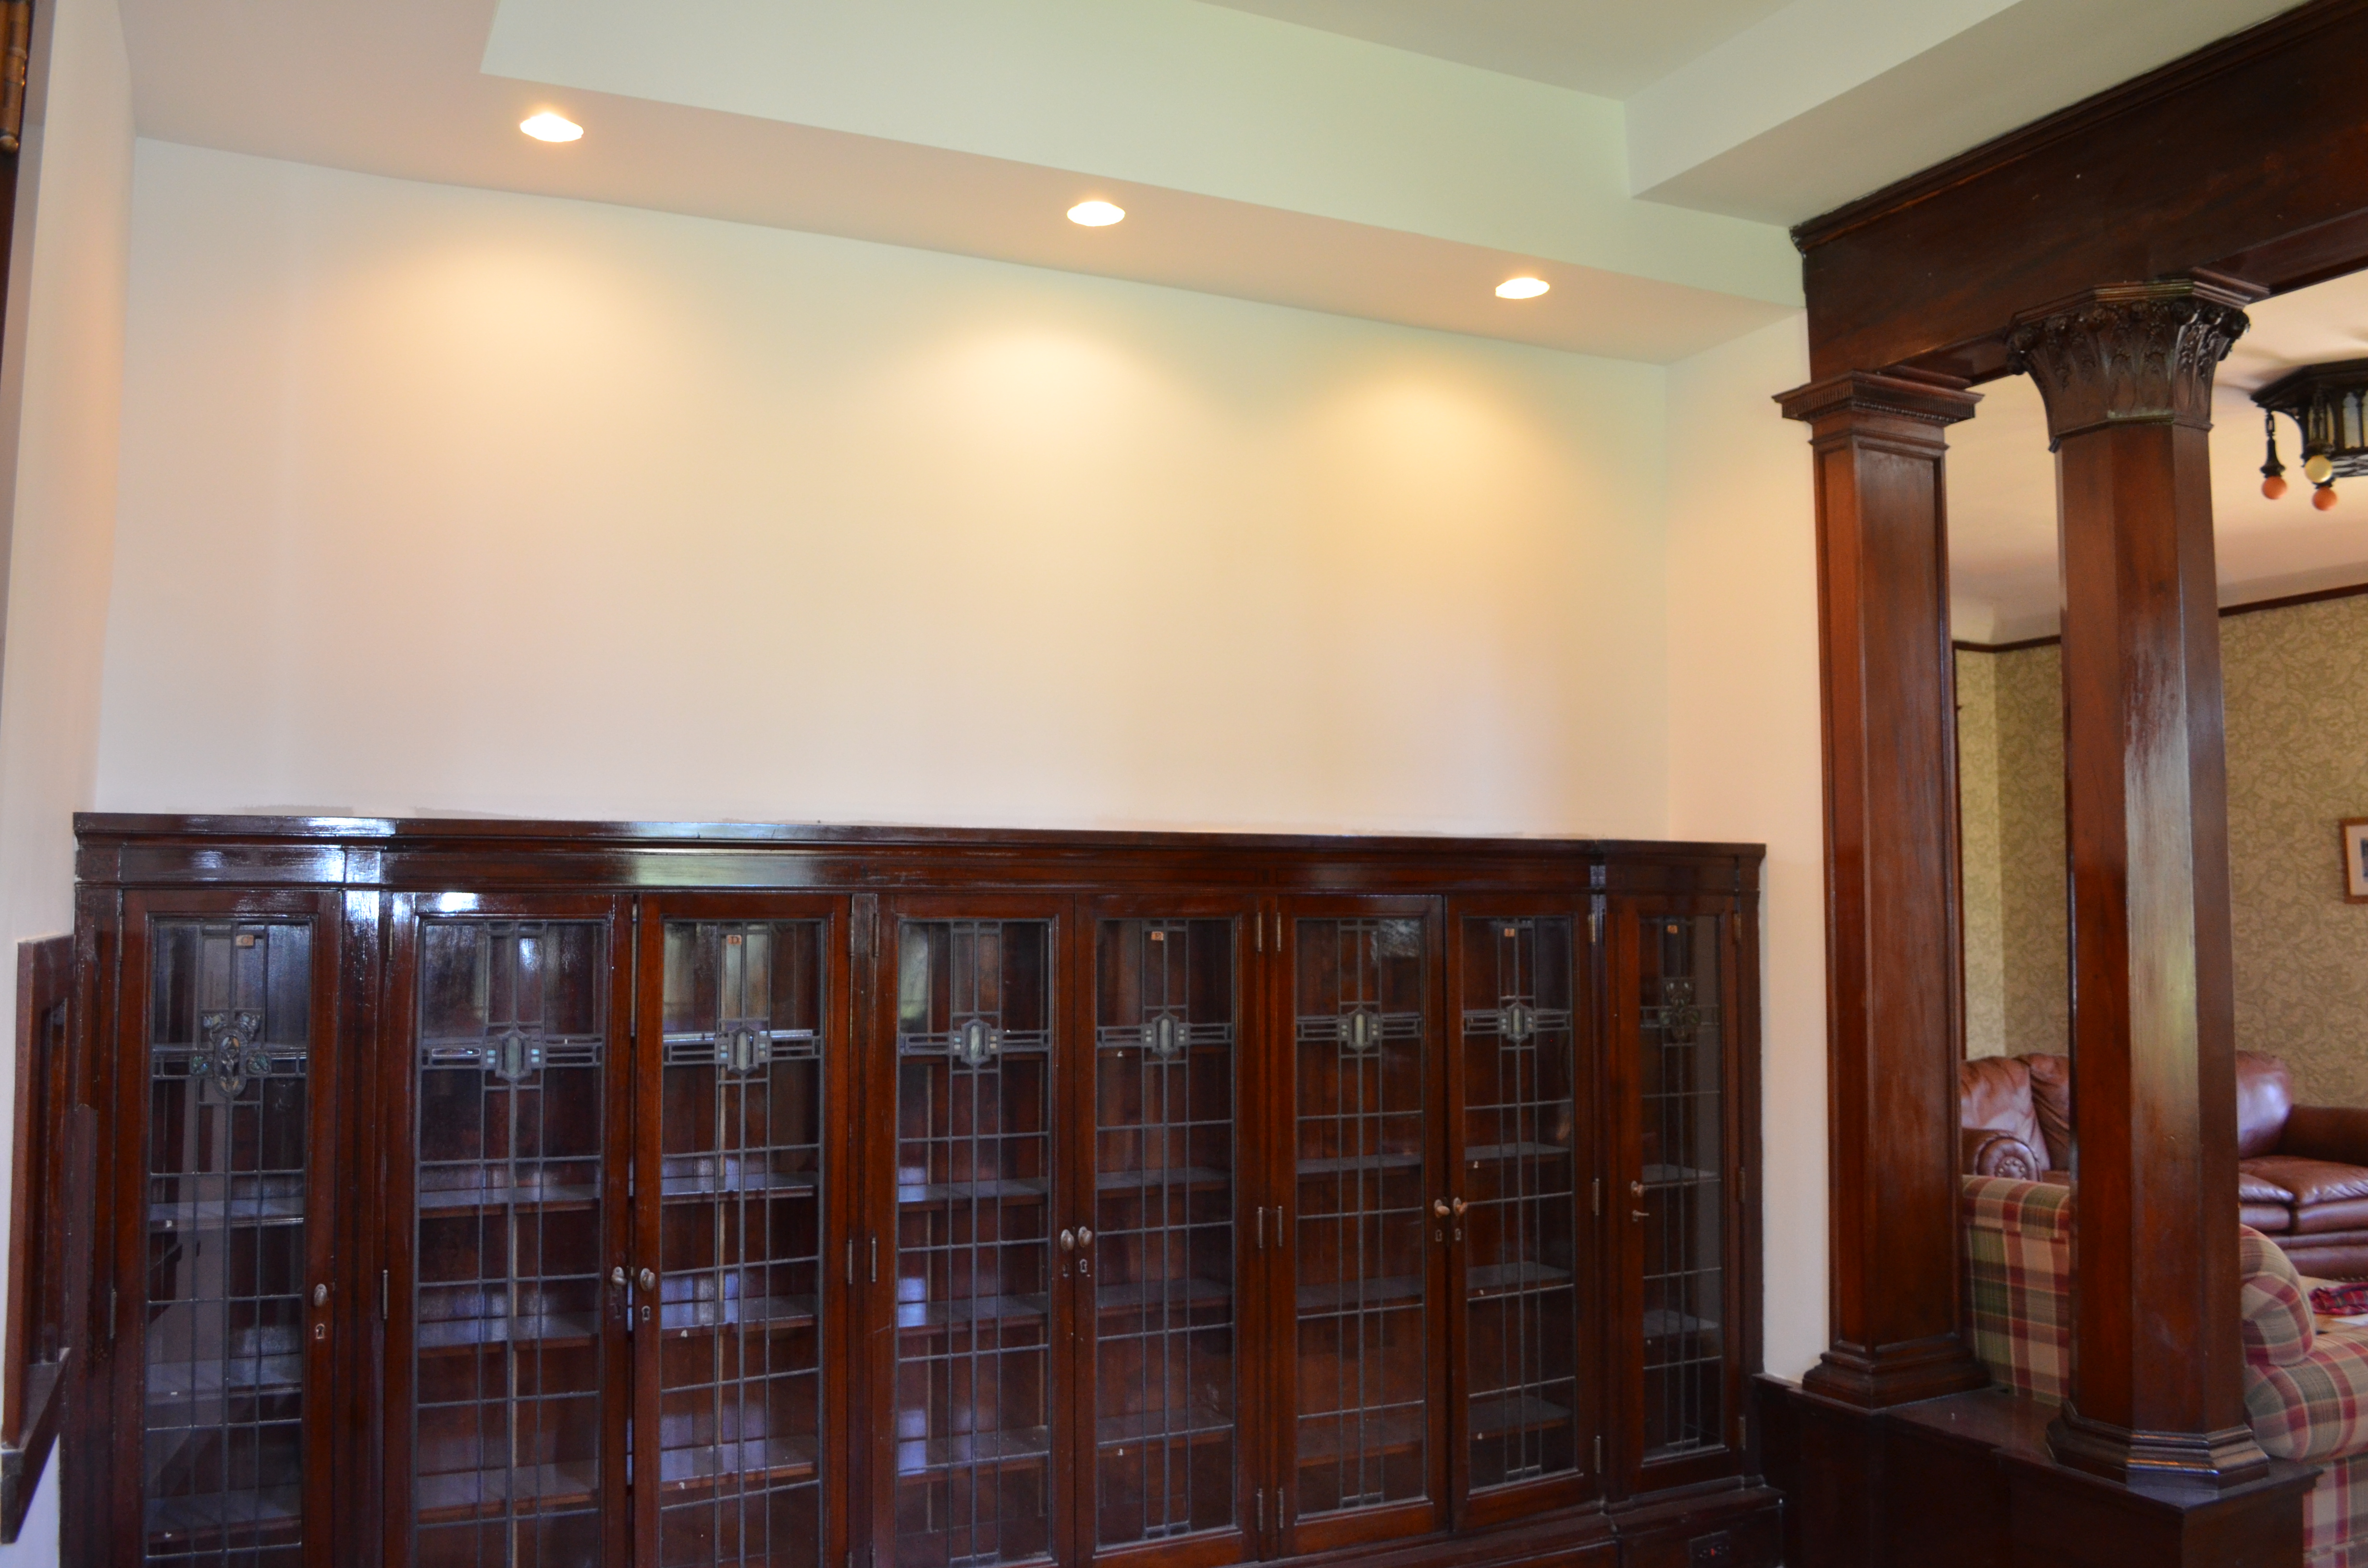
The plumber found the first pieces and we were shocked to discover most of the mural was still intact. We made the decision to try to take the ceiling back up to its original height. This was made a little complicated due to the plumbing repairs we had made. We couldn’t restore the ceiling to the original height with just the corners dropped down. The plumber actually suggested having the center of the ceiling at its original height and adding a cove or tray to the edges that would give the room a more modern look and hide the plumbing. We thought it was a great solution and moved forward with the plan. We decided to put can lights in the tray to highlight the cabinets and doors and not put a center light back in since there was not one here originally
We still need to paint and plan to add trim and a rope light around the tray. Here is how it came out:

Leaded mahogany cabinets and arched window

The repaired wall around the confessional window

view of the new tray ceiling

The other side of the room
With the lights on.
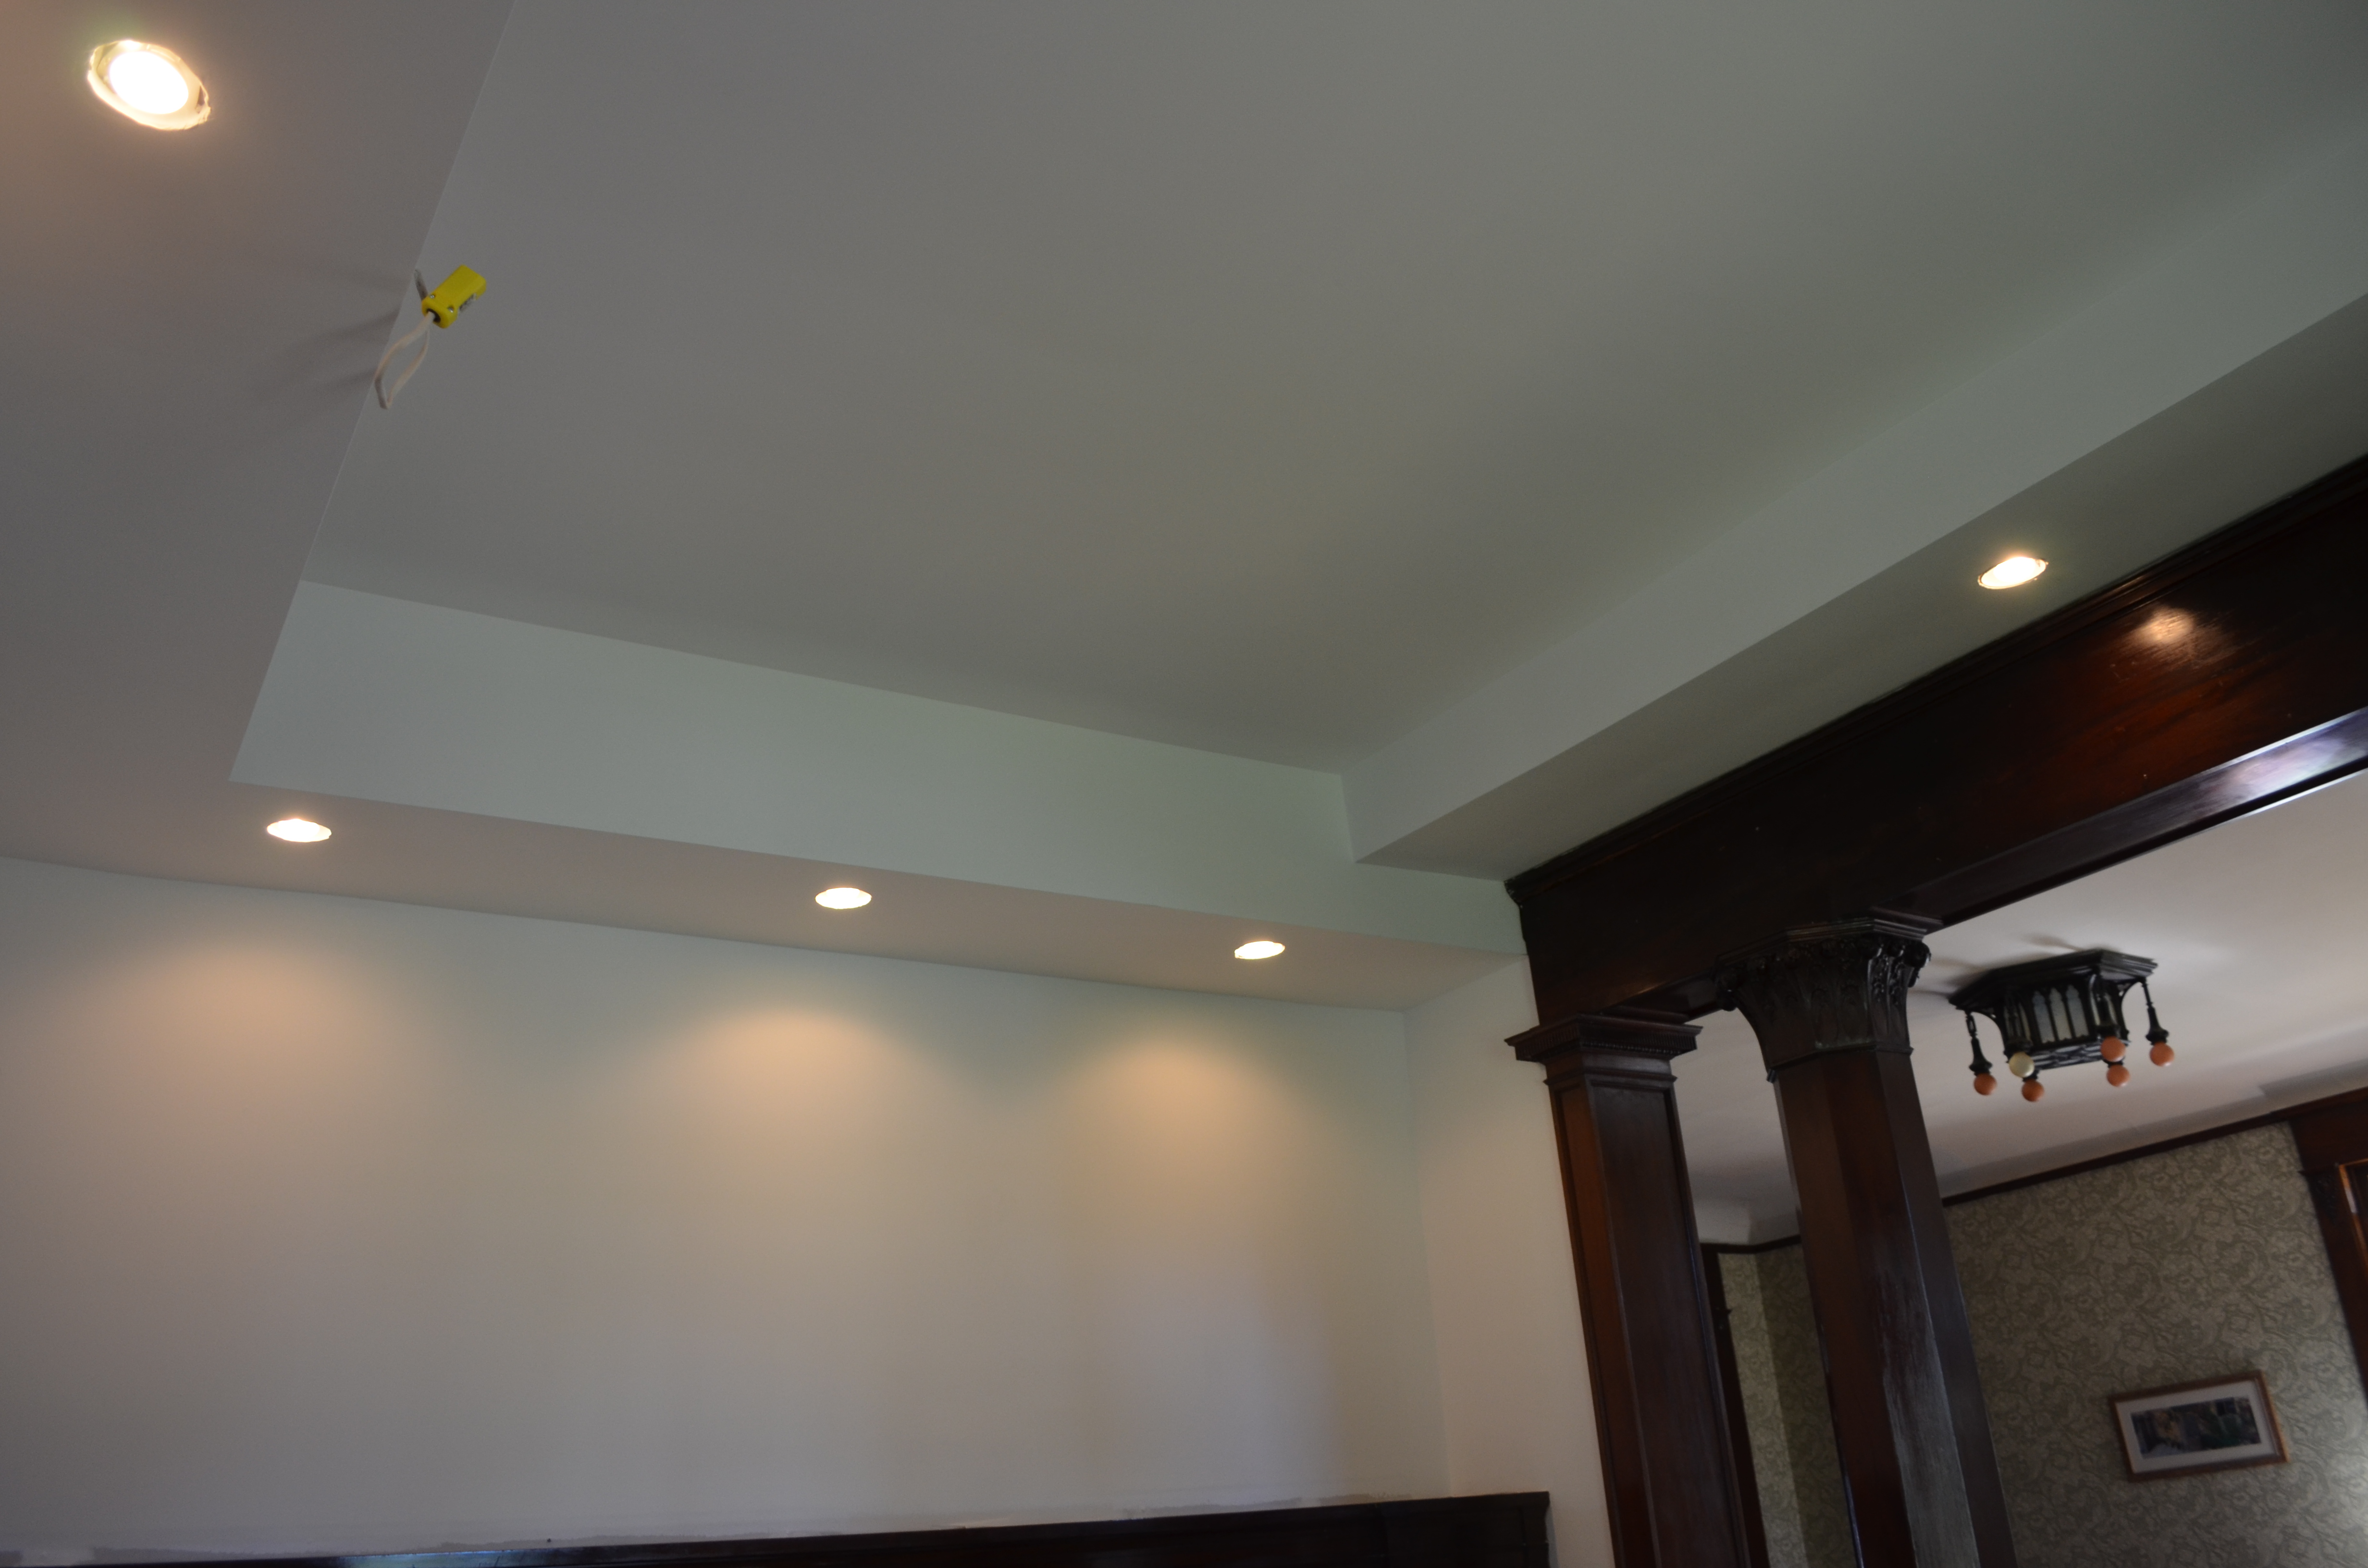
The tray at the original ceiling height.

View from the living room.
My sister was an art major in college and she thinks she can recreate the ceiling mural in the tray. I am looking forward to seeing if we can do that and think it would be so great. I wonder how long it has been since anyone has seen that original mural? It will be great to restore that piece of the home’s history.

It is Beautiful! The house is happy.
LikeLike
I’m eager to see first hand the final results. It sounds wonderful!!!
LikeLike