We are in the process of switching the kids rooms around. Oldest daughter is away at camp so we want to finish getting her things moved to her new room and put away before she returns tomorrow. Matt finished painting her room and I moved everything out of her old room. Matt is finishing the hall closet which she will use in place of the very large closet she had in her current bedroom. As soon as the painting is finished I can try to put all her things away.

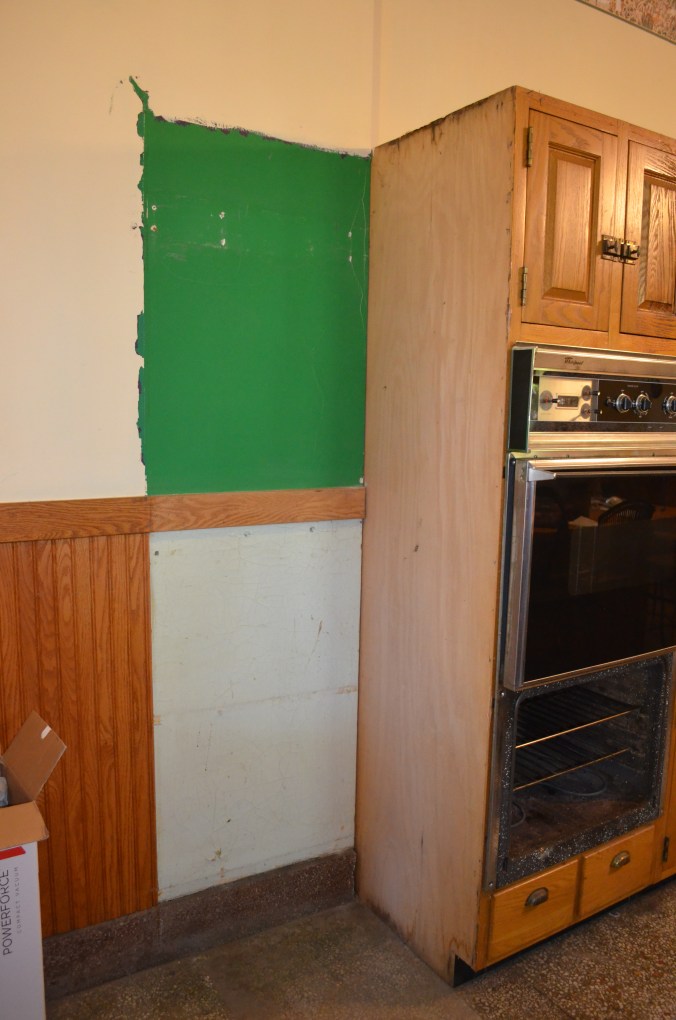
Matt has made progress on the closets. The bedroom one is finished:

Closet before

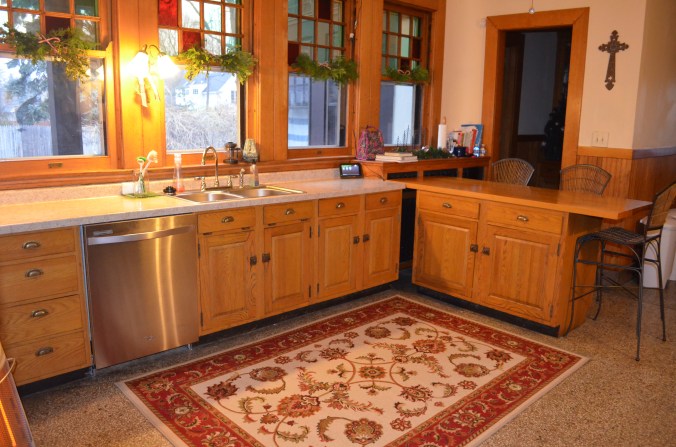
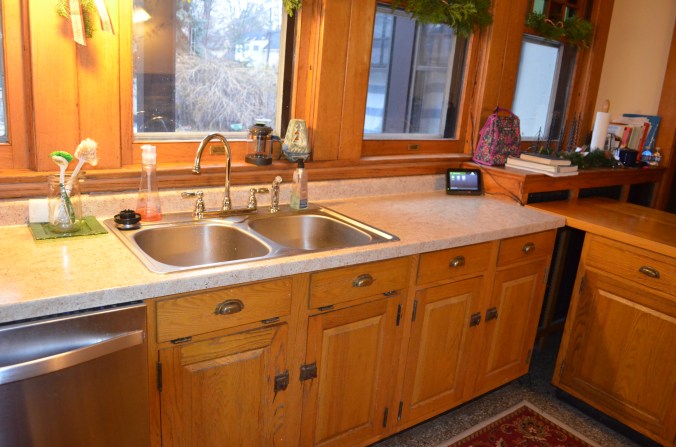
Closet after
The problem now is getting all the stuff from her old closet:


Into the new closet!

The old closet is 6 feet long with built in cupboards above the clothes rod and built in drawers, cupboards and shoe holders on the end that are 18 inches deep. We know that won’t all fit in the room she is moving to where there is one shelf and a hanging rod which is only two feet long.
The solution is letting her use the hall closet next to her bedroom to keep a lot of her stuff in. I lined the drawers, shelves and the back walls of the cupboards. I scraped off most of the green paint. Matt has painted the green walls and I hope he can finish the cabinets and drawers today. It is a big improvement and will be a great use of this space.

We painted the walls the same color as the hallway outside.
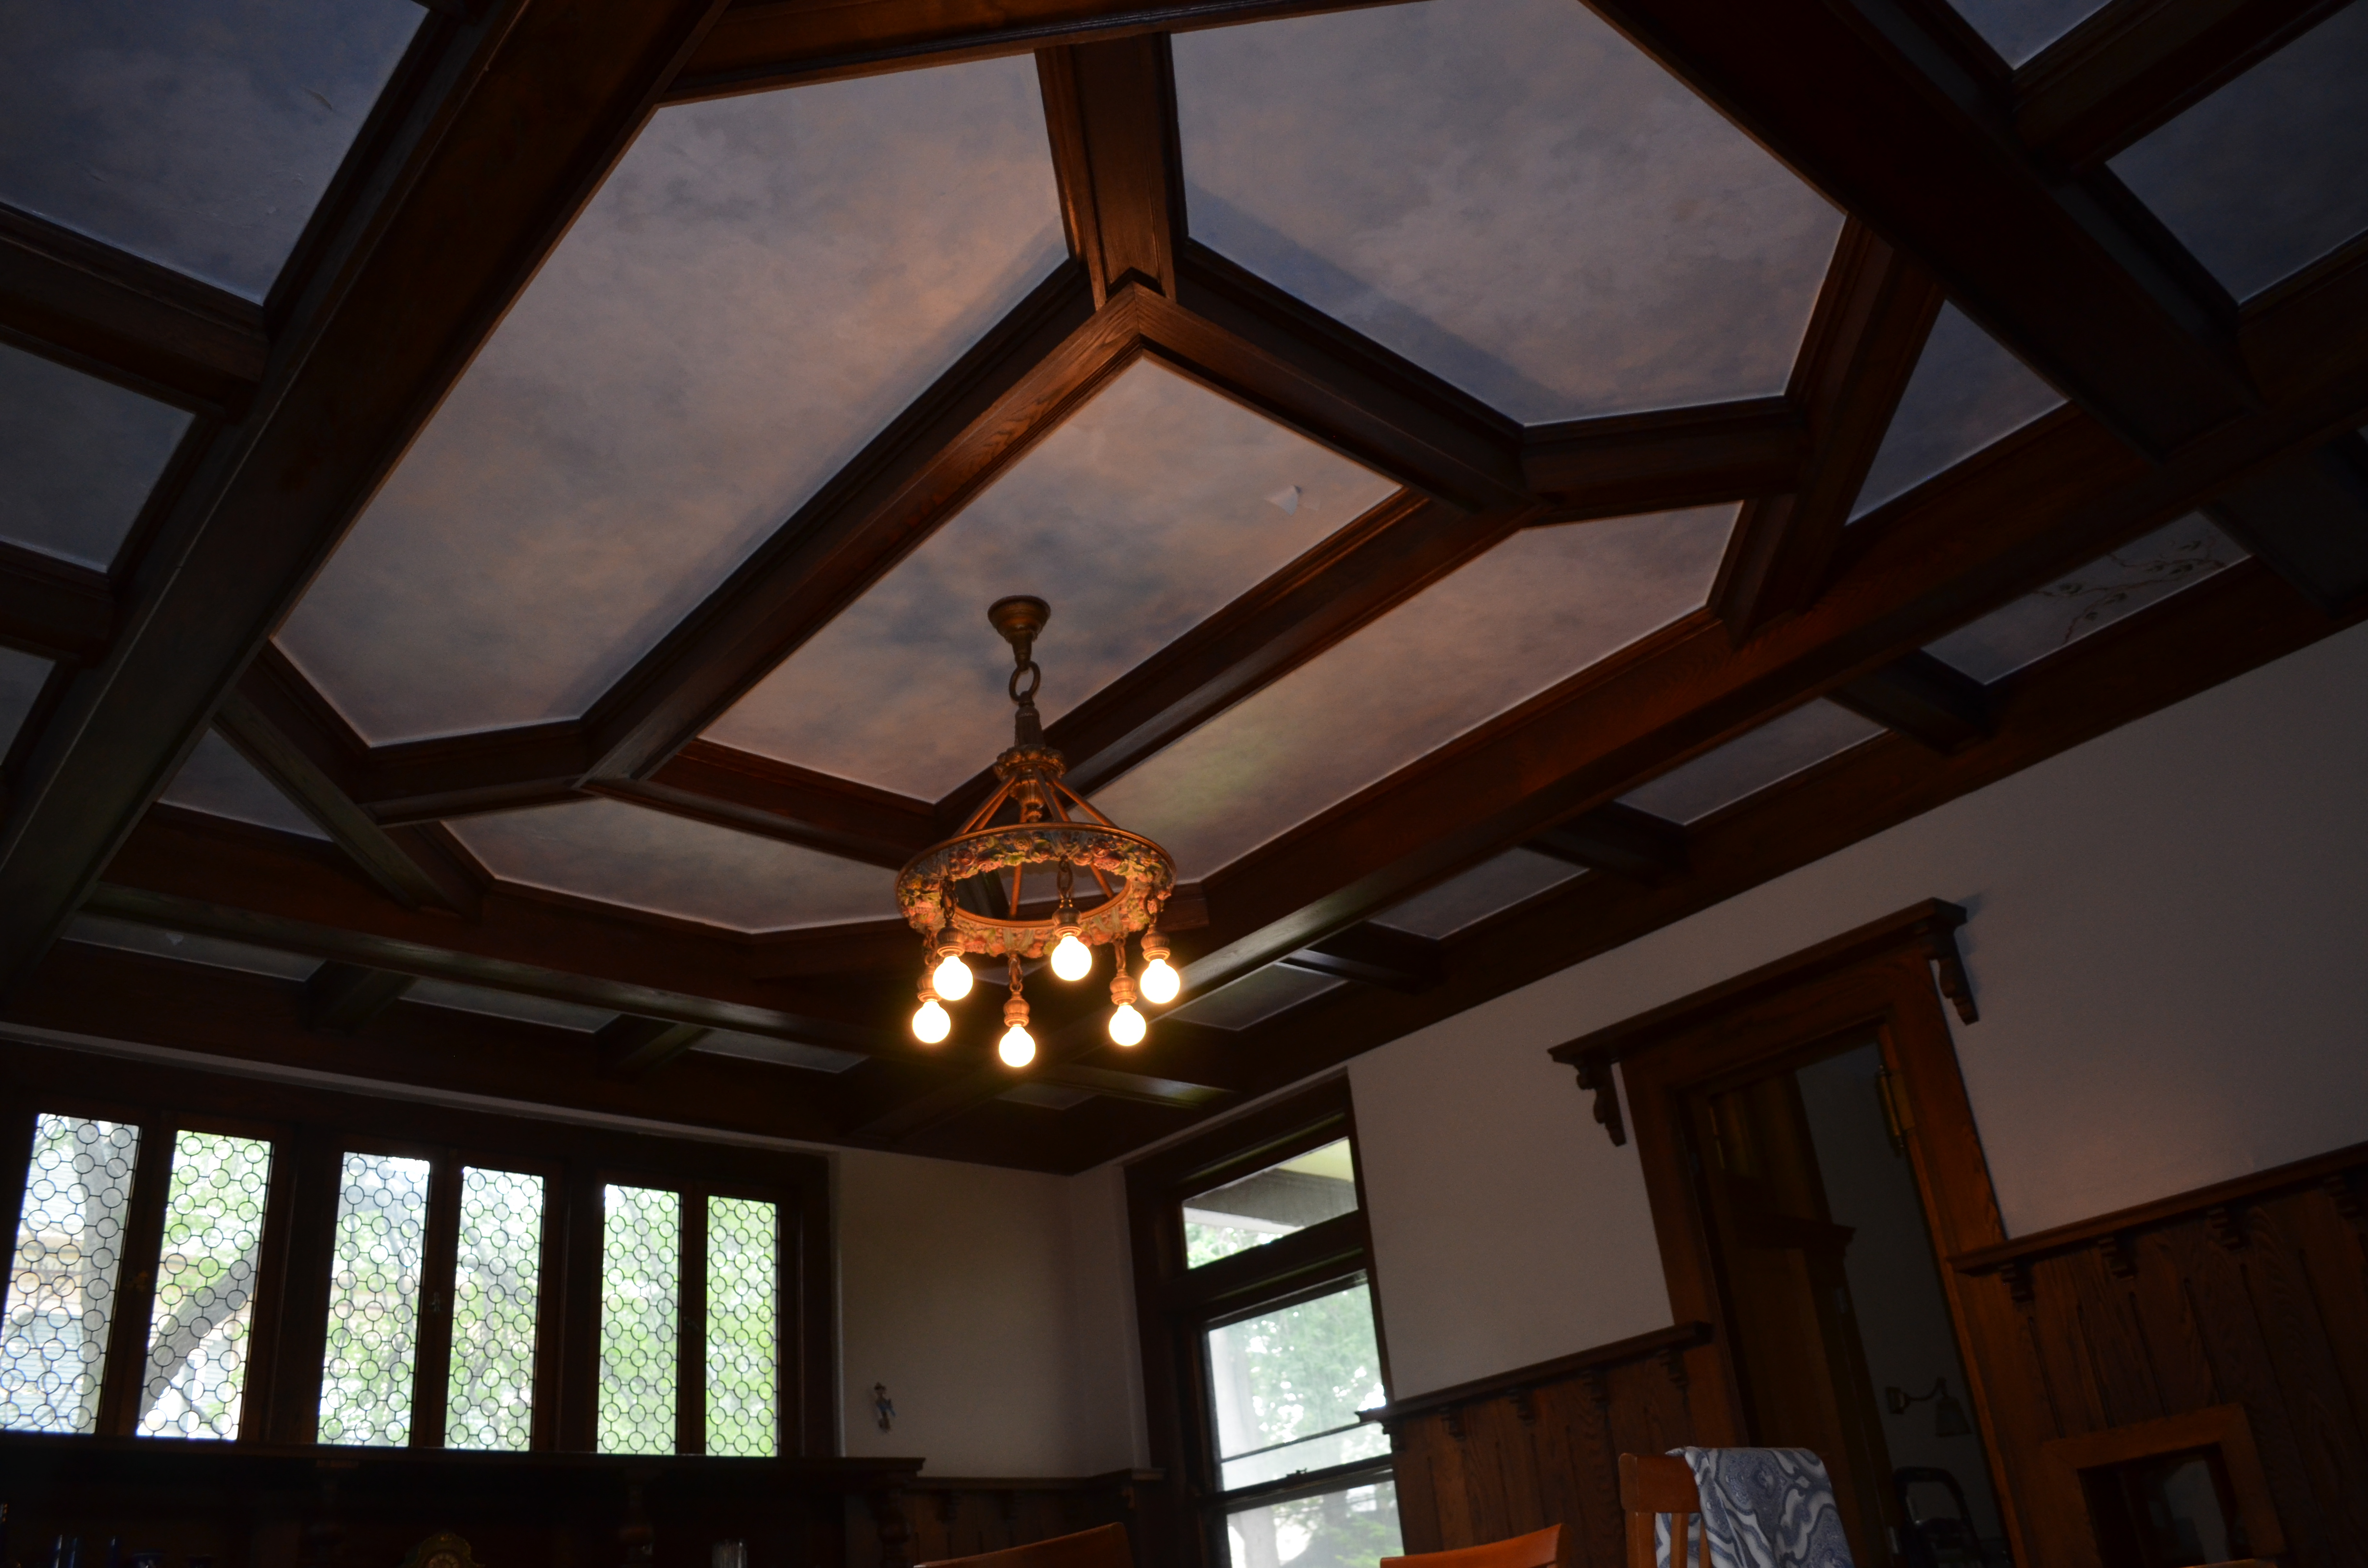
The next step in getting all this rearranging done is to get oldest daughters old room painted so oldest son can move his things in. This room had some damage done to the ceiling from one of the flat roofs on the third floor. Looking at it, we knew there had been a problem but the sellers assured us the leaking had been taken care of. Turns out that that wasn’t true. Oldest daughter had all her friends here for a sleepover shortly after we moved in. We had a big storm and there was rain water pouring out of her bedroom ceiling fixture! When the ceiling dried out, part of it actually fell off. We had the drywall guy come and repair it.

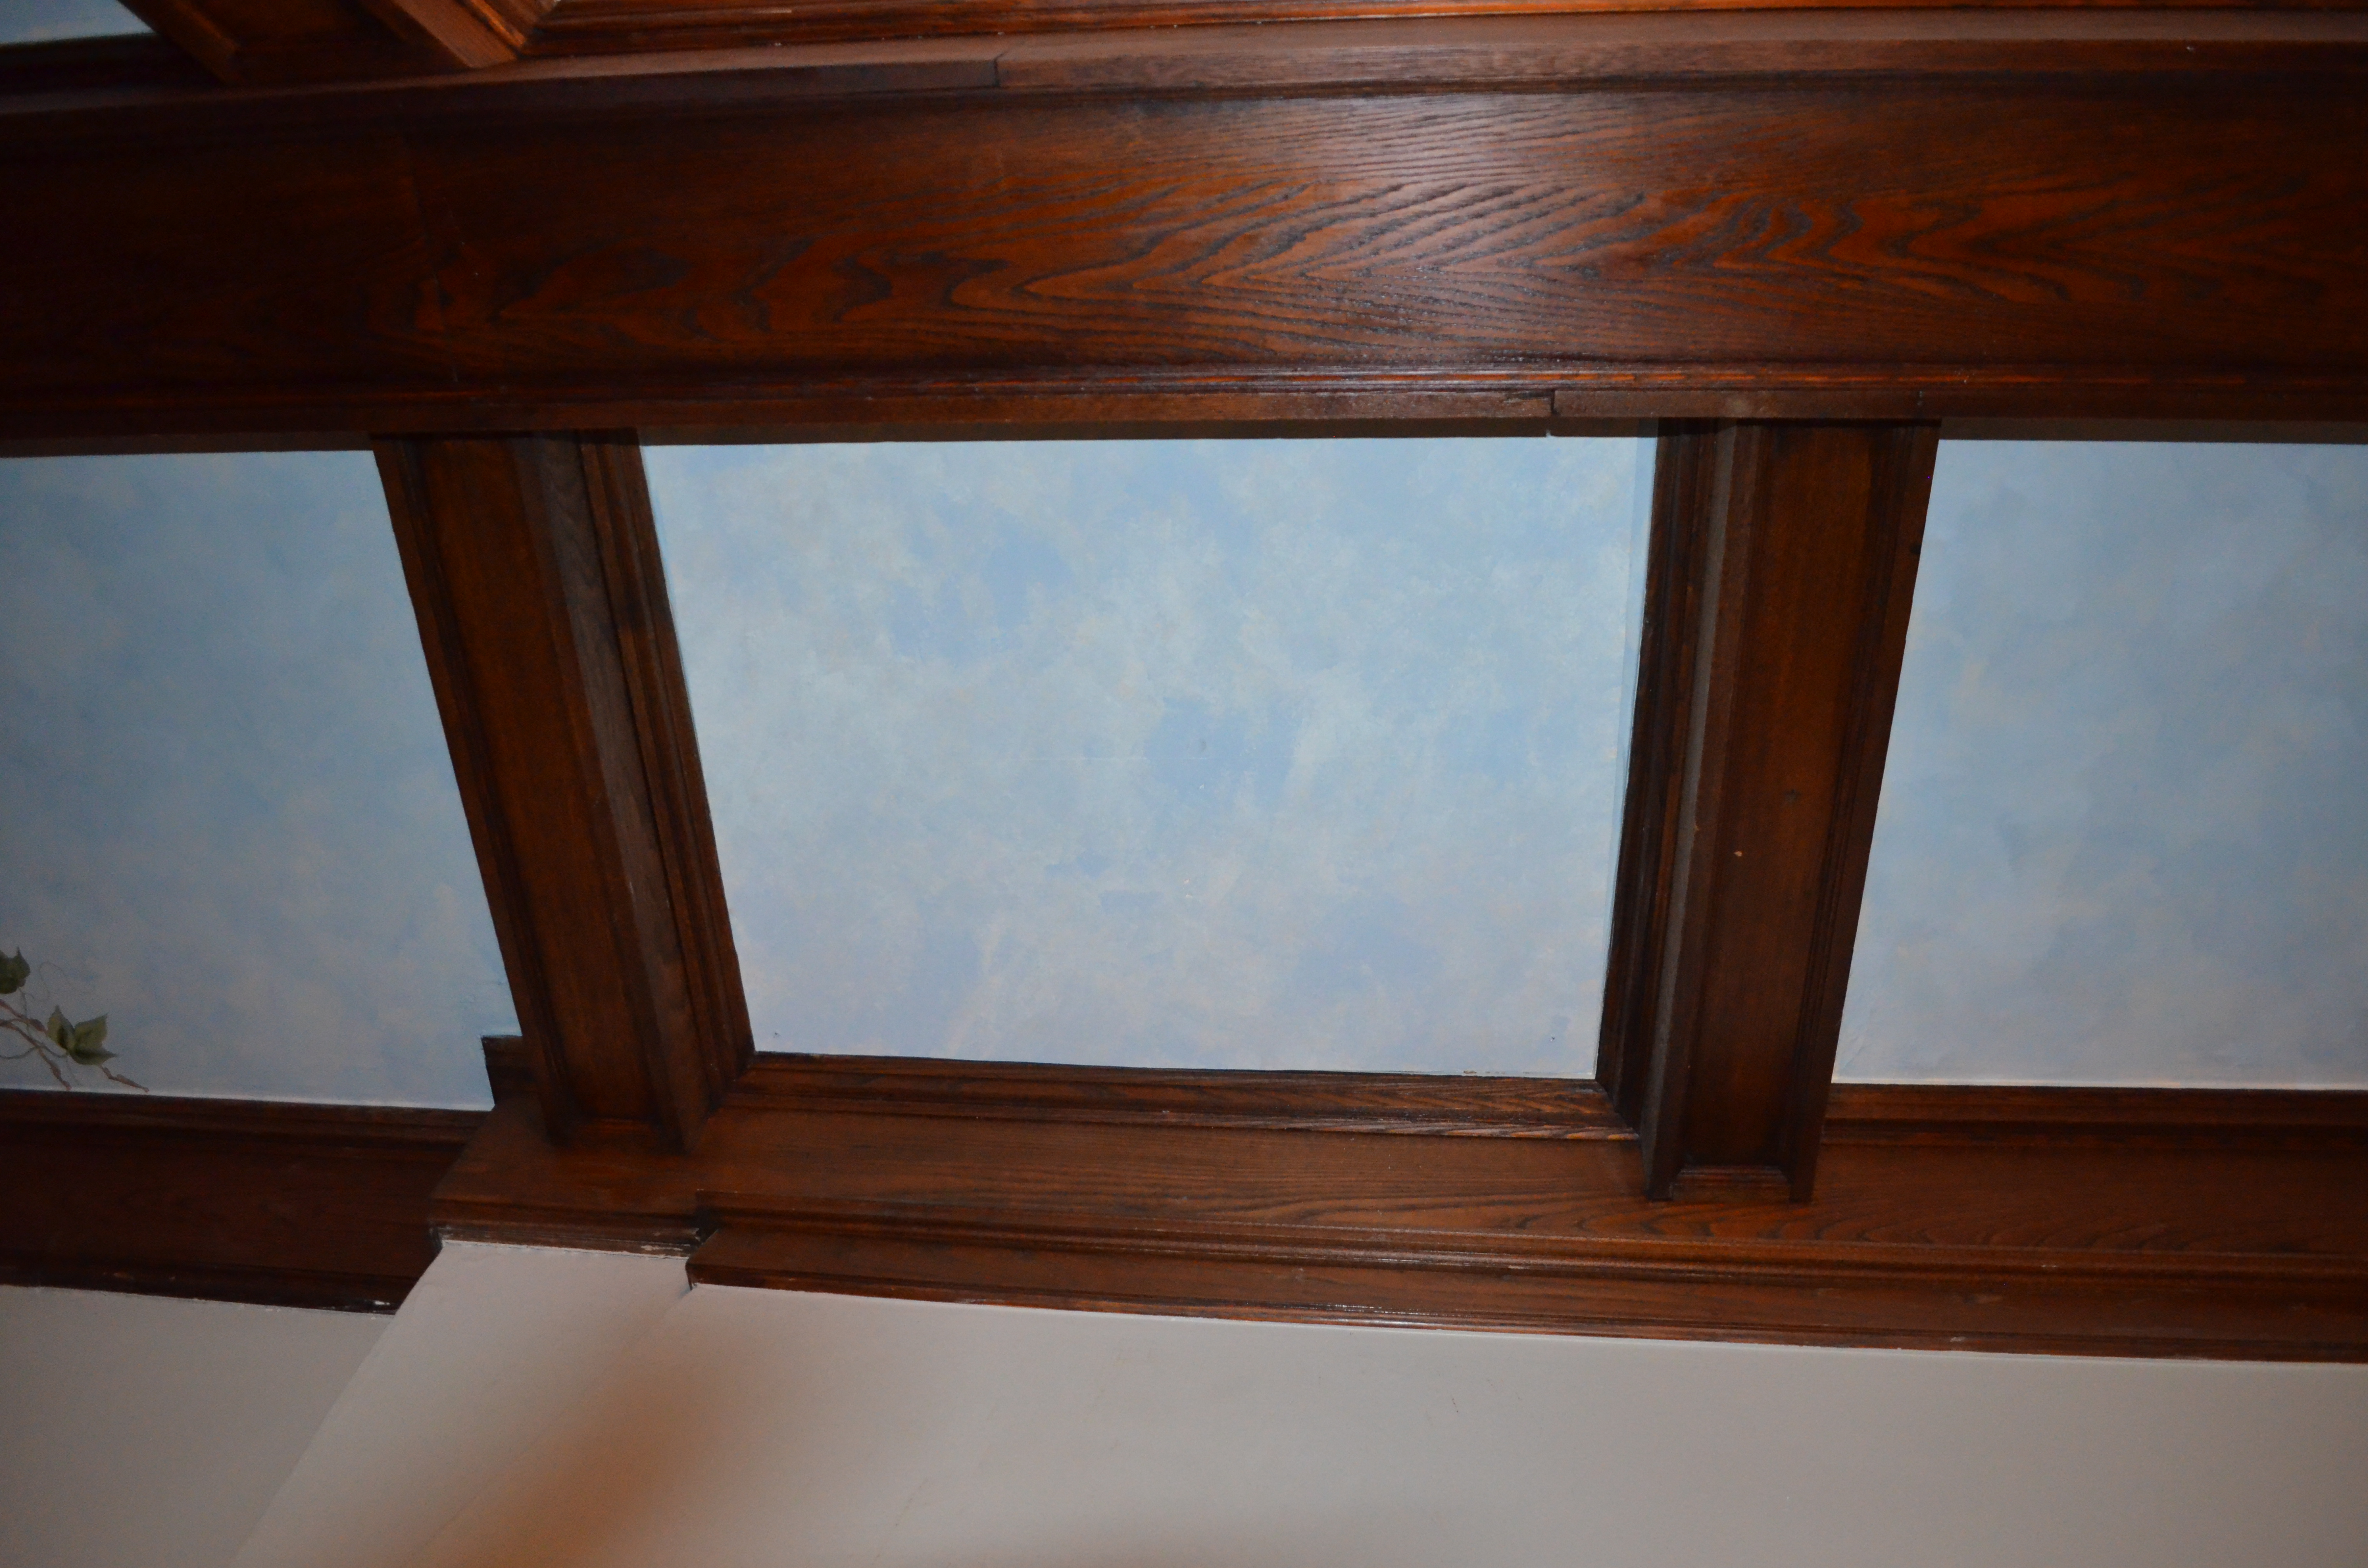
You can see the part of the ceiling where the drywall was fixed and the crown molding that was damaged and needs to be painted.
There were still some spots on the ceiling that were damaged and some loose paint up there. Oldest son decided he could handle scraping off the loose paint and prepping it for Matt to paint.
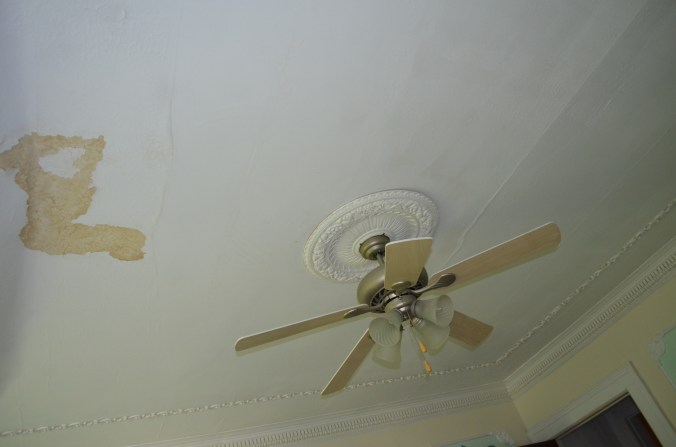
He got way more than he bargained for when he started to scrape the loose paint, and an entire section of the ceiling came down! I received a text message that read “the sky is falling.” I knew that could not be good!


Apparently the ceilings in our house are all canvas with plaster skim coat over them. The whole section of the plaster covered canvas fell. The interesting part, is it tore away from the plaster decorative border that is on the ceiling in this room. It is the only room in the house with this border so we were happy not to lose it!
Matt thinks we can (carefully) remove the remainder of the canvas and leave the border intact. He can skim the ceiling and paint and we will be good to go. This will delay the project of course. We moved all the things out of the ‘cowboy” room into the hall except the two twin bed frames. Once oldest son moves his things into oldest daughters old room, the guest room things can move into his old room and become the new guest room- with a bathroom! It will be a much nicer configuration for guests.
In the meantime, our upstairs hallway looks like this:
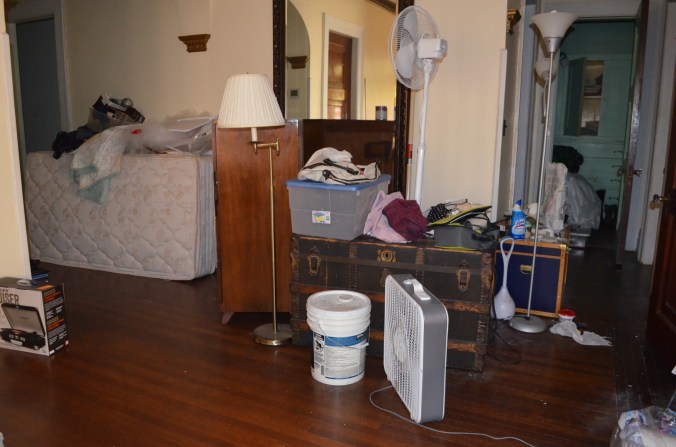
It feels like we just moved in all over again!