It seems crazy that in all the times we looked at the house before we bought it and in the nearly four months since we moved in that we hadn’t opened (or is it we haven’t closed them?!) the giant pocket doors to the dining room. I would estimate that these doors are probably over three hundred pounds each. They are eight feet tall and three inches thick. The one from the living room is off the track and we were nervous about pulling out the one in the entry fearing we would pull it off the track as well and we would be stuck with it open (closed?)
We had a nice visit with two members of the Women of the Old West End on Sunday. We were discussing the possibility of having our home on their tour at Christmas time. (As if our life isn’t crazy enough already!) Matt got brave and pulled out the pocket door that is on the track and was able to pull out the other one by carefully lifting it up.
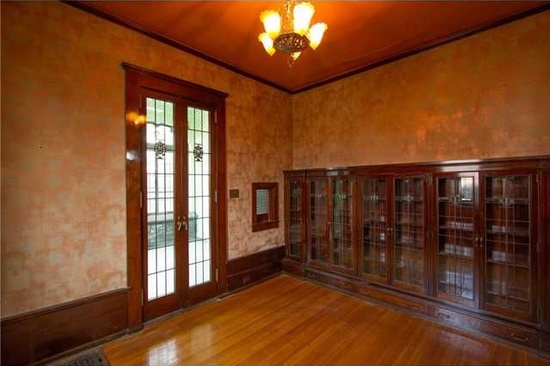
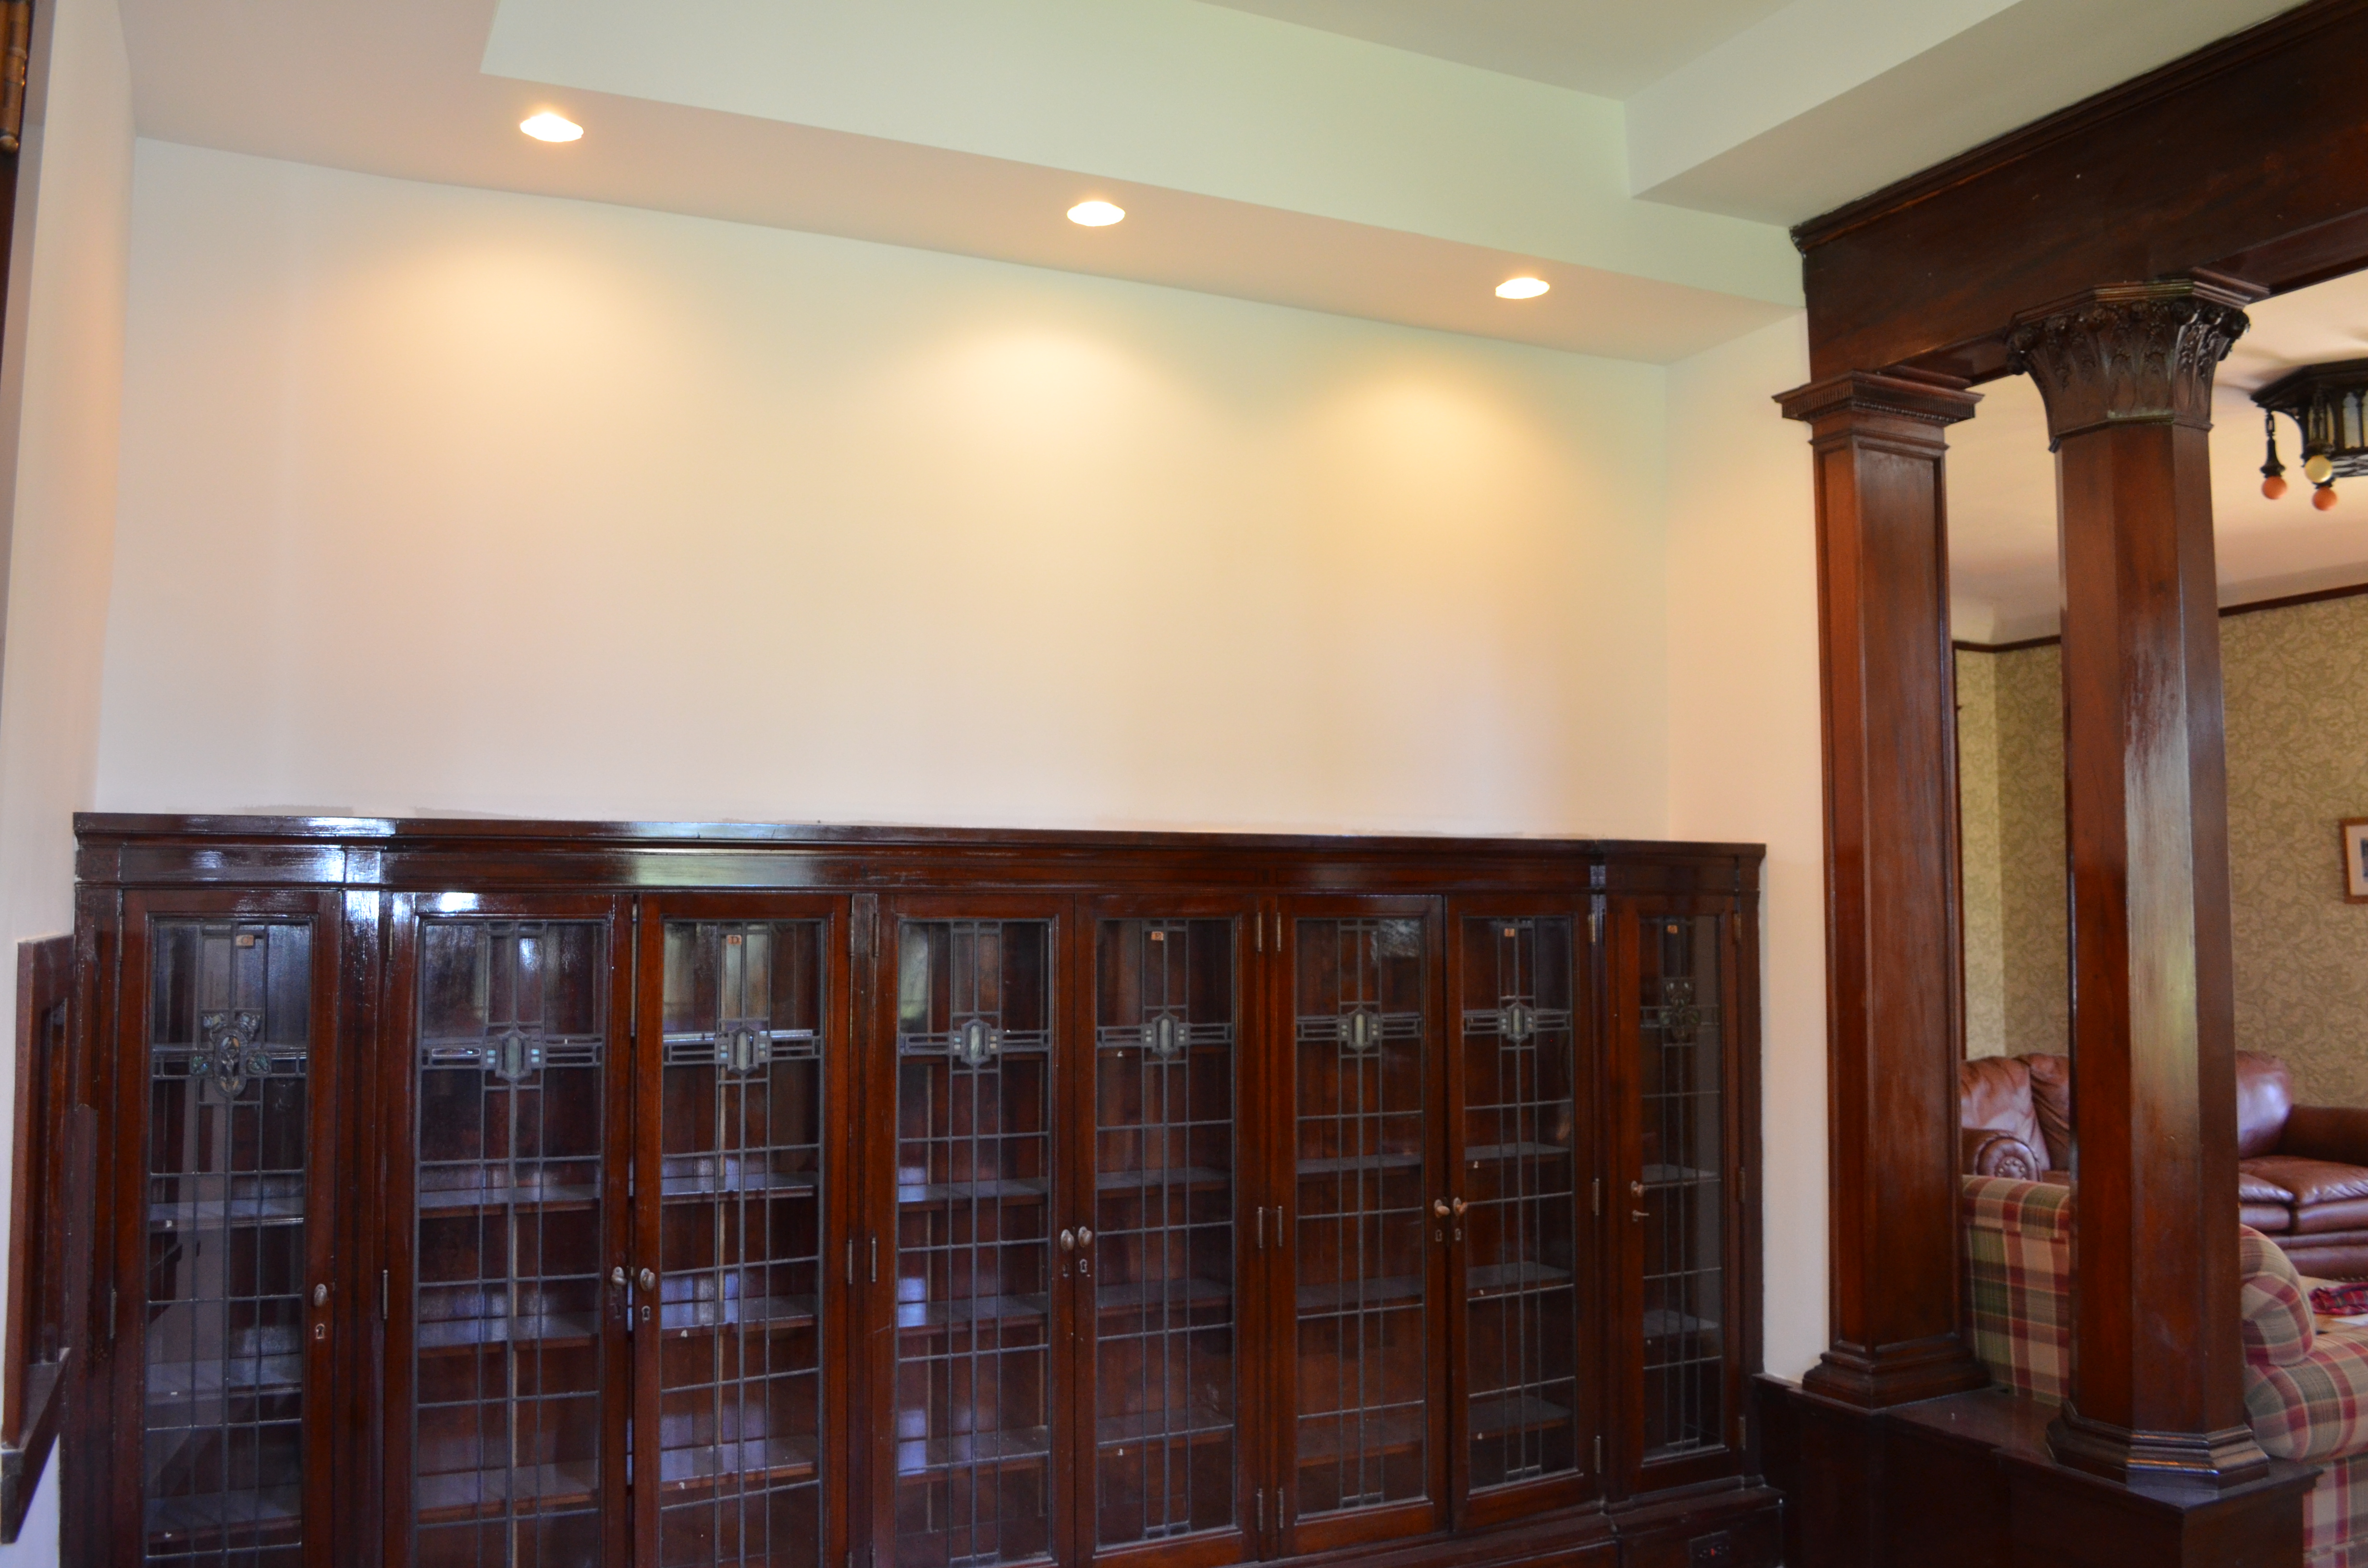
Because all the rooms on the first floor have different molding we knew the doors would match the rooms they faced. I was still surprised at how different each of these giant doors are. They both open into the dining room and even the two sides there are not identical. The first floor feels very different with the rooms closed off from one and other. Our house has a very open concept floor plan for a home built in 1901. It was one of the things that surprised me and that I like very much about the house.
Here is your peek at the pocket doors:

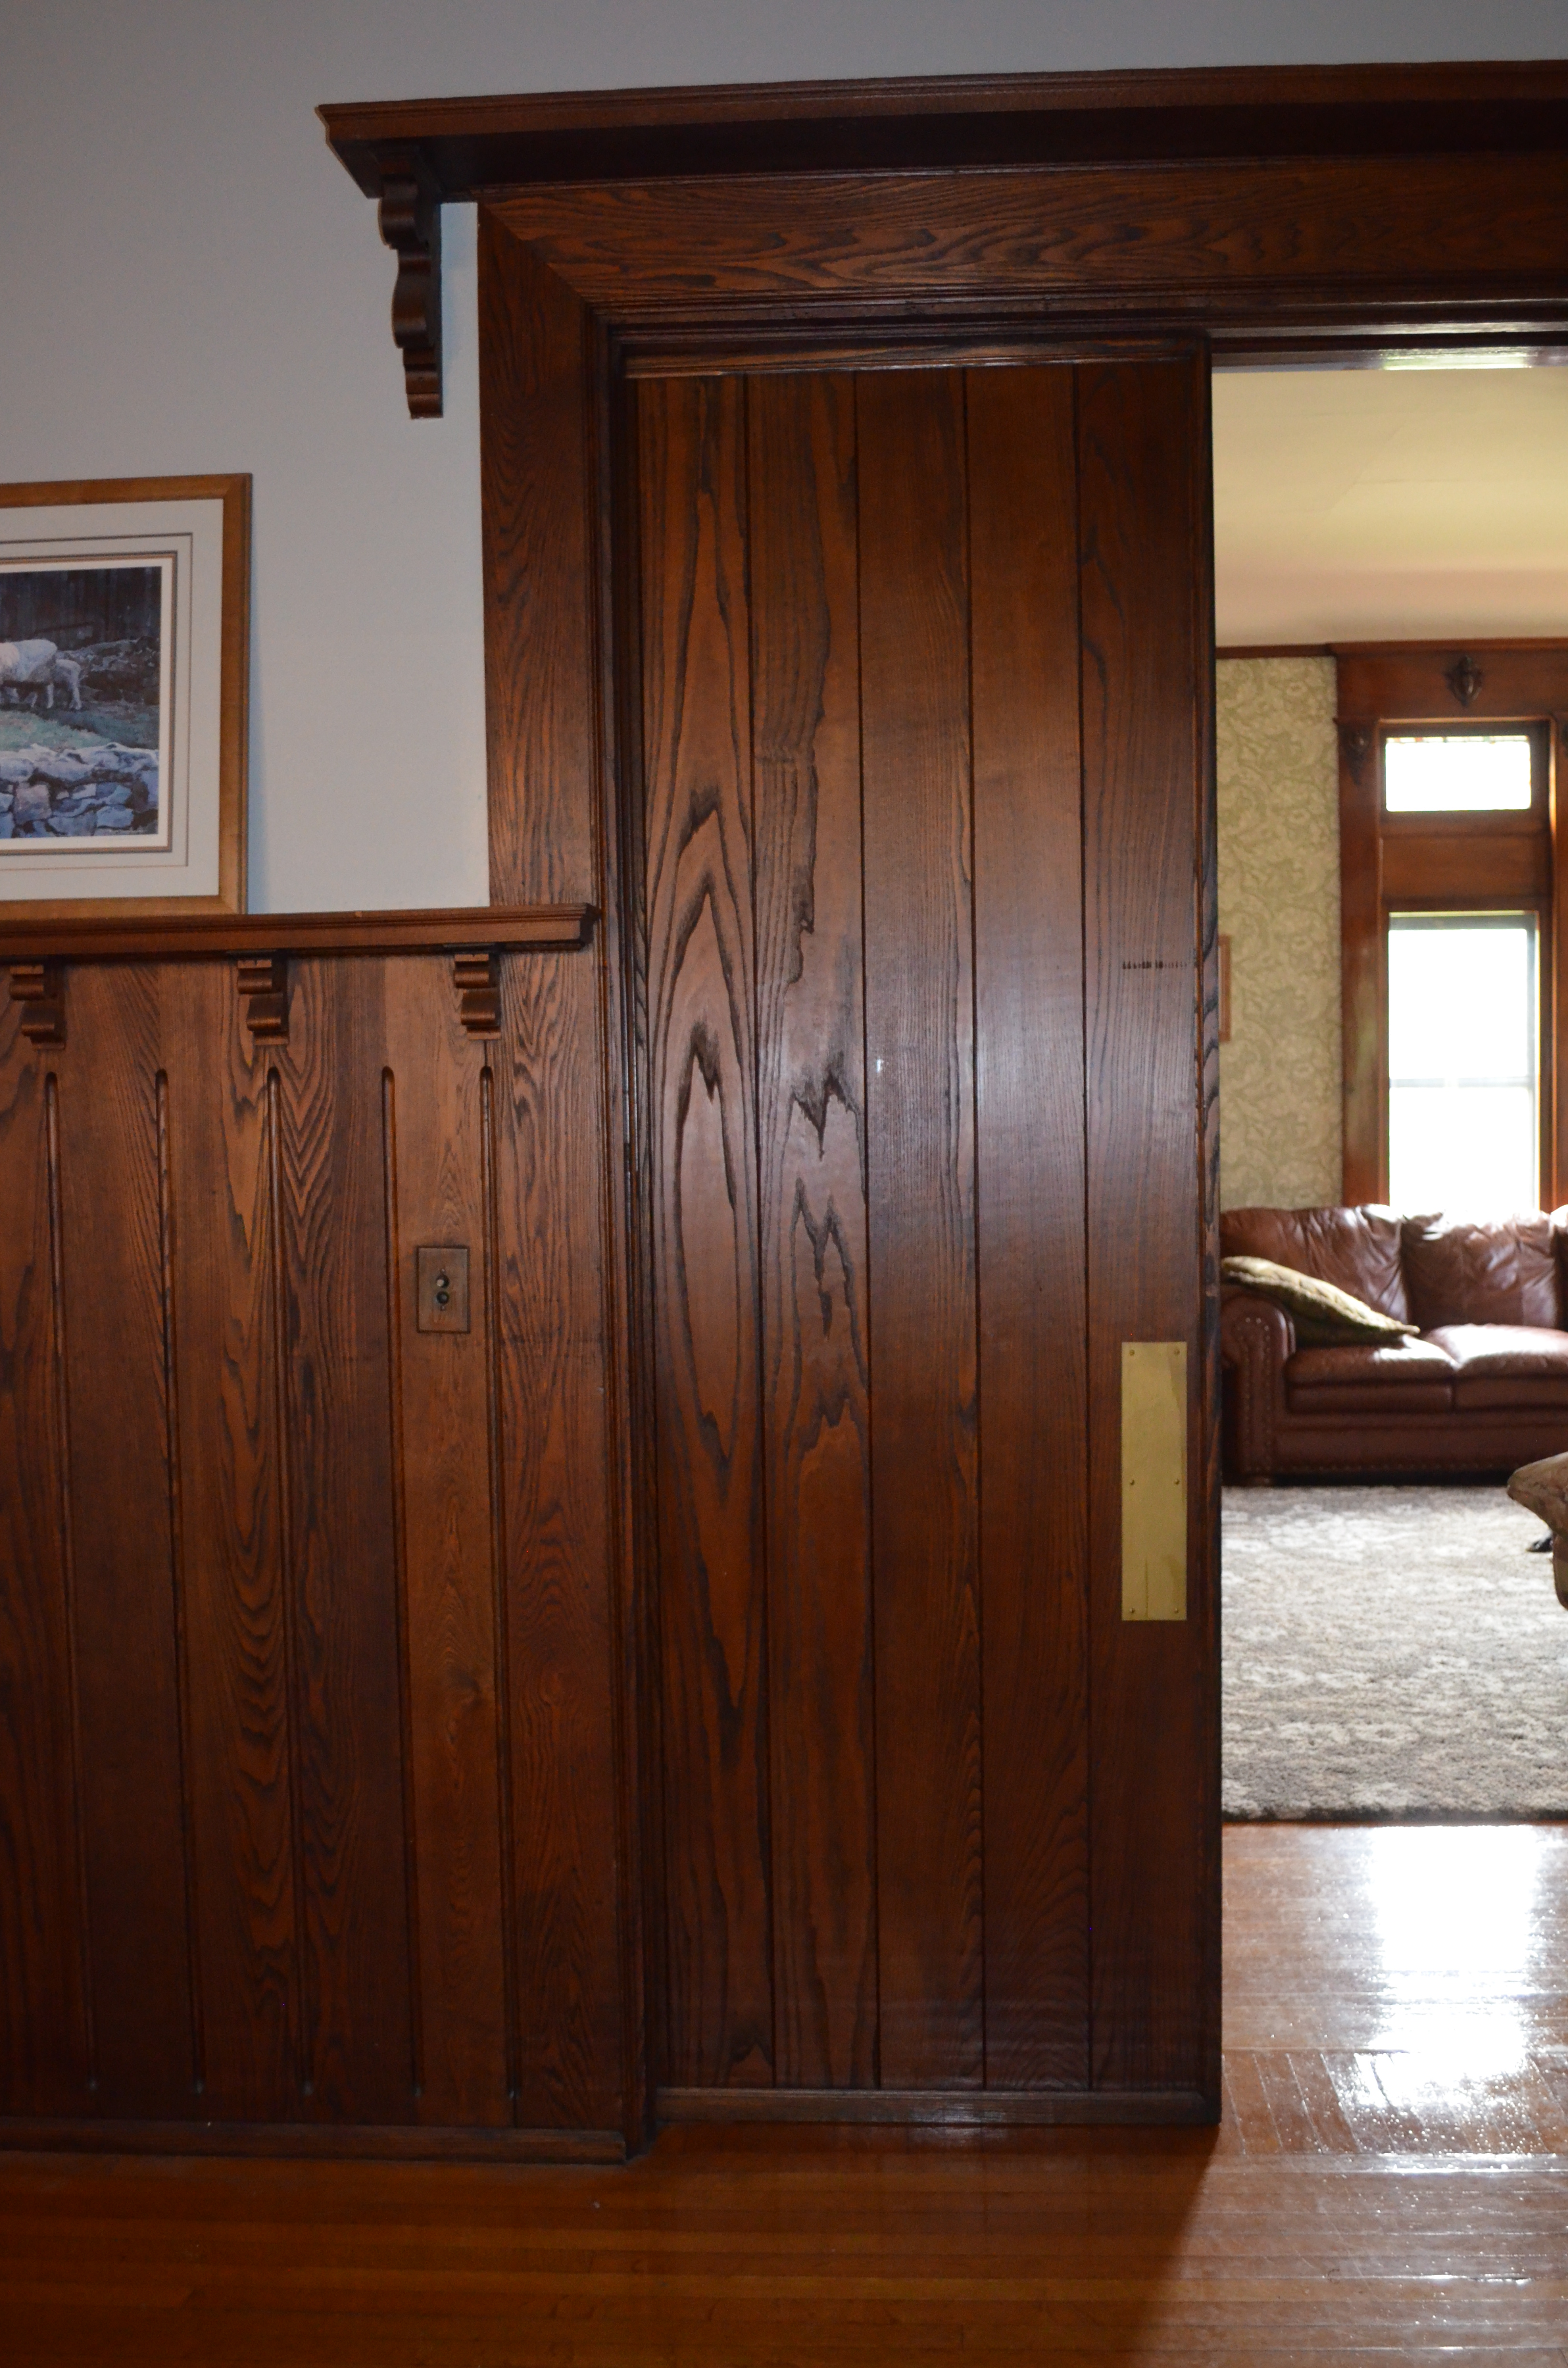
The entry way/dining room pocket door. Quarter sawn oak on this side

The brass door pull
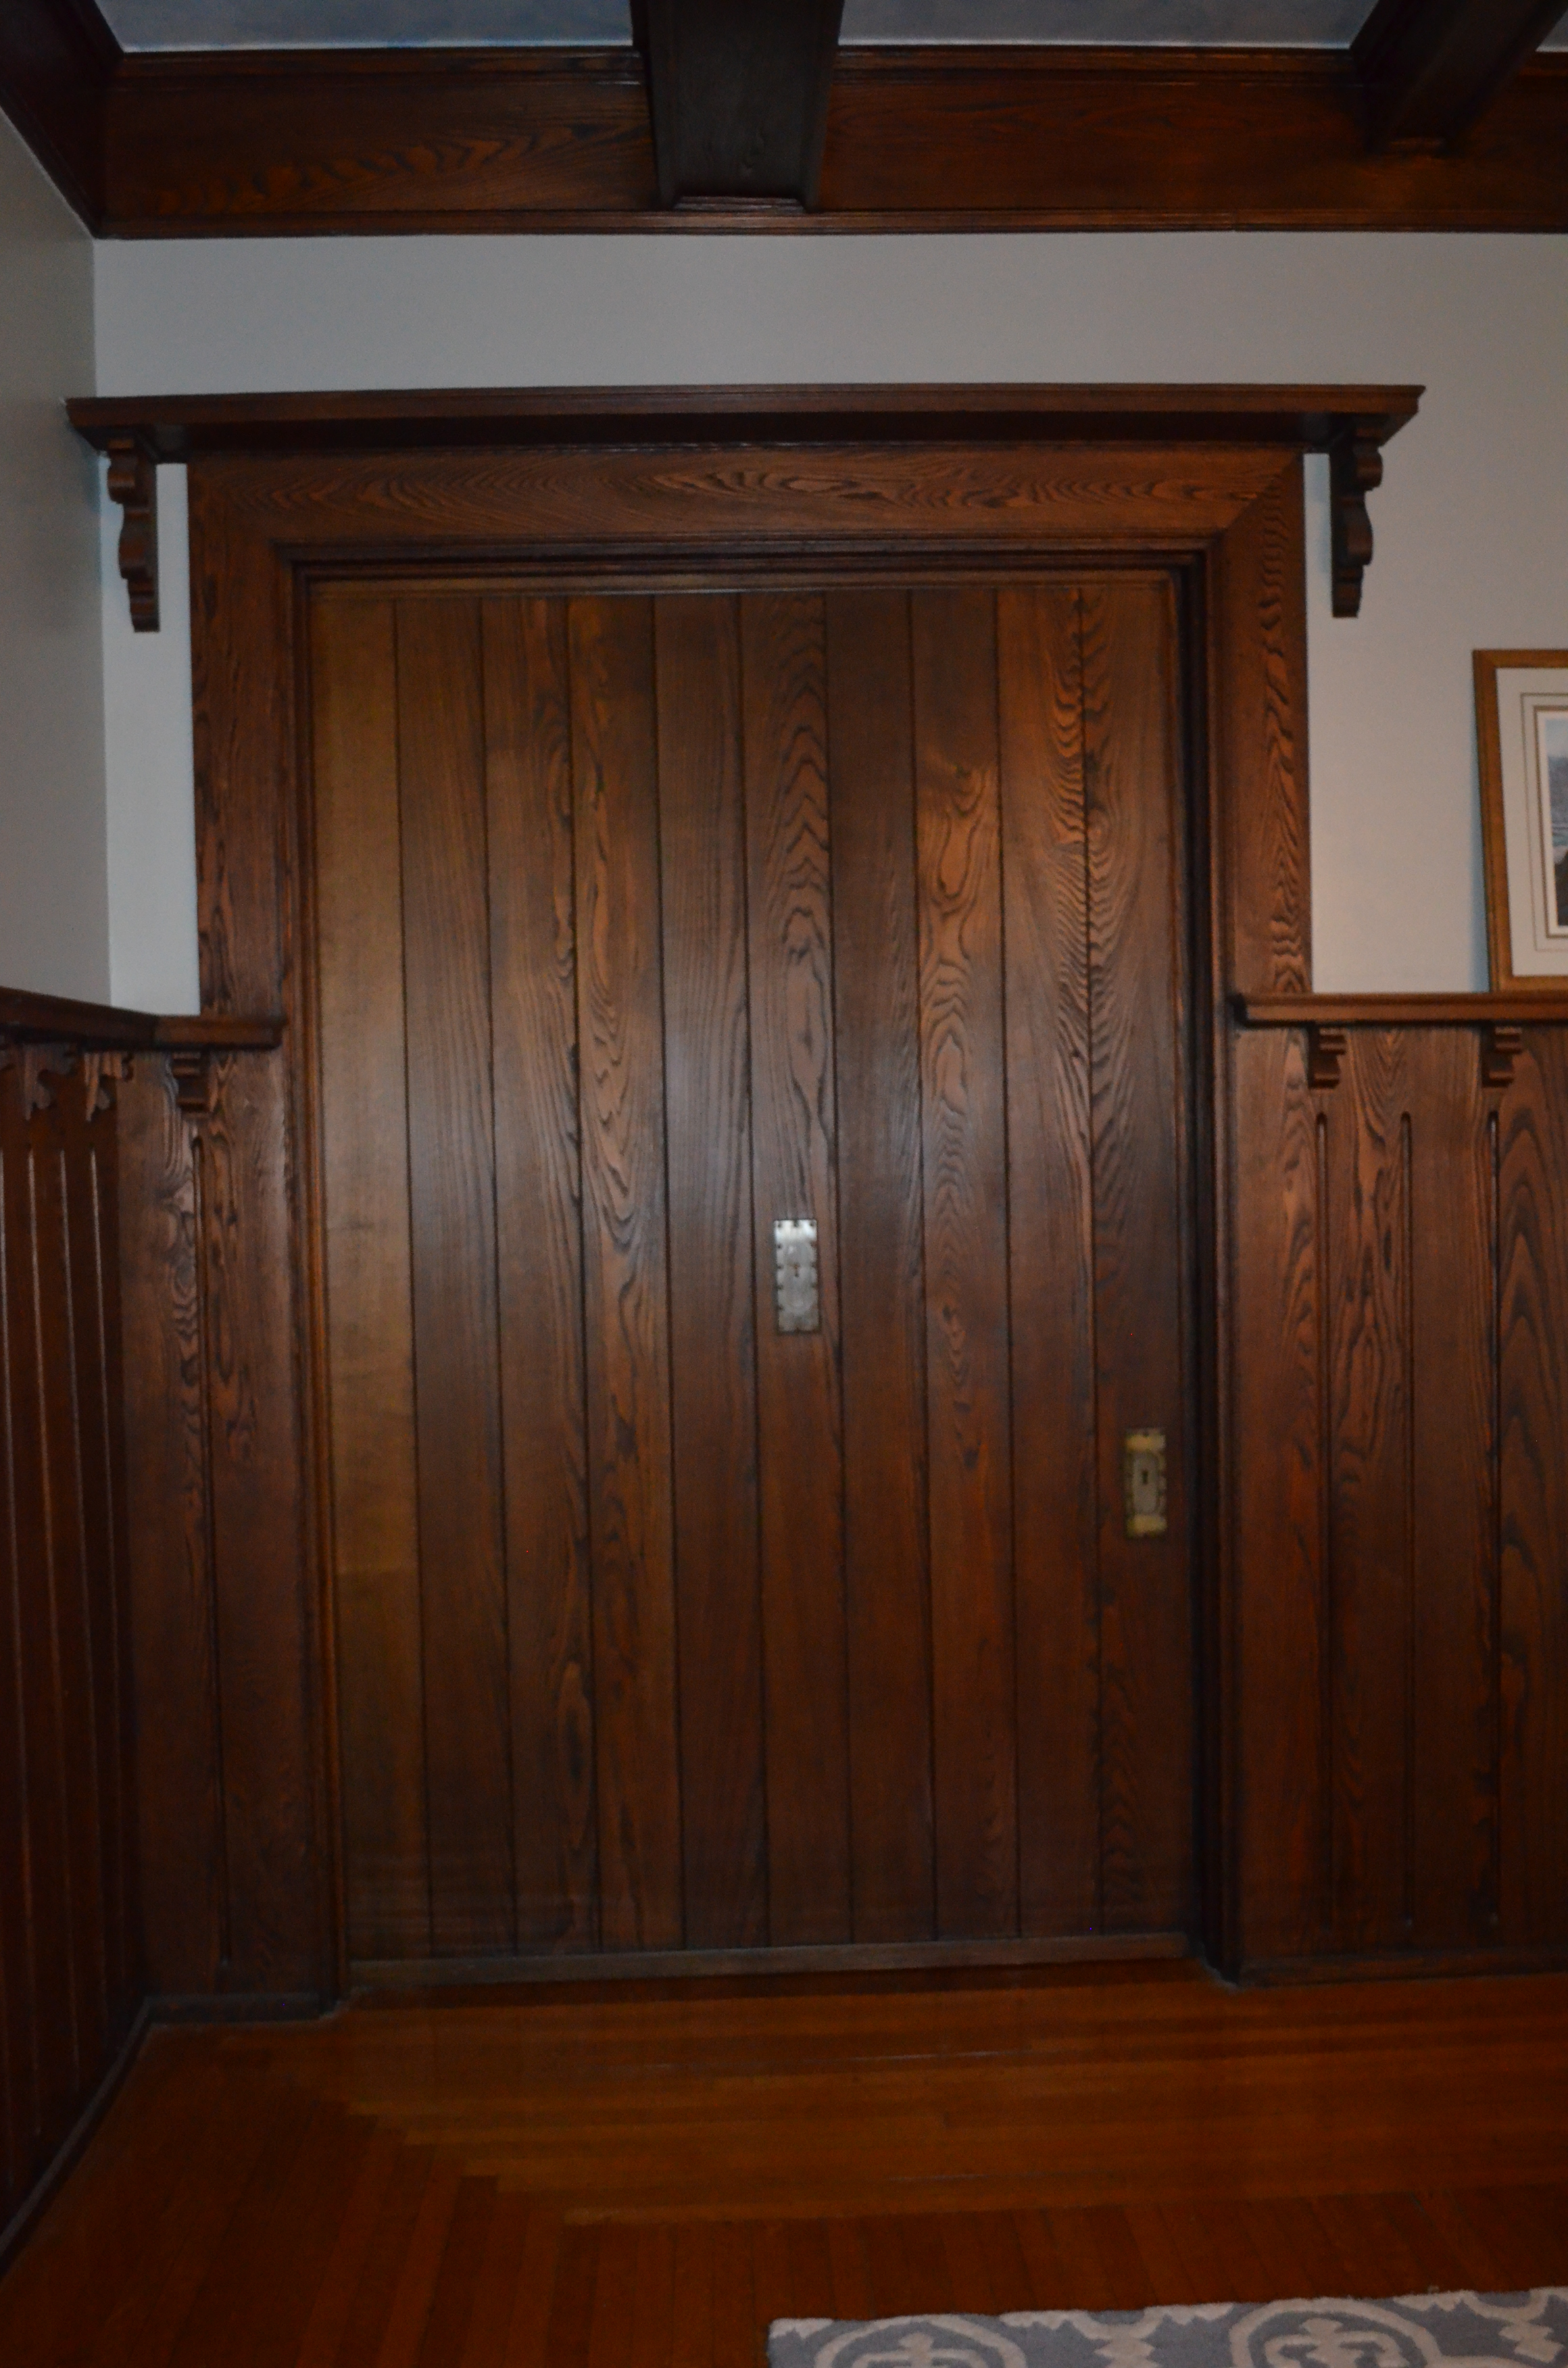
The dining room side of the same door, wormy chestnut.

Close up of this side of the door pulls. Not sure why there is one placed higher in the middle?
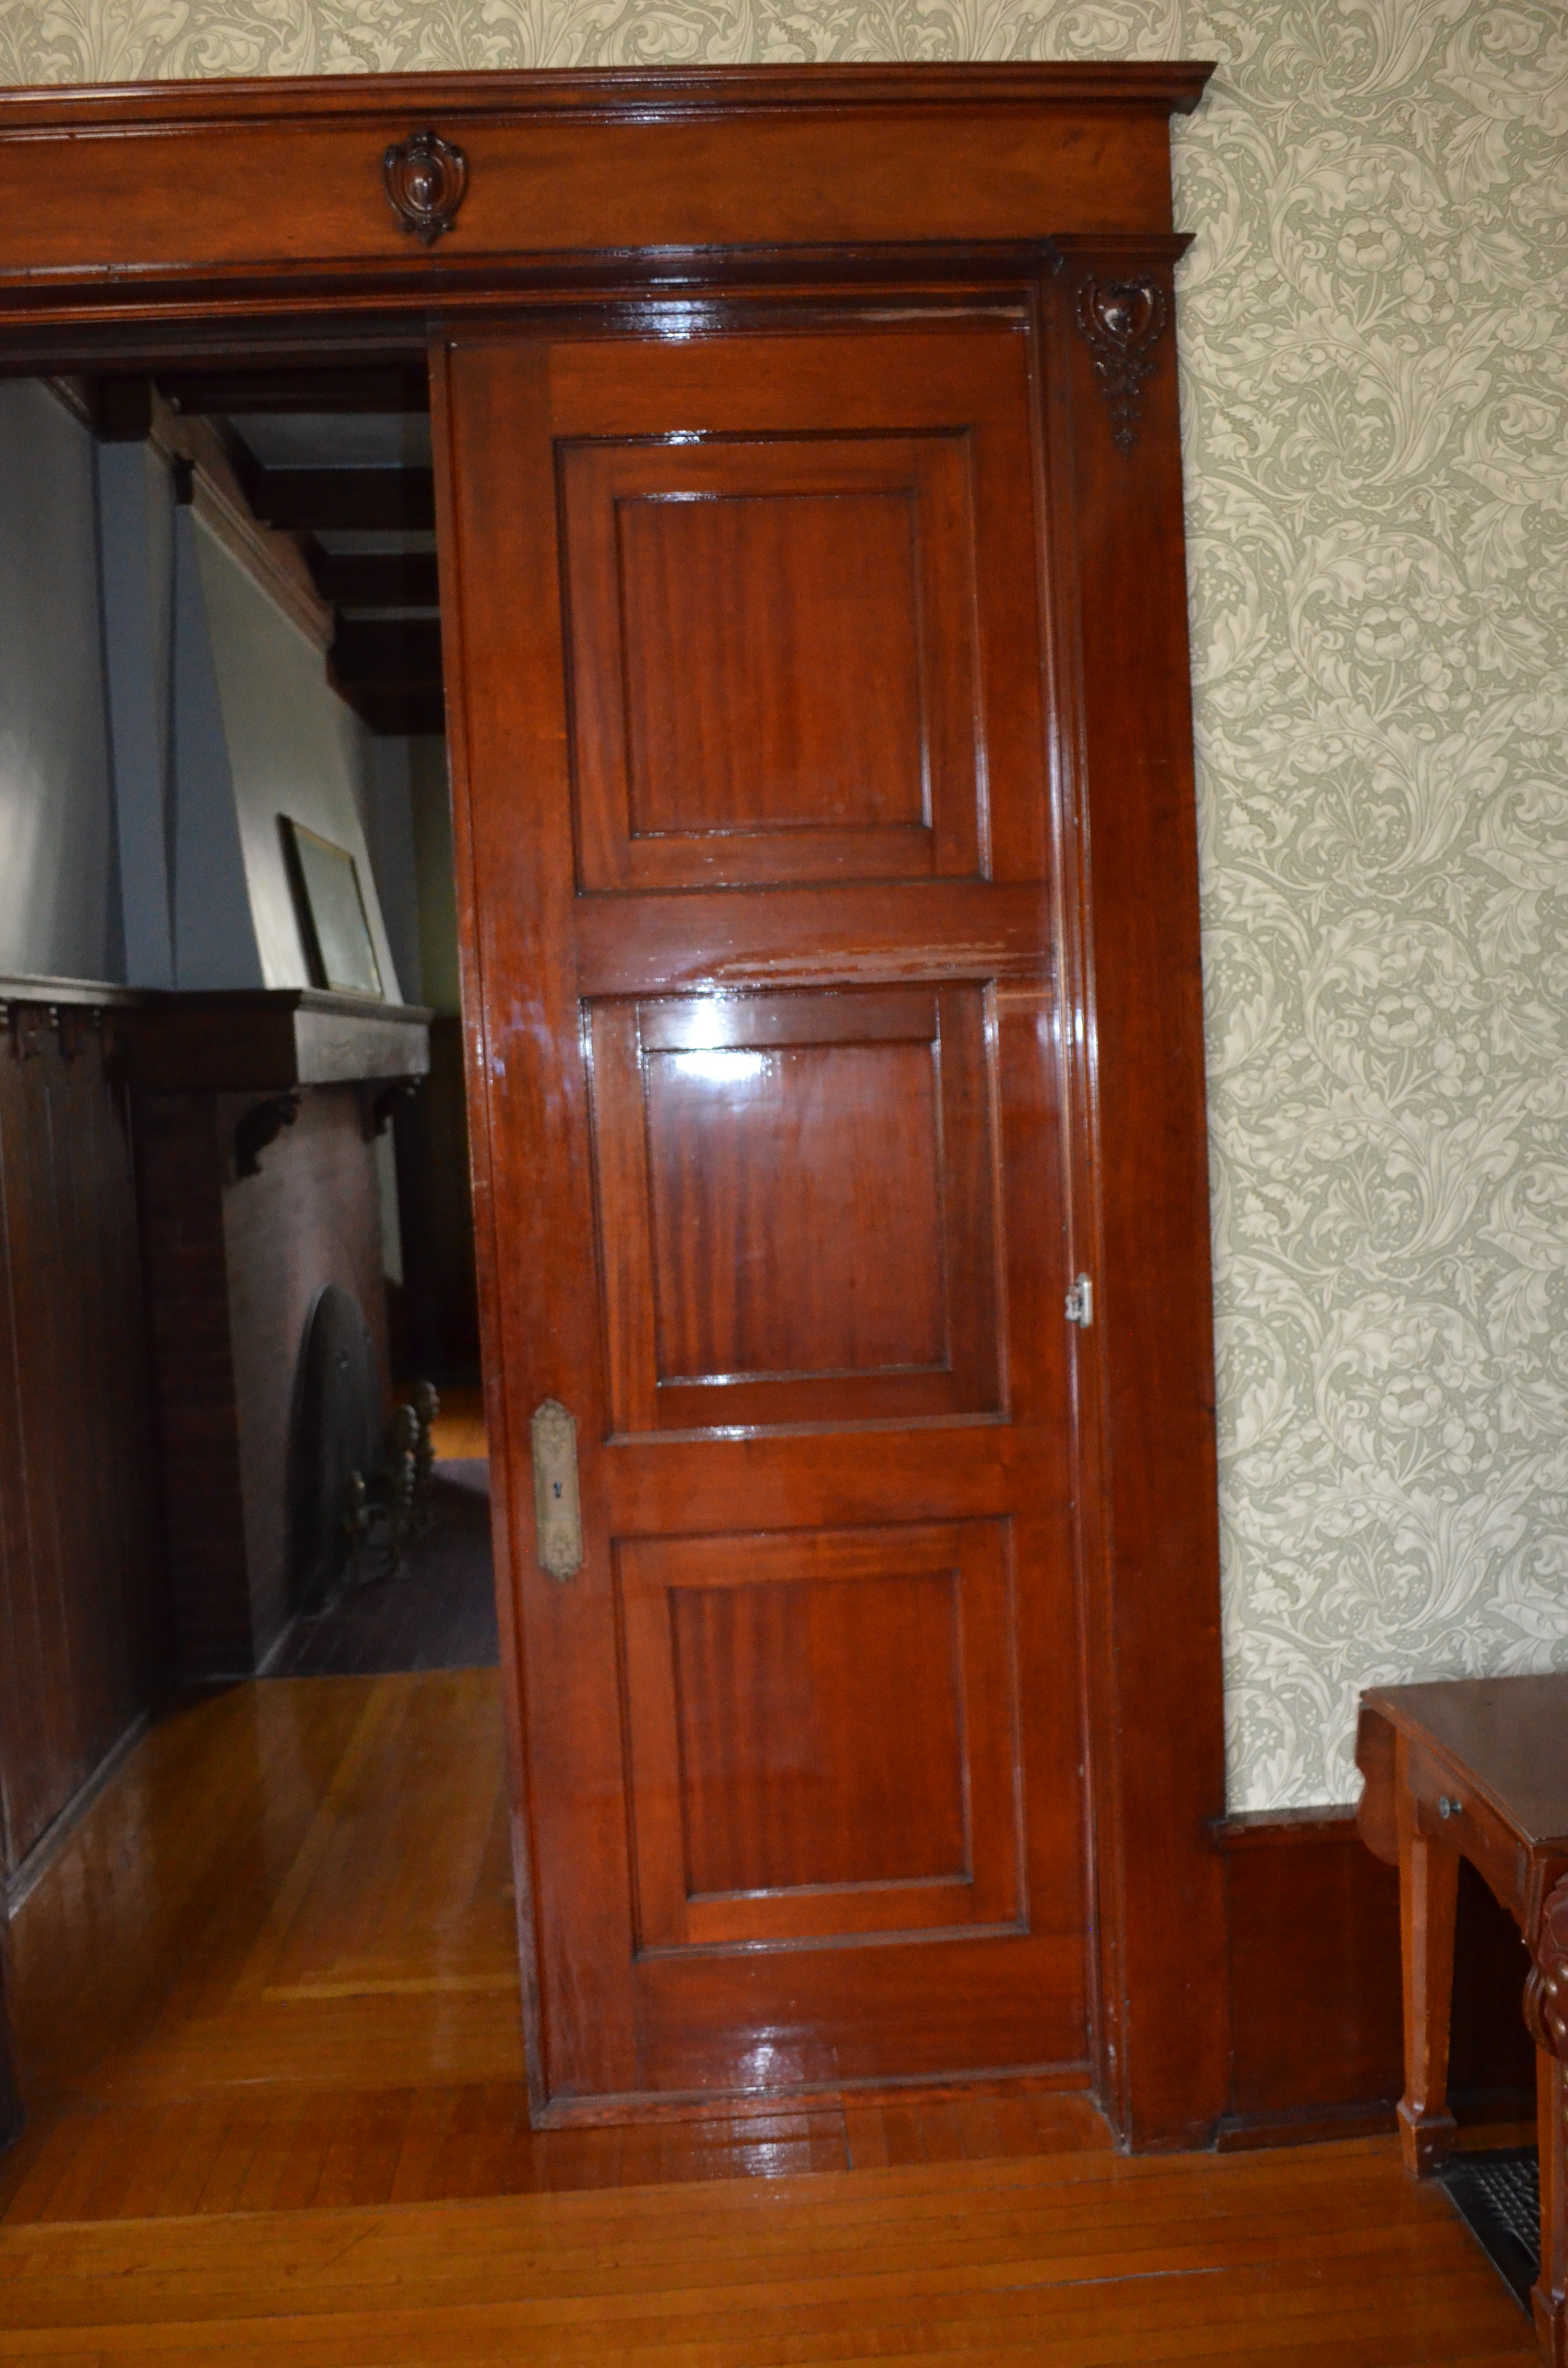
The living room side in mahogany. This is the one off the track.

Close up of this door pull
The dining room side of the door.

The dining room door with a plain brass plate. This door does have a brass pull handle inside.