Not a remodel, just a face lift

I have HATED the kitchen since the first walk through of this house.  We had done a total kitchen remodel that included an addition at the last house so I walked away from my dream kitchen.  It was hard to leave something that I had designed to fit the way I cook and entertain.

Just a reminder of what I got when we moved here:

kitchen

In the picture it doesn’t look bad but it is TINY.  The realtor used a lens that made all the rooms like brighter and larger than they were.  This kitchen was done in the late 70’s/early 80’s. The kitchen counters are dark green floor tile with black grout.  Much of the grout is missing. Scrubbing with a toothbrush only added to the problems.  The counters always feel dirty.  The oak cabinets were built to match the original ones in the pantries.  The hardware is all rusted, much of it doesn’t work, sticks or is missing.  The double wall oven was dated 1979.  In the top oven only the top heating element worked and in the bottom oven, only the bottom heating element worked.  Baking was impossible, roasting impossible and everything else required double the time and often switching from one oven to the other to get things cooked evenly.  The cooktop was newer but the pilot tried to light continuously so I had to keep it unplugged.  I would plug it on to light the gas burner and then unplug it again.

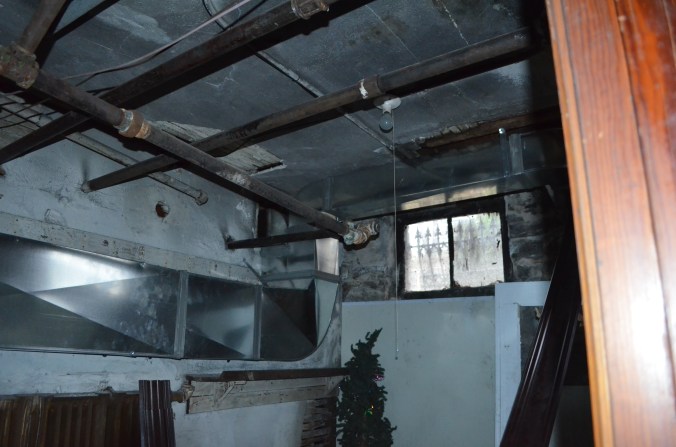
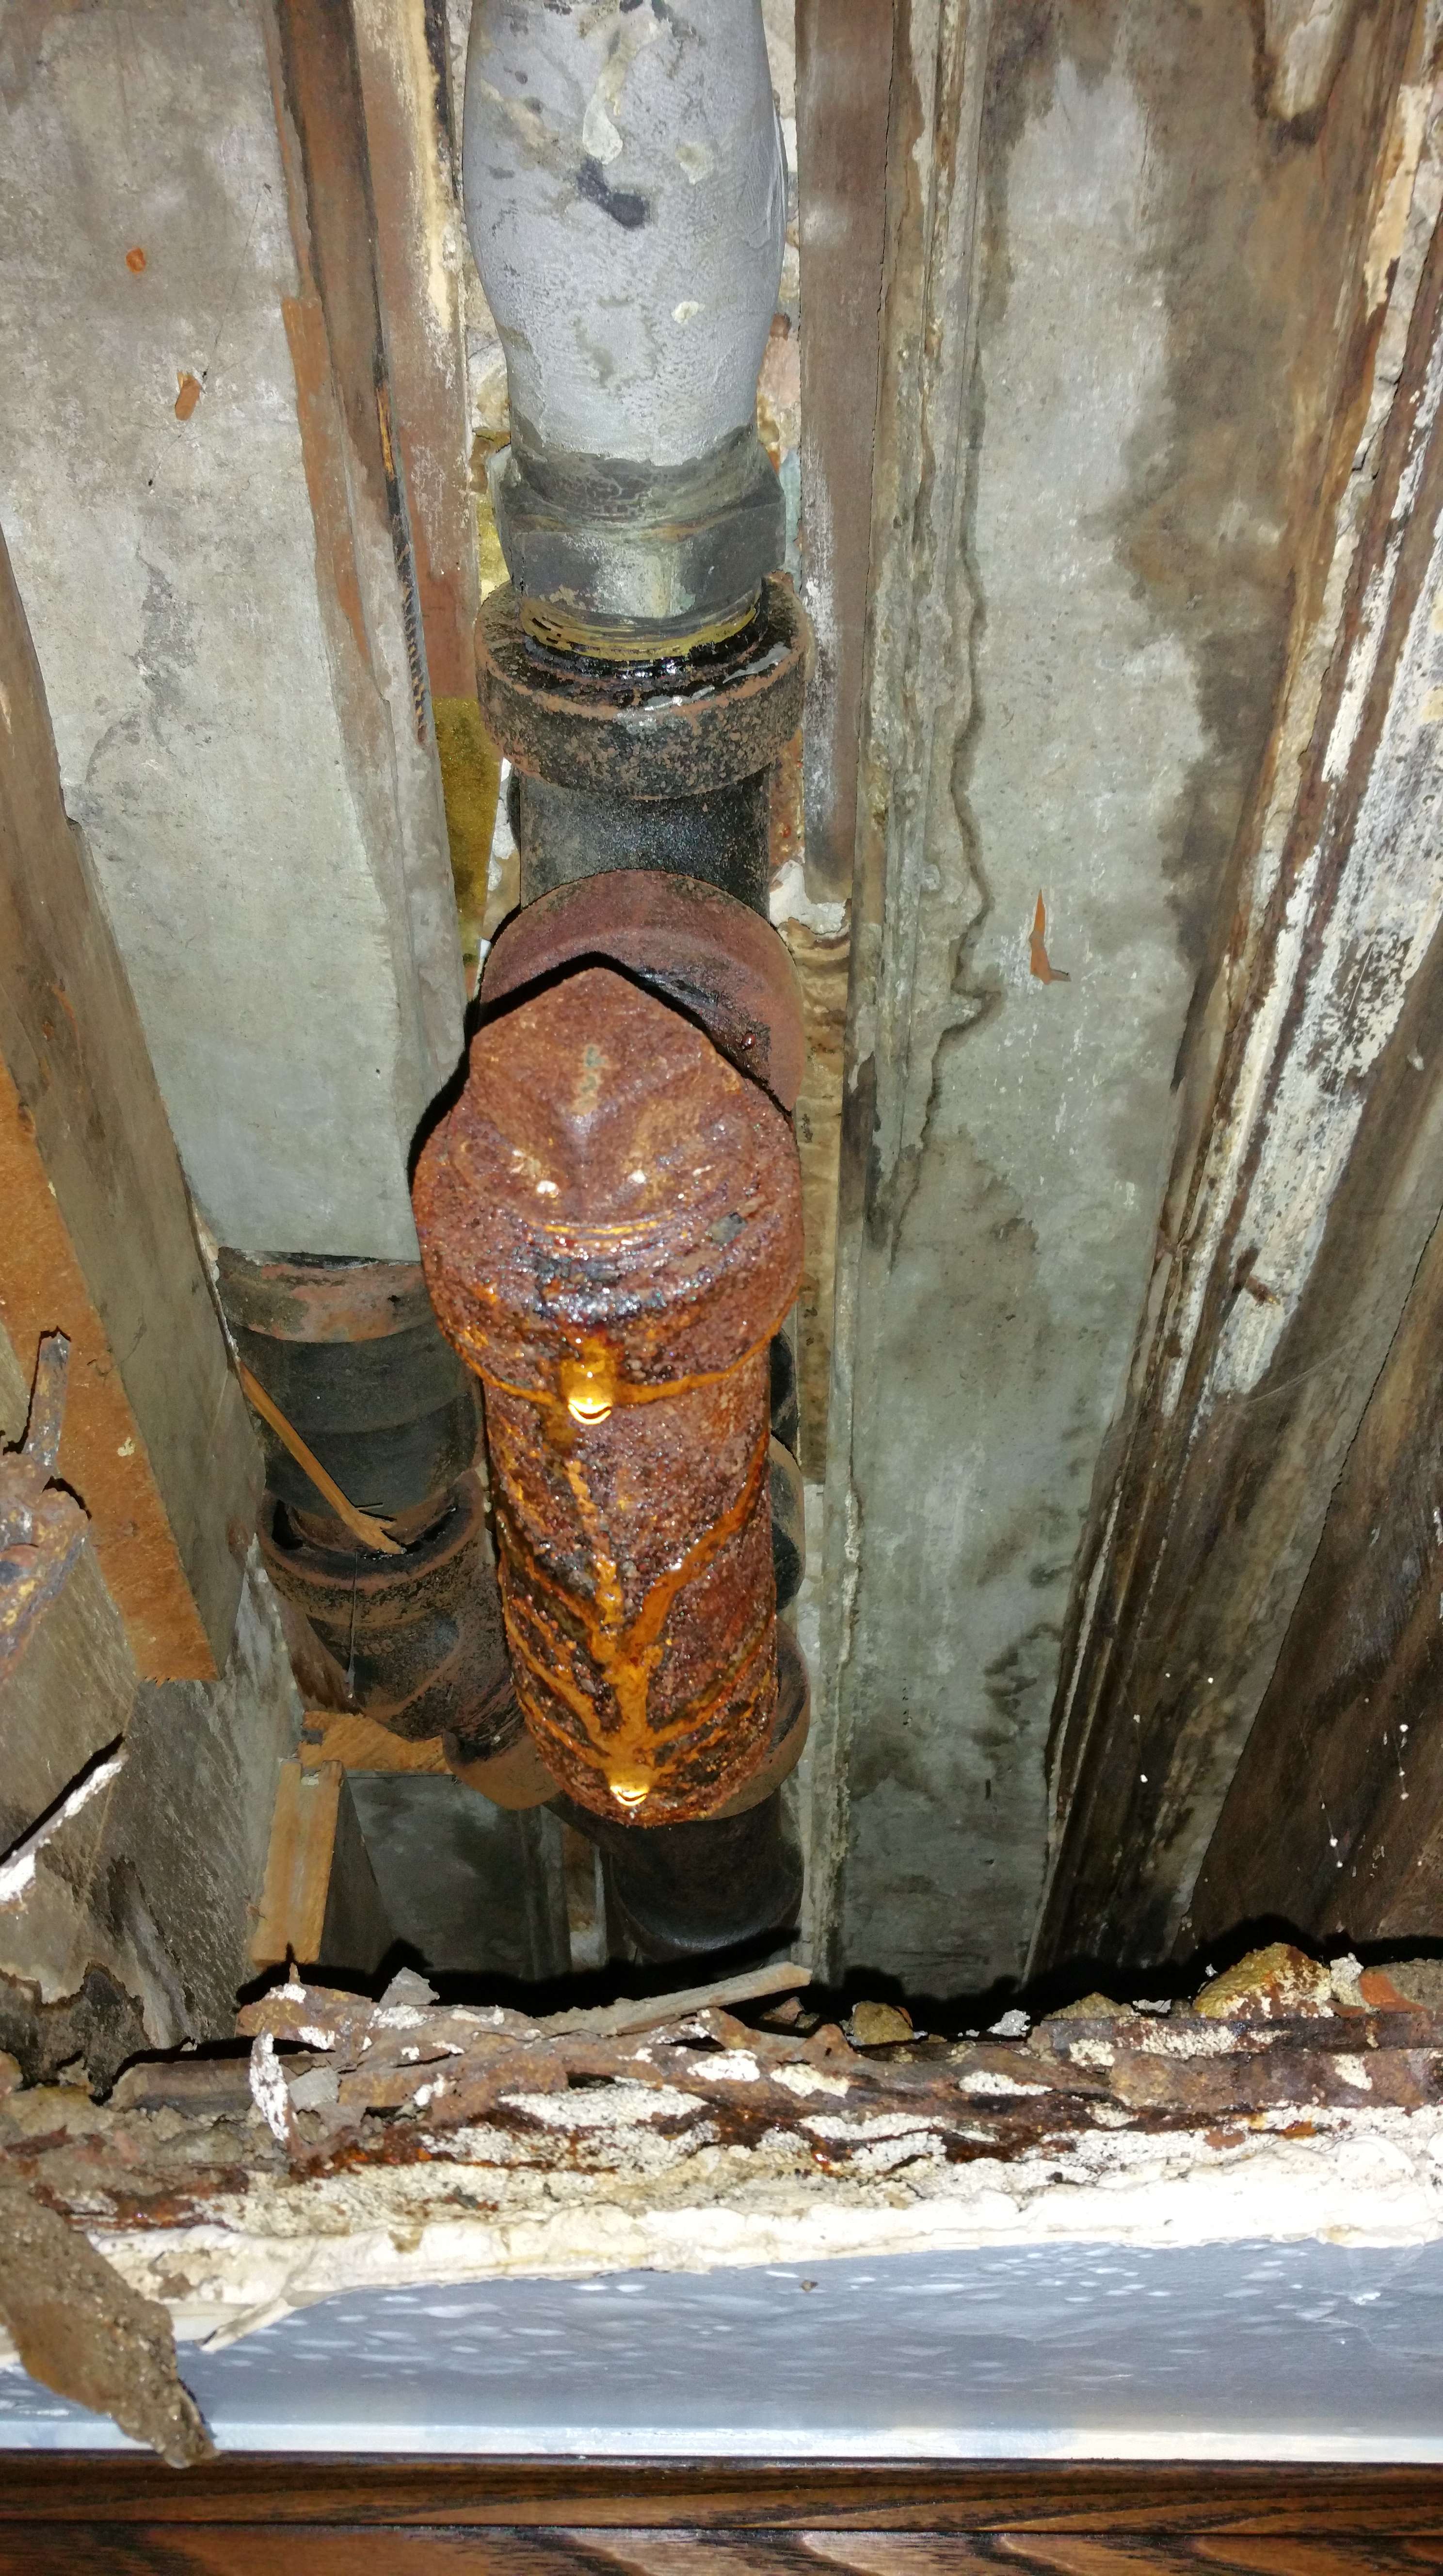
We had planned to do a total kitchen remodel right away and had plans drawn up.  The plumbing and heating surprises put that plan on hold.  I could not get by with the oven as it was and it was not worth the money to repair it even if we could find parts.  I decided to replace it with a dual fuel double oven stand alone range, similar to what I had left at the old house.  It required removing the cabinets near the back door, taking out the ovens and moving the gas line.  This was done in early October but it left me with a non functioning cook top on my limited counter space.

DSC_0202 - Copy

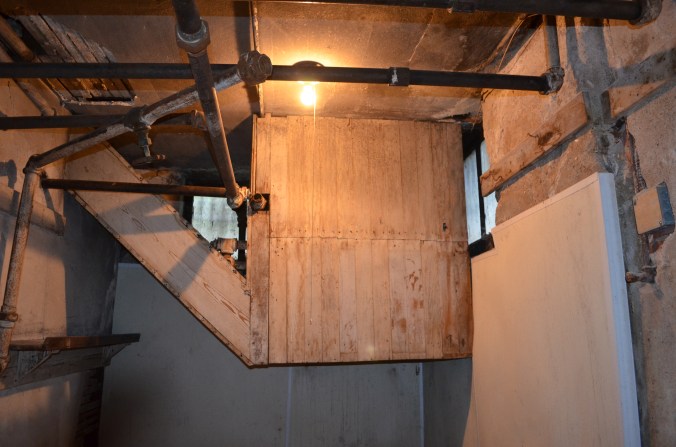
Did I mention the door would fall off?

DSC_0203 - Copy

After the cabinets came out

DSC_0204 - Copy

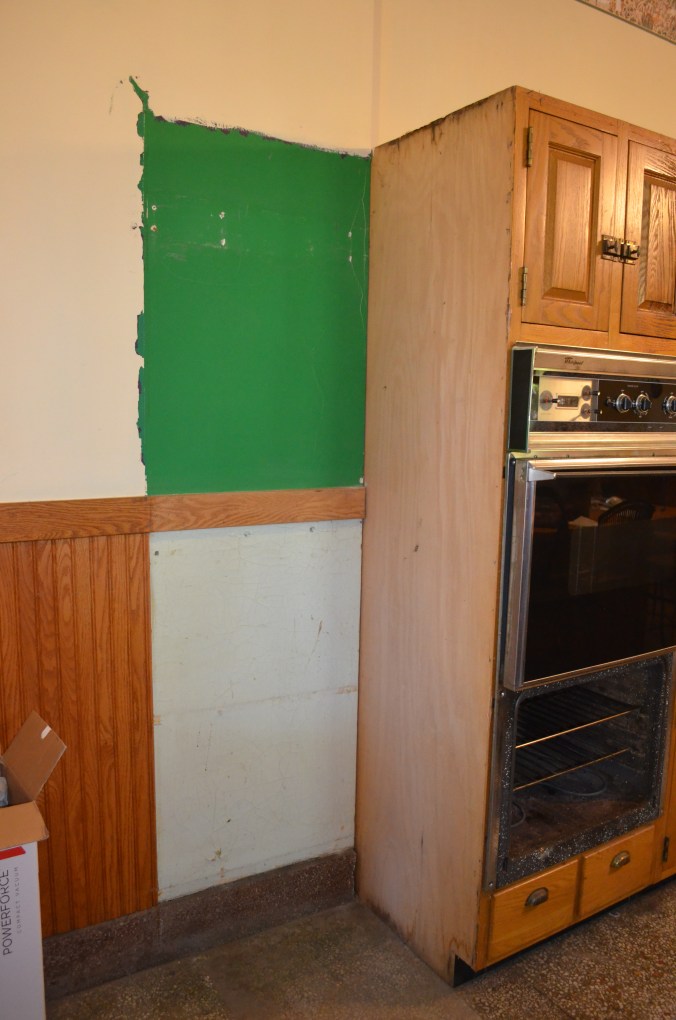
Wasn’t this a lovely color? It was EGGPLANT at some point also.

After a lot of consideration I told Matt I could live with the kitchen as is for now if I could replace the counter tops with something inexpensive and I got a new sink an a faucet that didn’t drip. We didn’t want fancy because we still plan to rip everything out as soon as we have the budget for that.  I plan to paint the cabinets and replace the hardware after the holidays.  Even without that change now, I am much happier with the “new” kitchen.  There is actually space to prepare holiday meals and BAKE!

DSC_0706

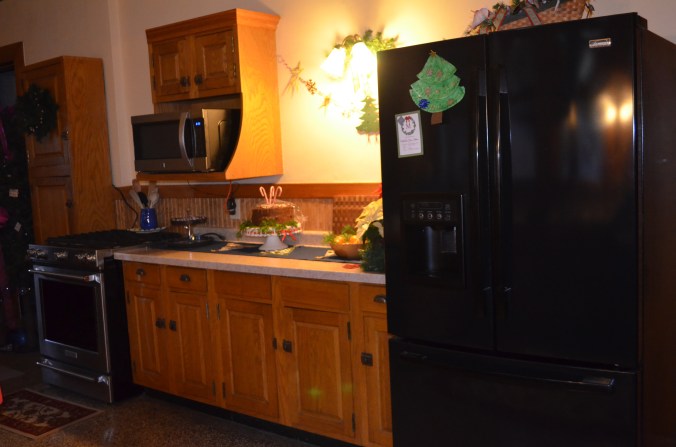
cooktop gone, loads more counter space

DSC_0707

So much brighter, even this late in the day

DSC_0708

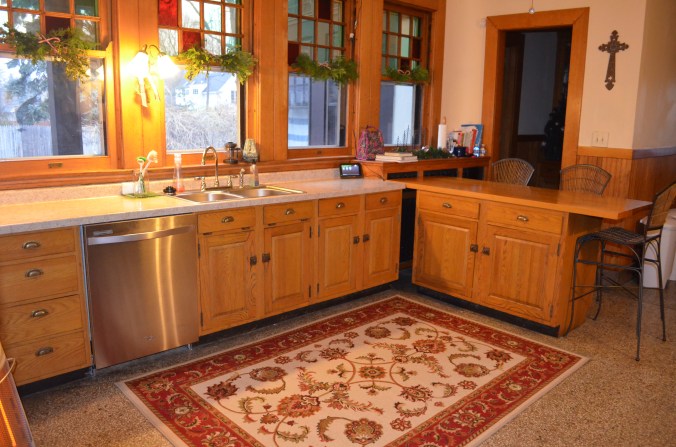
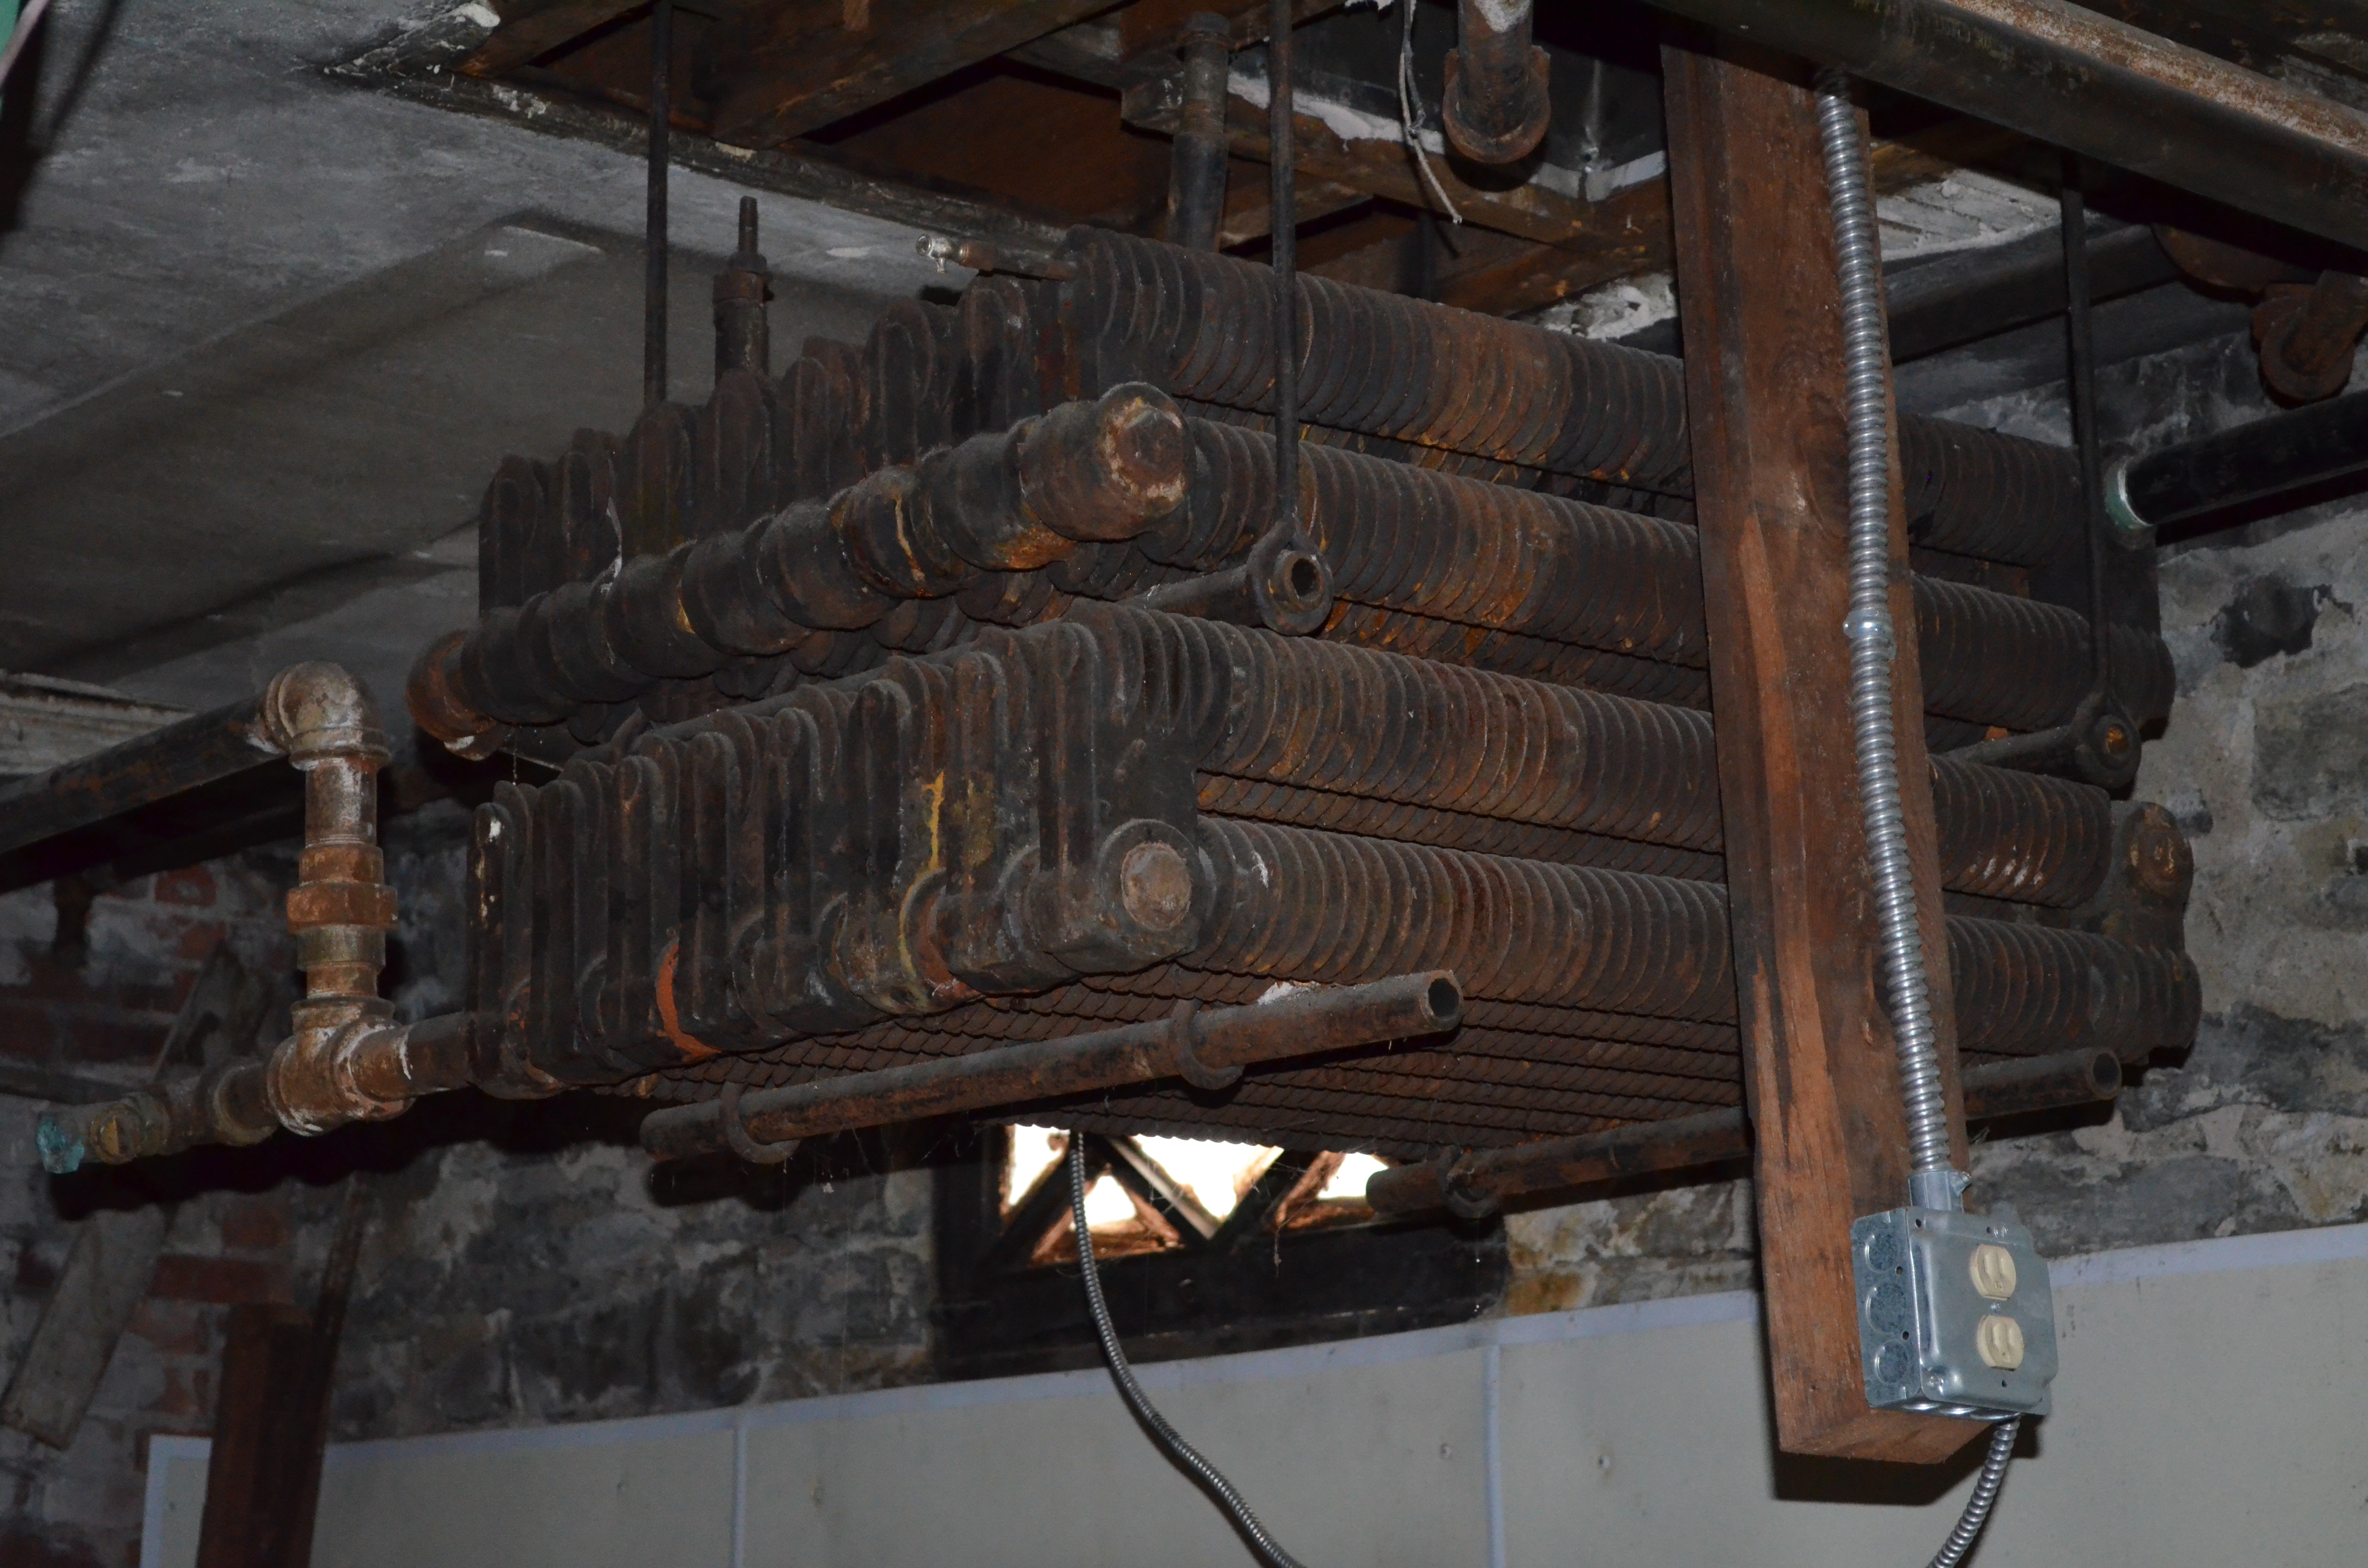
A cozy rug for my feet. Still no heat in the kitchen.

DSC_0709

More open without the cabinets by the back door.

DSC_0710

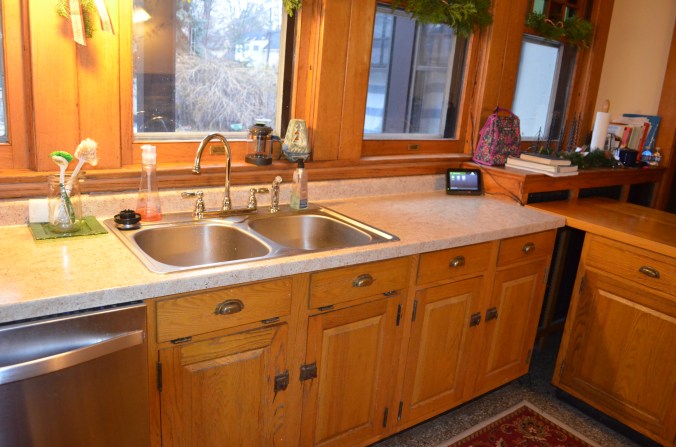
A faucet that shuts off and a deep sink.

It isn’t my dream kitchen but I can live with this and be happy for awhile.

November was the shortest month!

There has been a lot going on here.  So much in fact that I have not had time to sit and write about any of it.  I still can’t figure out what happened to November and soon Christmas will be here.

The big change is the heating system for the first floor has been completed.  It was a very difficult decision as to repair the first floor heat exchangers or upgrade the first floor to gas forced air.  I the end the new gas forced air system won out.  First it was slightly less expensive, it should be more economical to operate and we have the option of adding air conditioning to the first floor now.

Being the owners of a historic home adds a new dimension to the decision process.  We want to preserve and maintain the features and history of the home of course but it is our family’s home and that plays into the decision process as well.  We want to keep whatever we can original while making our family comfortable here.  A few of the decisions were forced upon us (such as the heating dilemma and master shower) because previous owners had not been good caretakers.  Many years from now when the home gets a new family, we don’t want people to come in and say the same of us.  The house is one of the gems in this neighborhood and we want to keep it that way.


DSC_0040 - Copy

Old heat exchanger

DSC_0042 - Copy

boiler pipes

DSC_0049 - Copy

heat exchangers were inside these giant wooden boxes

DSC_0047 - Copy

The pipes also in wooden boxes

DSC_0039 - Copy

Heat exchangers visable after boxes were removed

DSC_0209 - Copy

The dumpster after all the pipes and wood boxes were removed from the basement


We are still learning how to balance out the two heating systems.  The biggest problem is the grand staircase acts like a giant chimney and funnels heat from the first floor up to the second floor hallway where the boiler thermostat is located.  The third floor seems to be overly warm regardless of the temperature in the rest of the house.  Then there is the problem with heating the kitchen and laundry room.   Currently they are not in either system.  Still working on a solution for that!


DSC_0711 - Copy

New Furnaces

DSC_0714

No more boxes

DSC_0712 - Copy

New ductwork

DSC_0713 - Copy

Boilers-still working!

Friday Fun Fact

When we bought this house we also got a crate full of papers and blueprints that are the archives for our historic home.  I was surprised to find that most of the papers are old newspaper clippings about John North Willys. Although he wasn’t the longest owner of the house, he was the best known and the house is still referred to as the Willys mansion.  I though it might be fun to share some of these old clippings and tidbits.

 ambassader

Mr Willys was the first U. S. ambassador  to Poland.  The newspaper clipping does not say what paper it is from but I would guess it is the Toledo Blade.  It is dated March 1, 1930.

Two Steps Forward

All summer I felt like we were taking one step forward and two steps back.  After five months in our house it finally feels like we are taking two steps forward and one back.  Not ideal but certainly an improvement.

Most of the plaster repairs had been finished.  The hole in the living room ceiling was patched, the music room was a room again and oldest daughters ceiling was sealed back up.

Side note:  Did I ever mention that in June we had a heavy rain storm during the night?  Water was pouring out of the ceiling fan/light fixture in oldest daughter’s room and a huge chunk of plaster from the ceiling fell during the night.  It woke me up but she slept through it.  Her room is on the second floor so the water coming in was a mystery since the third floor was dry.   Turned out the flat roof was leaking and we had it resealed.  Just another example of the unexpected in the house that feels like we take one step forward and two steps back.

Fall is upon us and we were ready to try to start the boilers to heat the second and third floors.  We filled the boiler and waited a few days to make sure the system was holding. We had done these twice before and found damaged pipes and radiators that needed replacing or removed from the closed loop system.  All seemed well until I found a puddle on the dining room floor. I was ready to blame both dogs since I wasn’t sure who the culprit was until I realized there was a trail of water that seemed to end on the other side of the fireplace.  As I wiped the floor I was hit on the head by dripping water.  Looking up, I saw the ceiling was very wet and dripping onto the wormy chestnut  onto the mantel.  We drained the boiler, opened the ceiling and called the plumber.  Turned out this was another leak from the master bath.  This time it was the tub.  We also discovered it was another spot in the house that had been leaking before.  Rather than repairing the pipes, the ceiling was patched.  Again.

I would love to know what prior owner thought this was a good idea!  The boiler was drained unnecessarily.  Another hole was in the ceiling.

dining room ceiling hole

This section of the ceiling is drywall not plaster. A sure sign there was trouble before.

DSC_0234

Another opening in the ceiling.  Also more dust.

close up dining room ceiling hole

This has been a problem for a LONG time!

The plumber repaired the pipes.  It was a two day job.  He was shocked at how rusted and corroded the drain pipes were.  He recommended not plastering over the hole right away just to make sure the problem is solved.  That is fine but our house will be on the Christmas tour and a hole in the dining room ceiling isn’t a very good way to promote the neighborhood and the historic homes here!  We decided to put a temporary cover over the hole.  This worked in part because the dining room ceiling is coffered.

DSC_0224

The dining room ceiling had a cloud motif that we left when we covered the murals.  I didn’t hate it and changing it will be a challenge.  We tried to match the clouds when we did the patch.  I think it came pretty close.

DSC_0235

Hopefully we are on our way to two steps forward and one back.  Ideally no more backward steps would be great but I don’t see that in our future yet!

The view just got better.

DSC_0643

As part of the street reconstruction, there were plans to plant trees in the easement.  We were told the trees would be planted in the spring.

What a pleasant surprise to see them today!  There are a lot more than I had expected.  They will provide a nice accent to our very under landscaped yard.

The ones on our side of the road are plums and across the street are elms. (The elms are not planted yet.  They will have to wait until tomorrow to be photographed)

DSC_0644  DSC_0645


The End is in Sight!

The end of one construction job is in sight.  Sadly, it is the street construction in front of our house and none of the projects still underway inside.  Don’t even ask me about the master bathroom!

Our house is on a corner lot.  The side of the house with our driveway is on a fairly busy street and the lot extends a full block on this side.  Road construction began about 10 days after we moved in and has been going on all summer. The road has been one way in different directions throughout the project as they completely tore the road out and rebuilt it.

The neighborhood association has worked along side the city engineer to keep the project moving and preserving the historical integrity as much as possible.  I have been so impressed with the city engineer.  He is out here all day, every day.  He has kept us well informed about the project and given us much appreciated notice when access to our driveway has been limited or restricted.

The project included removal of the original sandstone sidewalk sections and the original brick road that remained under the pavement.  We were able to keep the sidewalk sections for our own use.  The brick was salvaged to use in repairing the one original brick road in the neighborhood and installed as accent pieces on the corners.

DSC_0212 - Copy

Sandstone sections that will be a new patio in our side yard

DSC_0219 - Copy (2)

A few bricks that got left behind

recycled road bricks at cross walks

recycled road bricks at cross walks

They also used pieces of the sandstone and the bricks to make a decorative base around the areas where new lamp posts will be installed.

Lamp Post Base

Lamp Post Base

DSC_0225

They have narrowed the road in an attempt to limit cut through traffic and speeding.  A bike path will be added on the other side of the road and on street parking will be allowed on the east side of our driveway which will be nice for guests.

While I really want some of our projects to find their way to completion, I will be happy to see the road construction wrapped up. (Hopefully with this project completed I can add window washing to the to do list.)  It looks beautiful and makes me happy to be part of this new neighborhood.

DSC_0218 - Copy

Our new sidewalk and driveway apron. You can see the indent for on street parking.

DSC_0217 - Copy

The other side of the driveway

Fun Facts

Our house has many beautiful features which were the reason we fell in love with it.  There are also some odd, interesting, fun things we have discovered.  I thought you might enjoy some of these quirky or fun facts and will try to do some short posts with these occasionally.

Here is the first one.  One of our favorite things about the house is the three paneled stained glass window in the main staircase.  Now that the Pepto-Bismol pink paint is gone the whole stairway fills with beautiful rose tinted golden light when the sun is shining.

DSC_0013

Great shot to see all the colors

DSC_0011

Notice the light reflected on the walls

Oddly enough though, from the outside this window isn’t visible at all!

DSC_0642

DSC_0642 (2)

The fire escape partially blocks it but at some point Plexiglas was put over the outside of the windows.  I am not sure if it was to protect them or to help with insulating them in the winter.  We are seriously considering taking out the fire escape and I would like to either remove the Plexiglas or replace it with something that will allow more light through the window and make it visible from outside.  It just seems odd that this lovely feature is hidden from the outside.

Fall is in the Air

Fall is definitely in the air.  A few trees are beginning to change colors, the first gallons of apple cider have arrived in the store and the evenings are getting colder.  This is one of my favorite times of year.  I love watching the changes to the trees, having warm sunny days but cool mornings and evenings that require getting out sweaters.  The only problem this year is the lack of a functioning heating system in our home.

Because the heat was left off last winter when the house was for sale we had all the heat exchangers on the first floor break.  Many of the pipes in the radiator system are also broken.  We have gone back and forth on our heating options.  You can’t replace the heat exchangers but they MIGHT be able to be rebuilt.  We could install gas forced air for the first floor (with the advantage of some day adding A/C) and maintain the boiler system for the second and third floors or replace the whole thing with gas forced air.  There are advantages and disadvantages to all three options.  None of the choices is inexpensive and all are much more costly than we had imagined.  We have decided to install two gas forced air units to heat the first floor and keep the second and third floors and the kitchen (if the radiator works) on the boiler system.  We have two boilers but only one is operational at this time.  The thought behind two furnaces for the first floor is due to higher efficiency from the smaller units rather than one very large one.  Which makes sense in a strange way.

The install will be a major project.  There is no duct work in our house.  Unlike an install on new construction, all our walls and floors are in place.  We don’t want to damage the beautiful hard woods or repair any additional plaster walls.  We haven’t finished those repairs that are already underway!  The first step was removing all the air exchangers from the basement.  In case you are unfamiliar with this, here is what little I now know.  Instead of radiators on the formal rooms of the first floor there are vents that brought heat up from the basement.  This vent system consists of  giant wooden boxes which cover the water pipes and the large metal heat exchangers. The vent system is all over the basement and encloses the piping as well as 115 years of dirt and dust.  There may or may not be lead paint.  It all had to go.  Matt had his brother and another friend offer to help and they spent three days removing everything and filled a dumpster in the process.

The wooden boxes and vents

The wooden boxes

DSC_0050 - Copy

DSC_0044 - Copy

Heat exchanger

Heat exchanger

DSC_0043 - Copy

DSC_0210 - Copy

The new furnaces have been ordered.  We are waiting for the work to begin.  The install should take about two weeks.  In the mean time I think we need to get the boiler going and get some heat on the second and third floors and unpack the sweaters and blankets.  I may even have to buy some socks!

Side note:  Since there was a little room left in the dumpster we decided now was the perfect time to gut the RV bathroom on the third floor and get all that mess out of here.  A friend of our son had come by one evening and helped with the basement demo.  He was a great help and was crazy enough to offer to do the bathroom demo for us.  Thanks D.J. for a job well done!

Staircases

Both the grand staircase and the servants stairs were carpeted when we got here.  The grand staircase had a carpet runner that was green and mauve and was probably put there in the 80’s.  It matched the area rug in the entry and the awful mauve paint on the stairwell walls.  As you know, the pink paint was the first to go.  I also rolled up the area rug and dragged that out immediately as well.  It was threadbare, covered in pet stains and the backing of the carpet was disintegrating, leaving a powder oozing out from under the rug.

scary birds

I also pulled the runner off the top section of the staircase. It had the same problems.  I thought the bare wood on the stairs was beautiful and the carpet being gone would make it so much easier to clean.  Little did I know that before the runner was installed the stairs had been refinished. But whoever did that didn’t finish the stairs where the runner was going to be.  I put that on the list of crazy things we discovered here.  Why would you leave the center of the stair tread unfinished??

Stained and threadbare

Stained and threadbare

Really?  Why?

Really? Why?

Matt decided we would leave the remaining runner in place until we decide what we are going to do with the stairs.  I would like to keep them bare and refinish the treads.  He wants to replace the runner.  It is so much easier to sweep and wipe the steps than to try to clean the edges and vacuum the runner.  Since we agreed to have the home on the Christmas tour we are going to have to make some decision soon.  They certainly can’t stay like they are and the old runner has to come off.

The servants staircase at the back of the house was another big problem.  They were also carpeted with an industrial gray that would have provided great training for a CSI team.  To call them disgusting would be too kind.  The smelled, they felt nasty when you walked on them and our dogs were convinced they could pee on them often enough to get the other pet odors covered up.

DSC_0408 - Copy - Copy - Copy - Copy - Copy

They actually don’t look awful in the pictures and you can’t appreciate the odor from a photo!

I pulled up the corners on the landings and found a lovely linoleum underneath. (OK, it isn’t really a lovely linoleum.)  It went up all three flights of stairs and was in the third floor hall as well.  If we pulled out the carpet I wasn’t sure if we would be able to get the linoleum up,  I was pretty sure it was glued to the hardwood.  After several months of being afraid to go up the stairs I went ahead and started ripping up the carpet.  I figured I could live with the linoleum until we were ready to refinish the stairs because I could clean it!  Something I hadn’t been able to do with the carpet.  Trust me, I did try!

It turned out that the carpet had originally been tan not gray.  Now I was even more determined to get it out of my house.  At some point the staircase from the second to the third floor had had the linoleum removed but it was glued and the glue was left on the stairs.  We were able to scrape much of the glue off and will eventually remove the rest of the linoleum and refinish all the stairs.  For now it looks like this:

without linoleum

without linoleum

bottom staircase with linoleum

bottom staircase with linoleum

linoleum close up

linoleum close up

The linoleum has been here a long time.  I would guess it was put in while the Oblates were living here.  It has a cork like texture and the color is actually less offensive than I had first thought.  The best part-it is clean!!  The horrible odor is gone and nobody cringes at the thought of going up and down the stairs.

What to do with the cabinets.

The plumber had found many of the original tags that indicated what each room was.  We know the room adjacent to the living room was intended to be the music room.  It has the beautiful built in mahogany cabinets with leaded glass doors.  My dilemma is what do you put in these cabinets??  I do not have a collection of anything that is looking for a place to be displayed.  I think a display of things on a coffee table or mantel or hutch looks beautiful in people’s home and on all the design shows on TV but that isn’t something I have ever done.

Now I have this entire room of cabinets designed to display something and I don’t have the first clue what to do with them.  The cabinets and shelves are labeled and numbered.  Perhaps the priests used this a library? I can’t see a family needing to label the shelves where they would keep their books or display their knick knacks.  But if this was indeed designed as a music room in 1901 what would Mr. Tillinghast have used these for?

DSC_0565

The cabinets are only eight inches deep so not many books published then would fit. If it was a music room, would you keep sheet music in the cabinets?  There are also drawers at the bottom so I am really stumped.

DSC_0566

They look very pretty, especially with the new lighting in the room but I suppose I am going to have to figure out some practical use for them.  I had considered stocking them as a giant liquor cabinet but the bottles are all too tall.

And they already found a home in the butler's pantry!

And they already found a home in the butler’s pantry!

I do have books.  In fact, I have A LOT of books but I am not sure I want to draw attention to my eclectic collection of reading materials.  Any suggestions?